dirt_rider93561
Husqvarna
AA Class
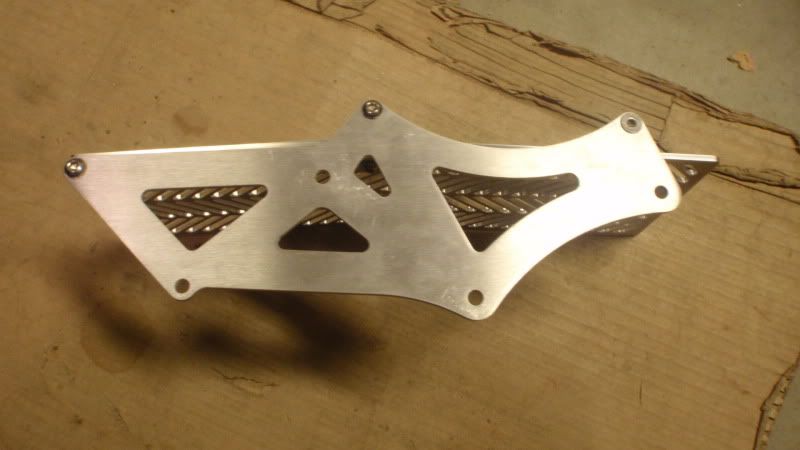
So I recently purchased a set of 7602 radiator braces and guards. I liked the design of them and the fact that they offer both bracing and stick protection. I decided to do an picture install of them for the rest of the Husky group.
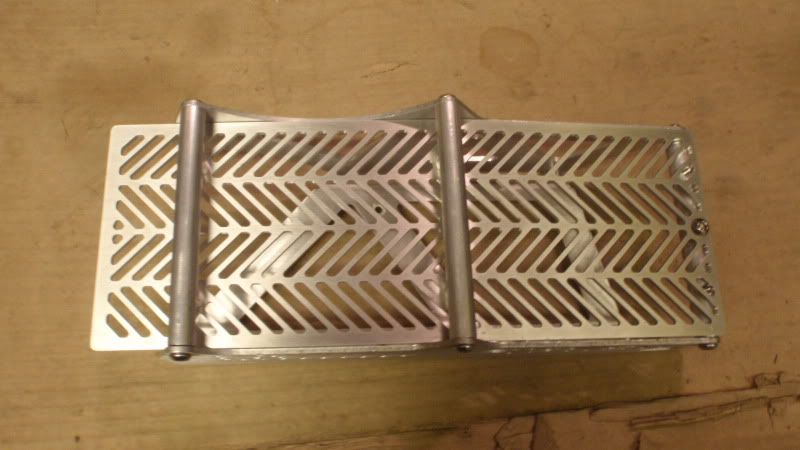
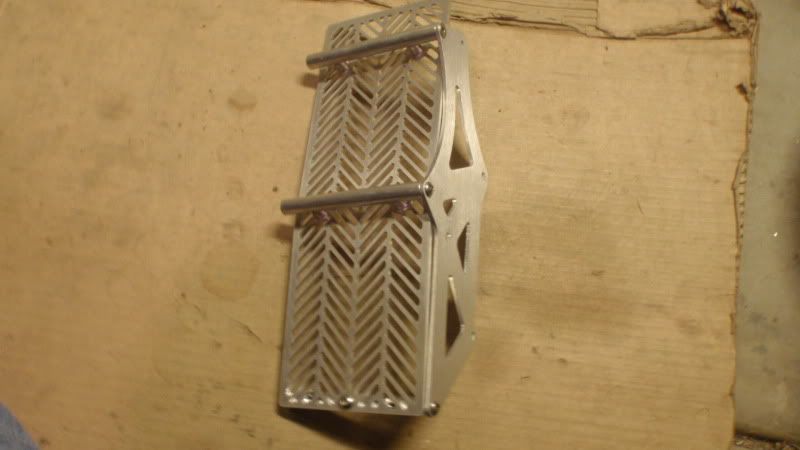
I first started by assembling the complete assembly so that I would have an idea of how it went or any snags.
Front View
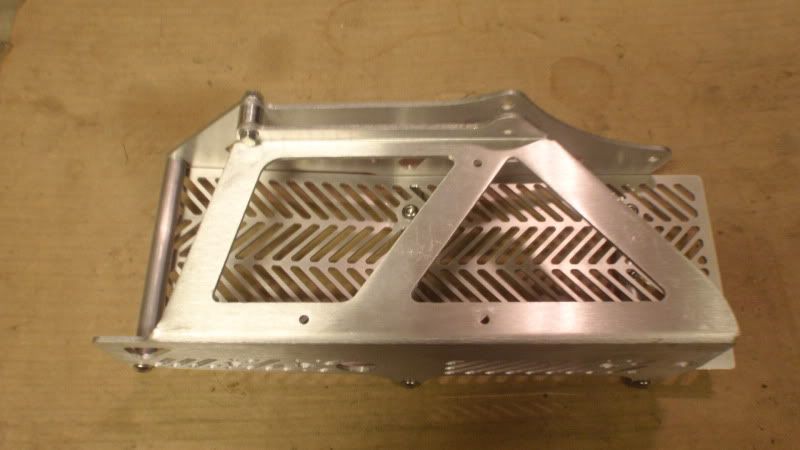
Back View
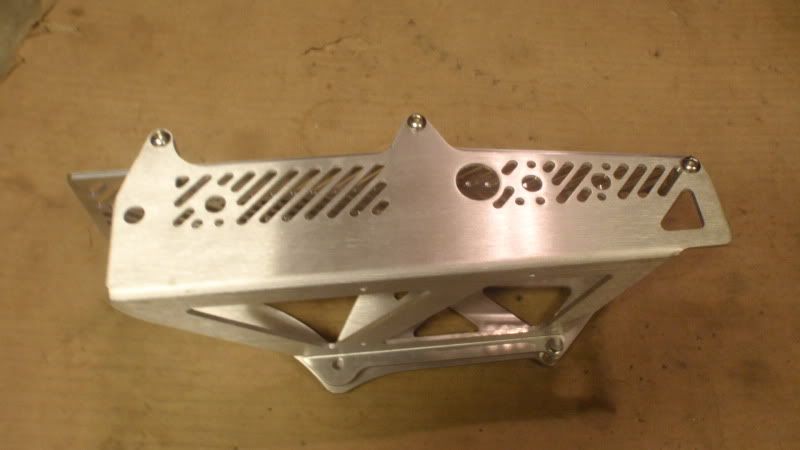
Out Side
Inside side
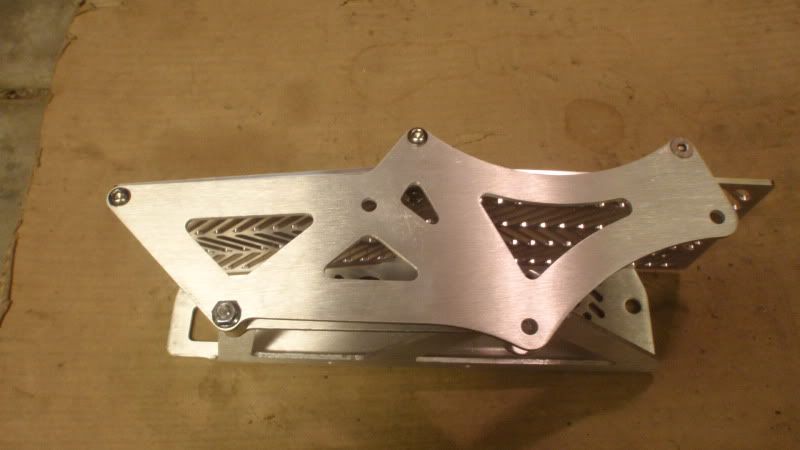
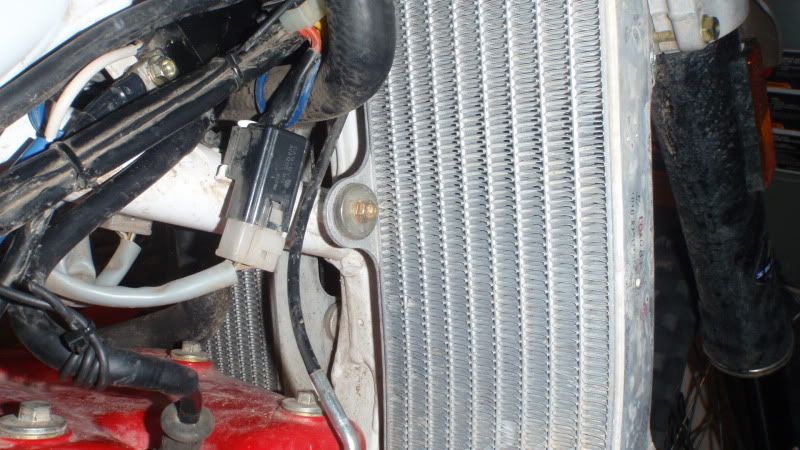
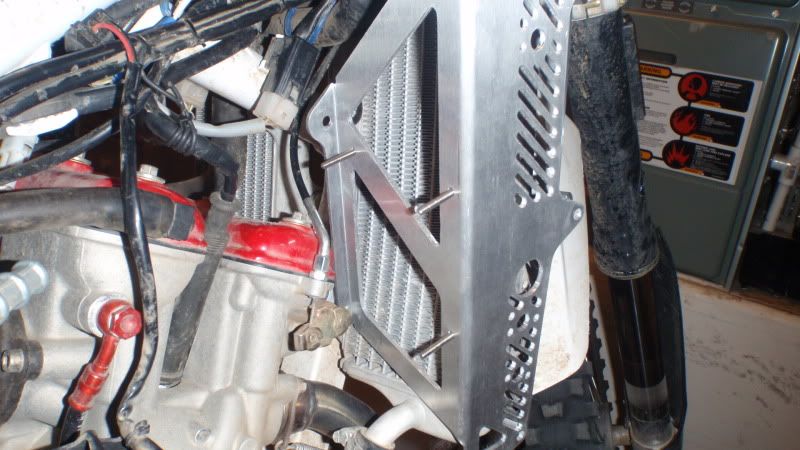
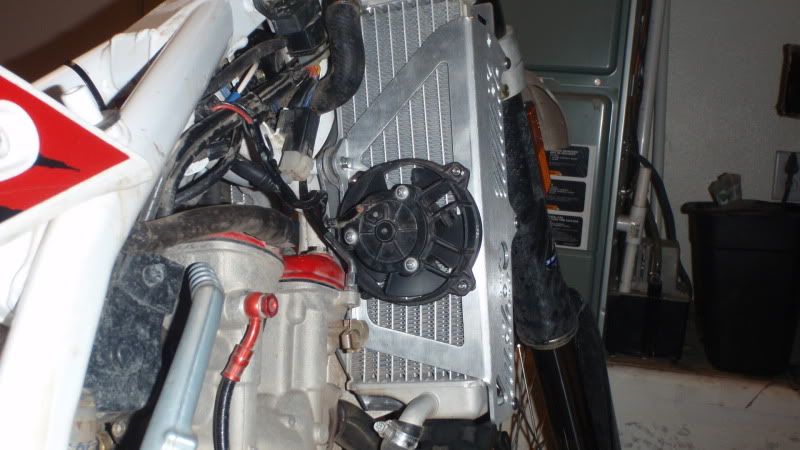
They seemed like they were very sturdy and offered a lot of front and side impact resistance. You will have to take the mounting bolts for the radiator off, but not the hoses. Keep the OEM washers. There are 2 bolts on the front and 1 in the rear.
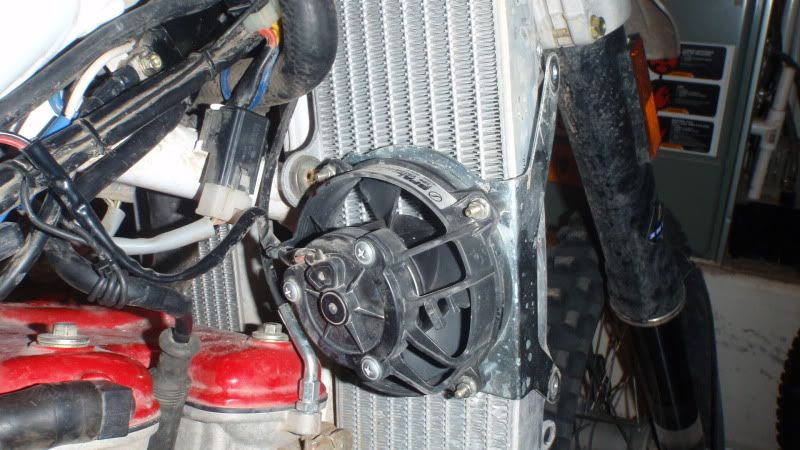
The rear bolt holds the fan and bracket assembly on. Move the fan out of the way and unbolt the bracket from the fan.
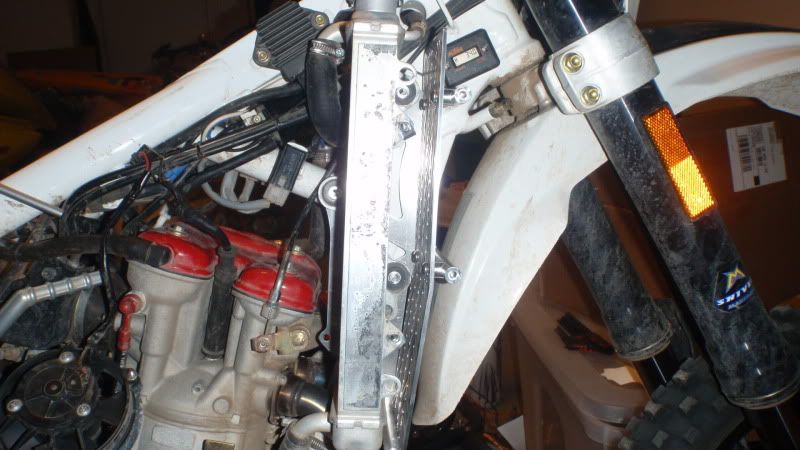
Next I took off the outside and back bracing off the brace and guard assembly, so that it was ready to slide in next to the radiator and the frame.
Now slide the inside plate and front guard between the frame and the radiator.
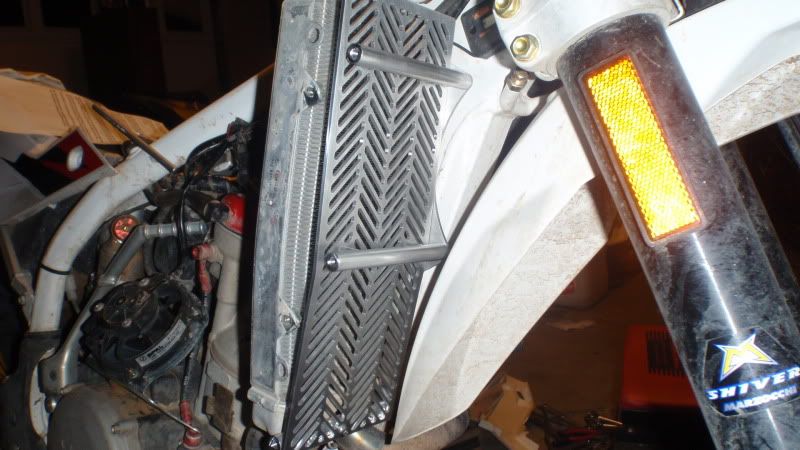
I then bolted the radiator and brace to the frame. I left the bolts a little loose so I could adjust anything if I needed to. This next part I did three times as I kept missing a step. This only applies to people with fans. You need to put the replacement fan mounting bolts in through the front of the rear brace. Be sure to not mount the rear brace to the rest of the assembly yet as you won't be able to tighten the mounting bolts. You want to mount the fan and tighten it down to the rear brace, then you can mount the rear brace on to the rest of the brace assembly.
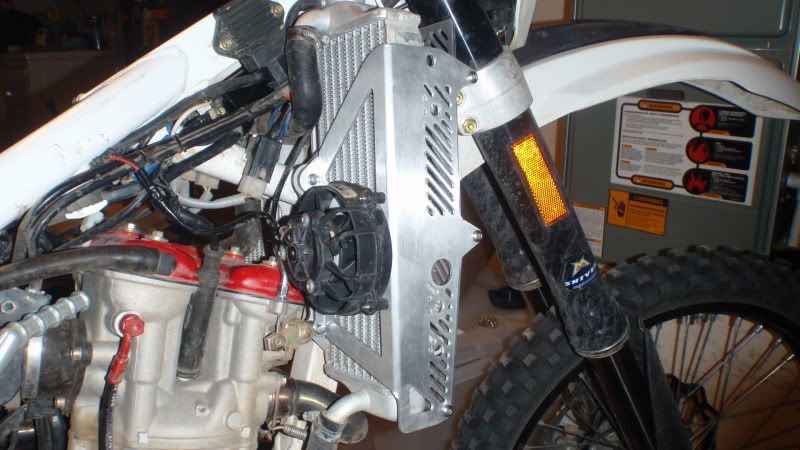
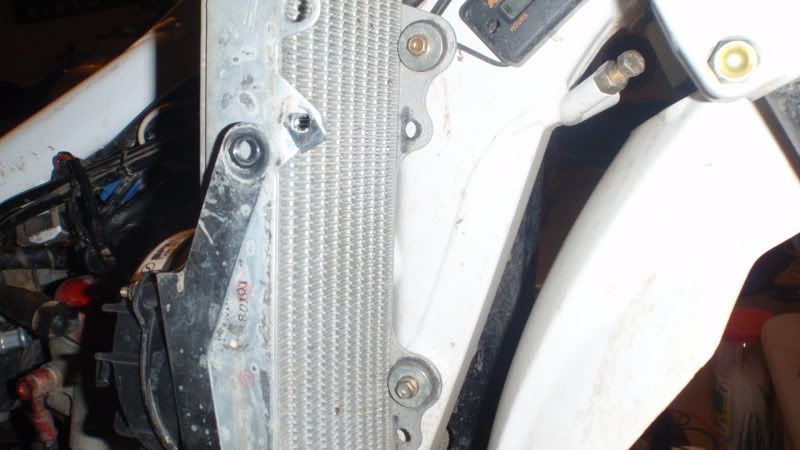
I did have some issues with the lower brace mount holes not lining up, but discovered that if I left the inside bolt loose and also the center mount bolt loose it would all bolt up fine and was good to go after that. Here is a front view of the assembled unit.

Will add info if I realize I forgot it or if you have any tips and tricks for the install.
I first started by assembling the complete assembly so that I would have an idea of how it went or any snags.
Front View
Back View
Out Side
Inside side
They seemed like they were very sturdy and offered a lot of front and side impact resistance. You will have to take the mounting bolts for the radiator off, but not the hoses. Keep the OEM washers. There are 2 bolts on the front and 1 in the rear.
The rear bolt holds the fan and bracket assembly on. Move the fan out of the way and unbolt the bracket from the fan.
Next I took off the outside and back bracing off the brace and guard assembly, so that it was ready to slide in next to the radiator and the frame.
Now slide the inside plate and front guard between the frame and the radiator.
I then bolted the radiator and brace to the frame. I left the bolts a little loose so I could adjust anything if I needed to. This next part I did three times as I kept missing a step. This only applies to people with fans. You need to put the replacement fan mounting bolts in through the front of the rear brace. Be sure to not mount the rear brace to the rest of the assembly yet as you won't be able to tighten the mounting bolts. You want to mount the fan and tighten it down to the rear brace, then you can mount the rear brace on to the rest of the brace assembly.
I did have some issues with the lower brace mount holes not lining up, but discovered that if I left the inside bolt loose and also the center mount bolt loose it would all bolt up fine and was good to go after that. Here is a front view of the assembled unit.
Will add info if I realize I forgot it or if you have any tips and tricks for the install.