dfeckel
Husqvarna
AA Class
I've had a couple instances of drown-outs through moderately deep water crossings with my 2008 CR 125. In both instances, I got water in the carb. The first time, I had the stock carb vent line setup, so I just figured I sucked a little water through the low-hanging vent hoses. The second time, I had Uptite's carb vent filter installed, with a T'ed secondary vent line up in the airbox. So I doubt the water got in that way. I suspect some water got sucked up through the gaping airbox drain port.
I figured some sort of one-way drain valve, like a check valve, would work. That would prevent water going in, but it would let any water out should I REALLY submerge the bike.
My first thought was some sort of aquarium check valve, but Petsmart didn't have anything that would work. Then I thought about something from Home Depot, but decided to just make my own.
Here's what you need:
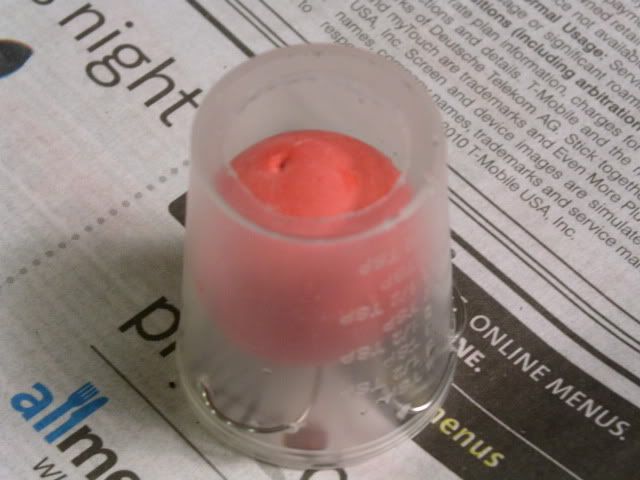
Children's Tylenol or similar tapered measuring cup
Floating foam or plastic ball (I used a ball from one of those cheapie elastic string paddle ball toys--my son will never miss it)
Safety wire
Silicone or epoxy or JB Weld
First, verify that the cup's diameter, measured at the bottom, is smaller than the ball's diameter.
Cut a large hole in the bottom of the cup so that the ball will seal against the hole.
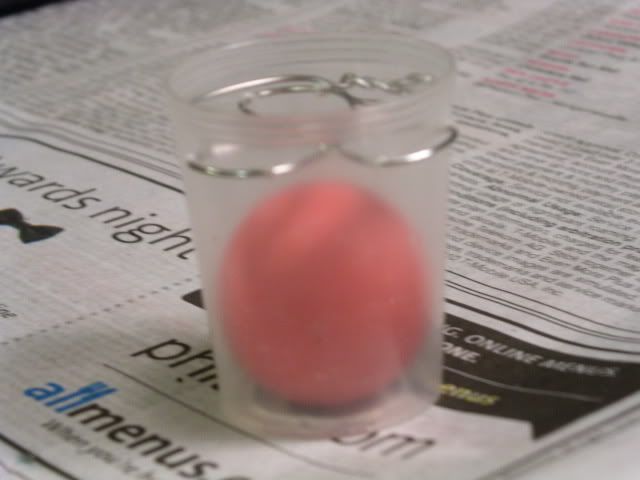
Put the ball in the cup and run some safety wire to keep the ball from falling out.
You need to use a utility knife to cut a semicircle out of the bottom the airbox so the valve can insert. I used a combination of RTV and some epoxy to block the airbox's drain port and attach the new valve.
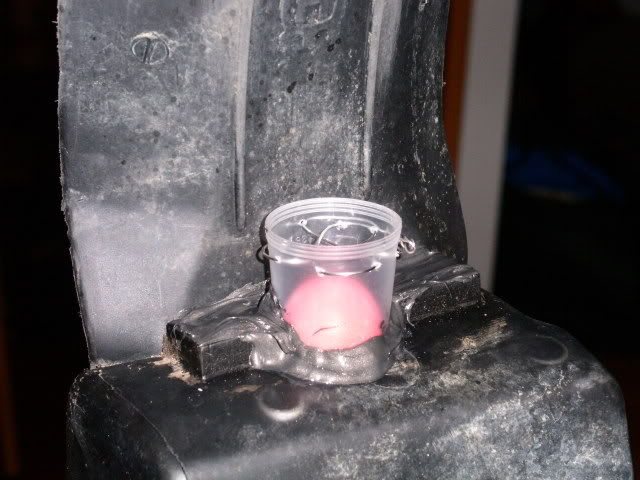
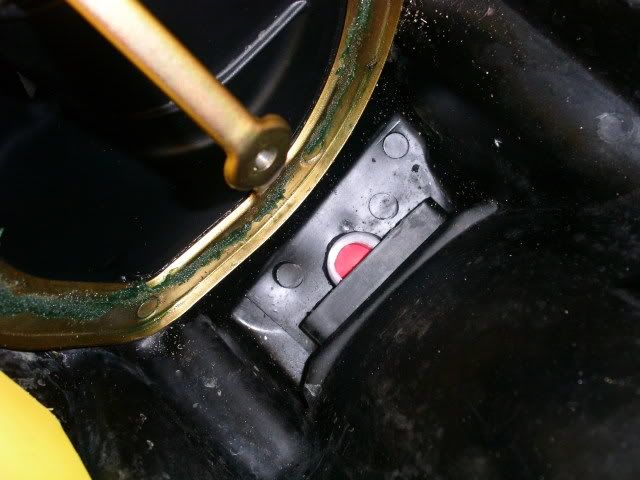
I had to trim away some of the bottom of the cup to clear the swingarm at full compression--you should pull the shock and verify that you have clearance. I will also safety wire the valve to either the mudflap or the airbox before I take it for a ride.
I tested the valve in the sink and it works great. It flows plenty of water going out, but not a single air bubble when I submerged it.
Hopefully this works--I'll update after my ride tomorrow--I'm sure I'll be finding water now that all the snow is melted...
I figured some sort of one-way drain valve, like a check valve, would work. That would prevent water going in, but it would let any water out should I REALLY submerge the bike.
My first thought was some sort of aquarium check valve, but Petsmart didn't have anything that would work. Then I thought about something from Home Depot, but decided to just make my own.
Here's what you need:
Children's Tylenol or similar tapered measuring cup
Floating foam or plastic ball (I used a ball from one of those cheapie elastic string paddle ball toys--my son will never miss it)
Safety wire
Silicone or epoxy or JB Weld
First, verify that the cup's diameter, measured at the bottom, is smaller than the ball's diameter.
Cut a large hole in the bottom of the cup so that the ball will seal against the hole.
Put the ball in the cup and run some safety wire to keep the ball from falling out.
You need to use a utility knife to cut a semicircle out of the bottom the airbox so the valve can insert. I used a combination of RTV and some epoxy to block the airbox's drain port and attach the new valve.
I had to trim away some of the bottom of the cup to clear the swingarm at full compression--you should pull the shock and verify that you have clearance. I will also safety wire the valve to either the mudflap or the airbox before I take it for a ride.
I tested the valve in the sink and it works great. It flows plenty of water going out, but not a single air bubble when I submerged it.
Hopefully this works--I'll update after my ride tomorrow--I'm sure I'll be finding water now that all the snow is melted...


