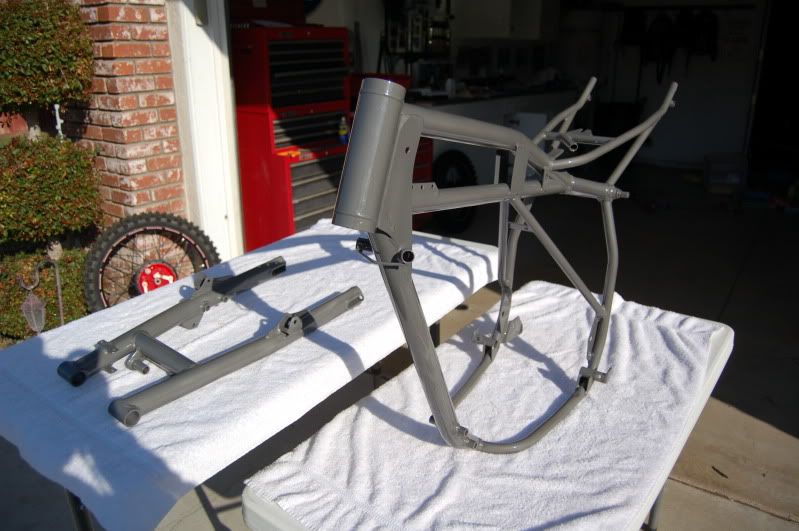
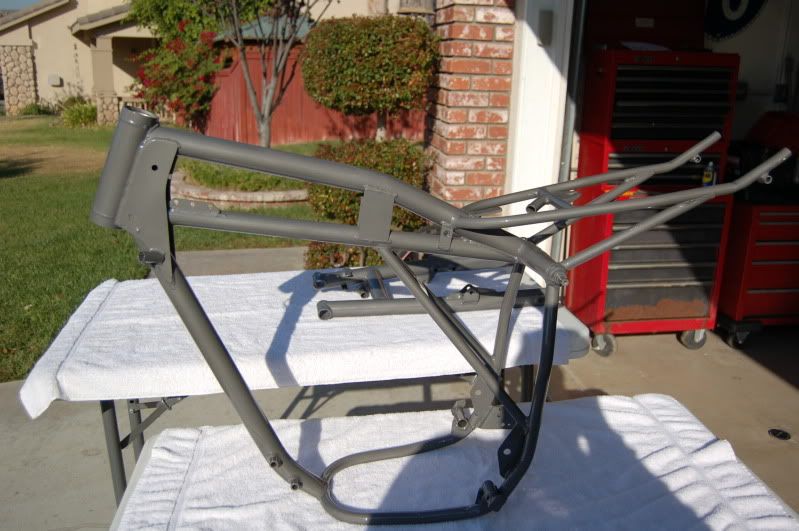
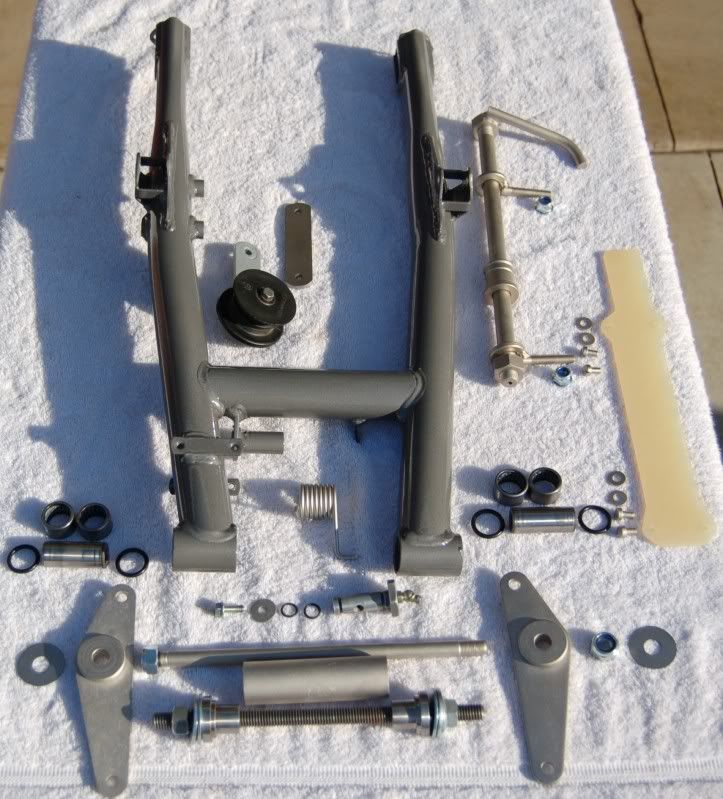
Swingarm is ready for restoration!
I now have all of my components
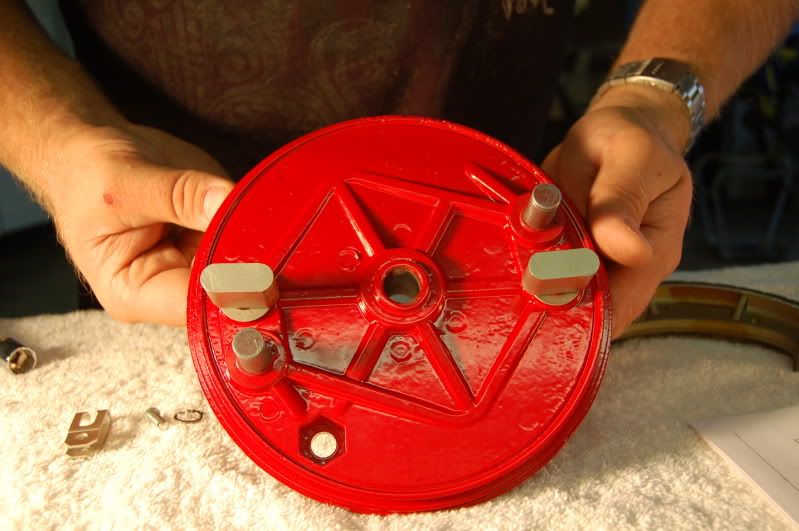
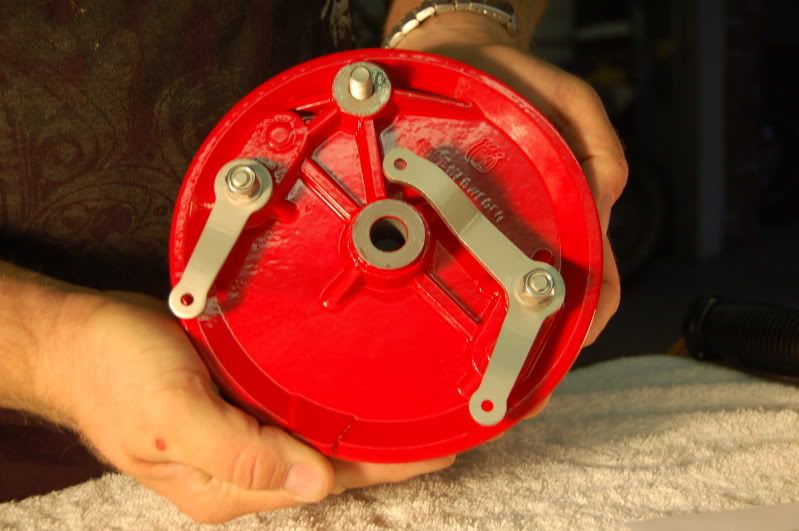
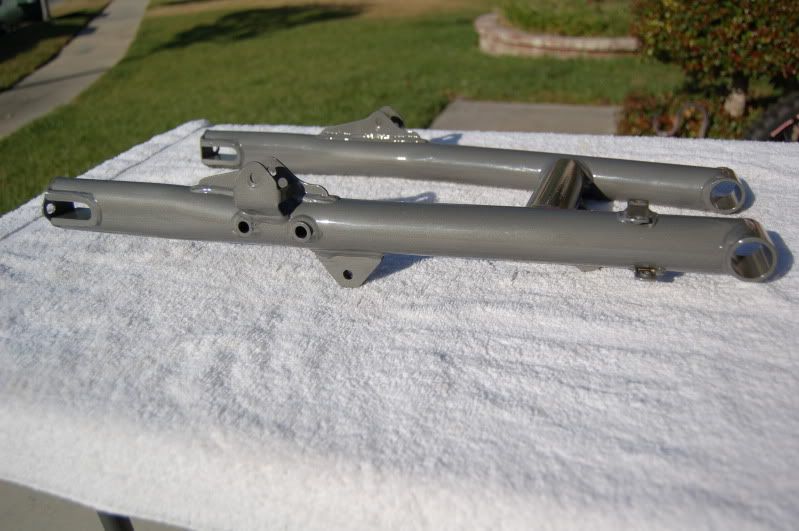
Titanium effect coated swingarm
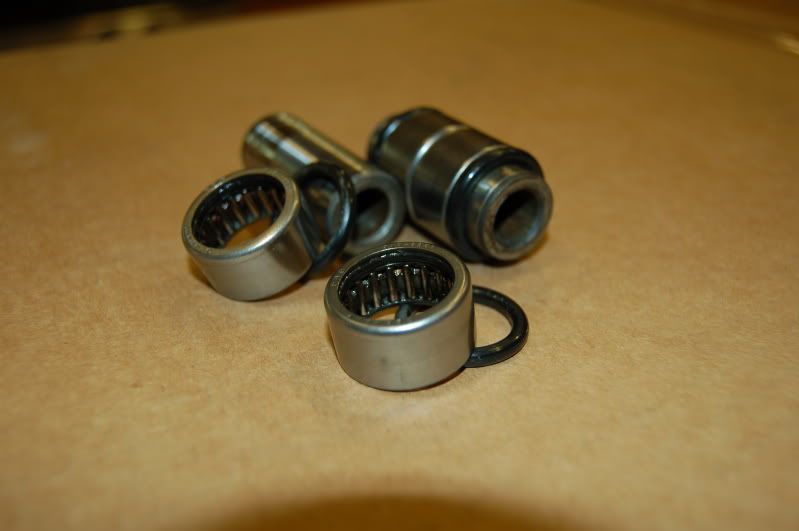
New German Bearings.
New O-rings
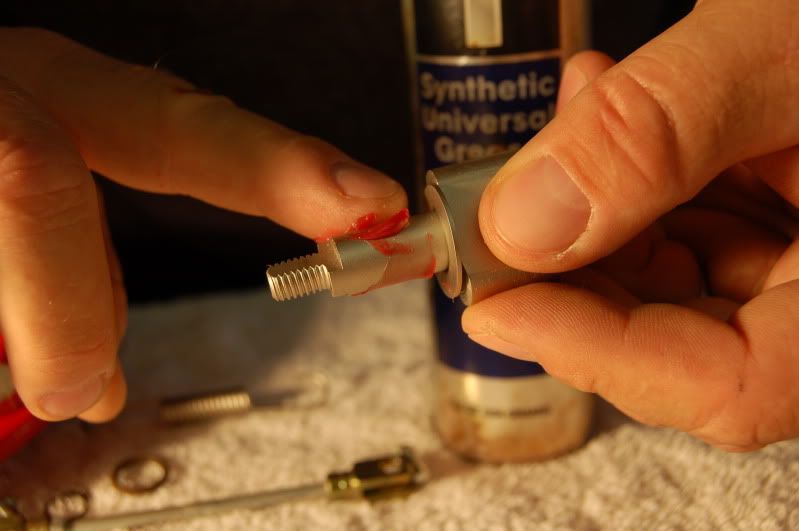
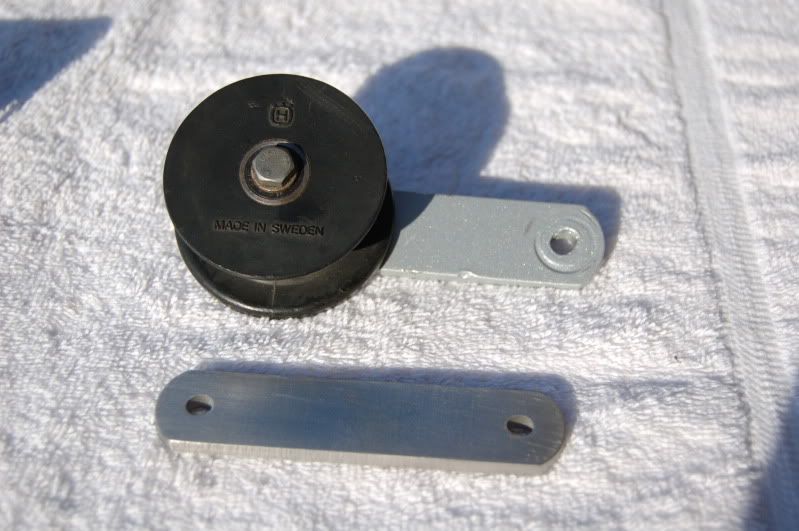
Uptite Chain tensioner with Greasable fitting
Restored DullElectroless nickel plated Motor mounts and swingarm bolt tube
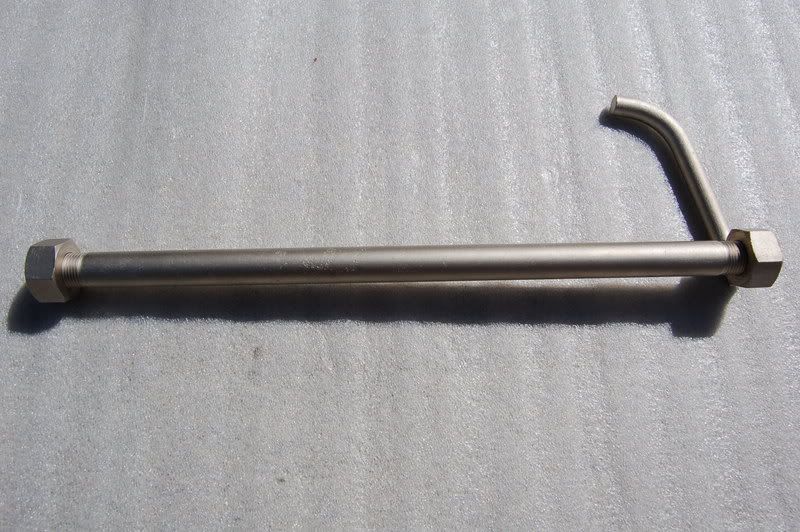
Restored Dull Electoless Nickel plated Swingarm bolt with new Blue nyloc nuts
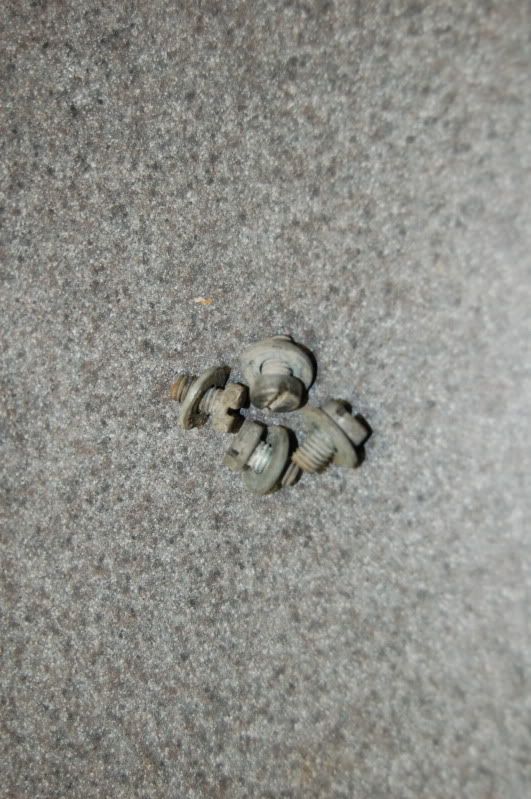
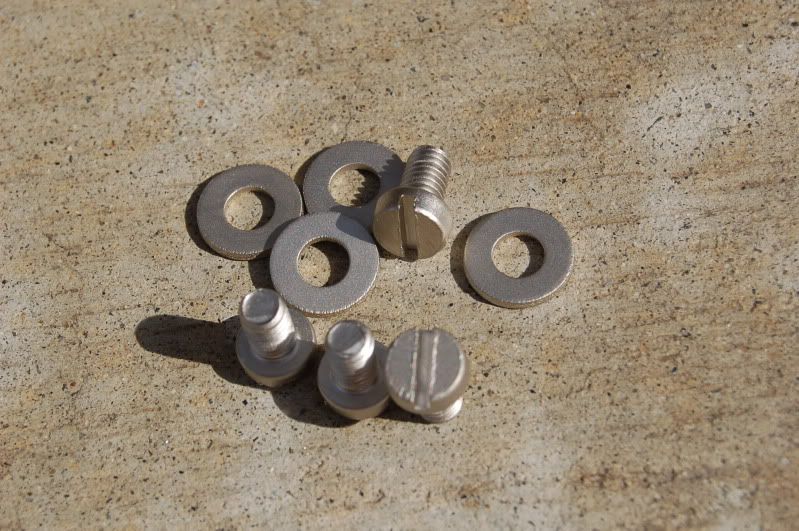
Restored Dull Electroless nickel chain wear pad screws and washers
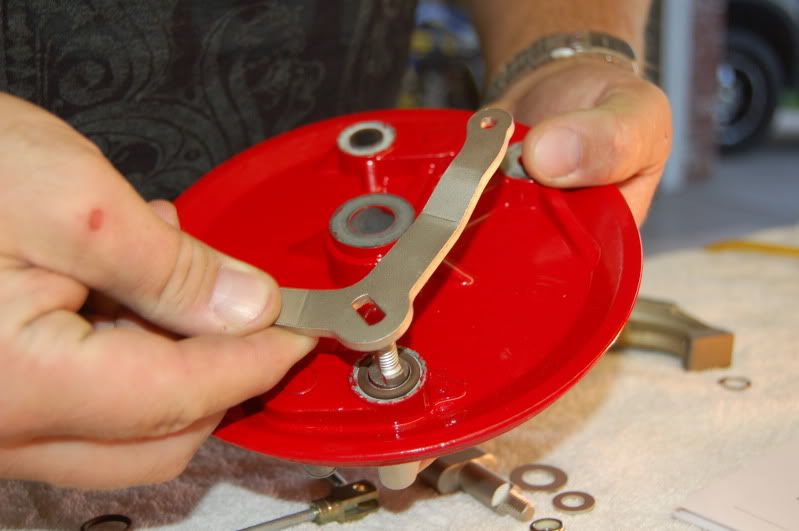
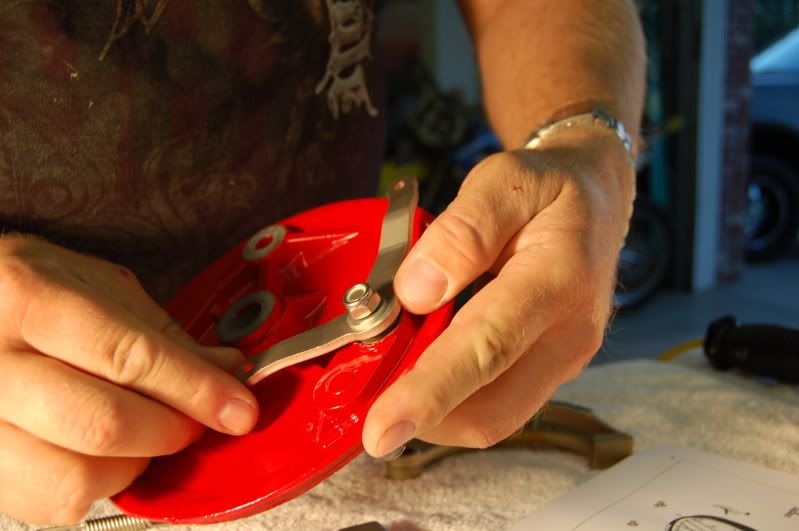
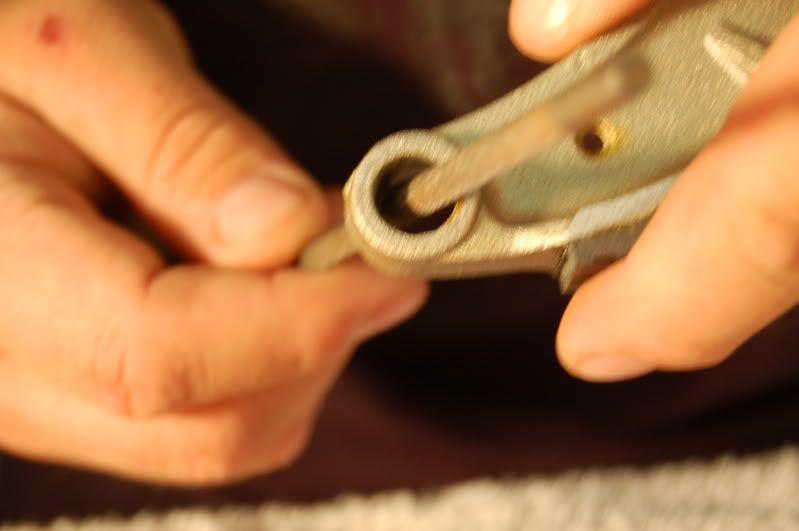
New SST chain tensioner arm
New SST swingarm wear washers
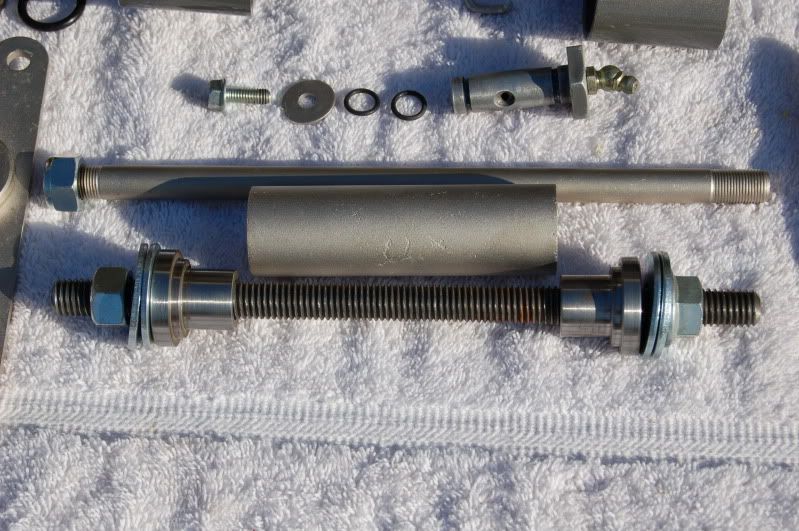
Restored Dull Electroless Nickel plated "Quick Pull" rear axle, chain adjusters, spacers and nuts
New Chain Friction wear pad
Home made Bearing install tool
Bearing spacers miked for matching size
Pics as follows:
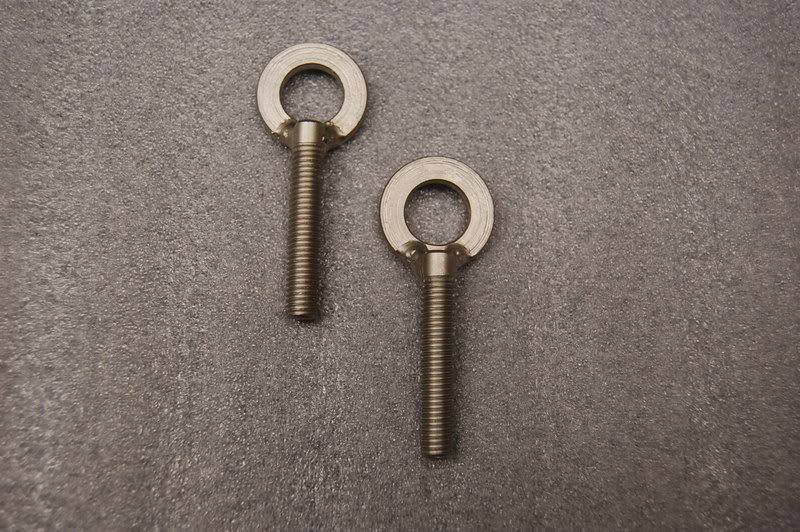
New SST Tensioner arm... look at the old one... worn out, slopped out hole, thinner:
Restored Chain tensioners:
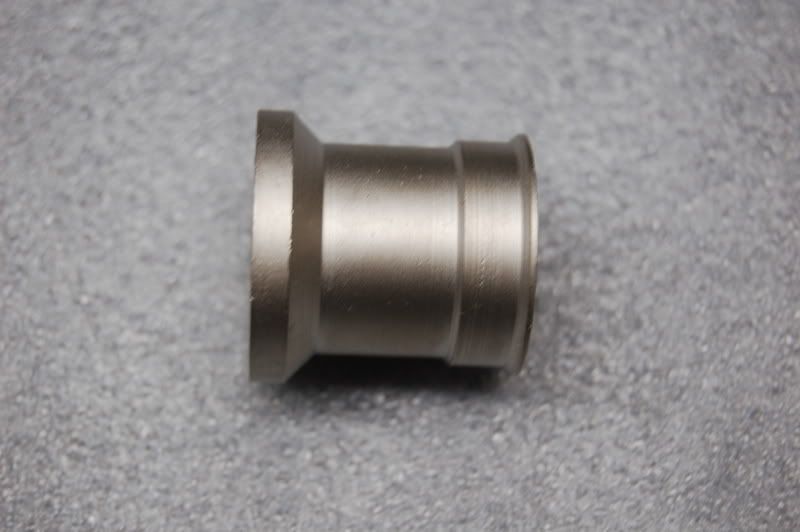
Restored Spacer:
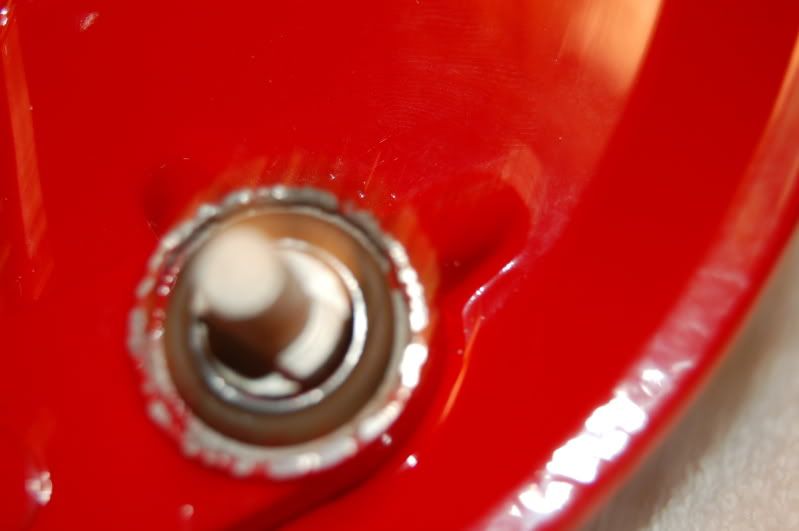
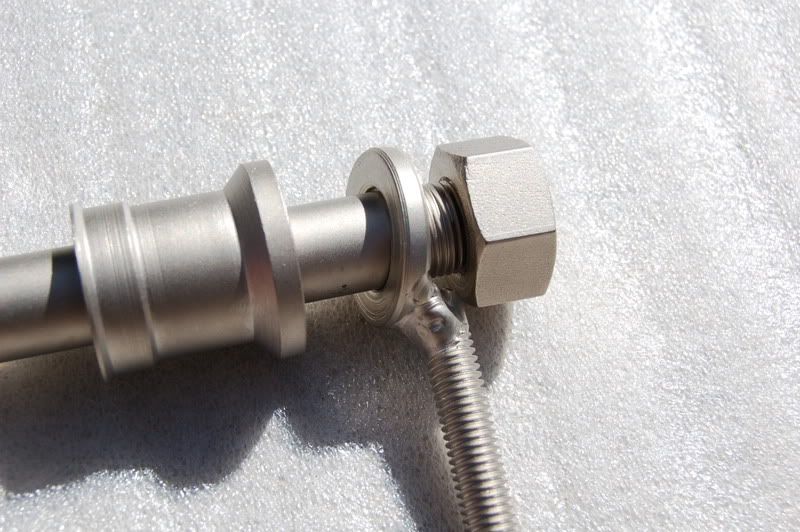
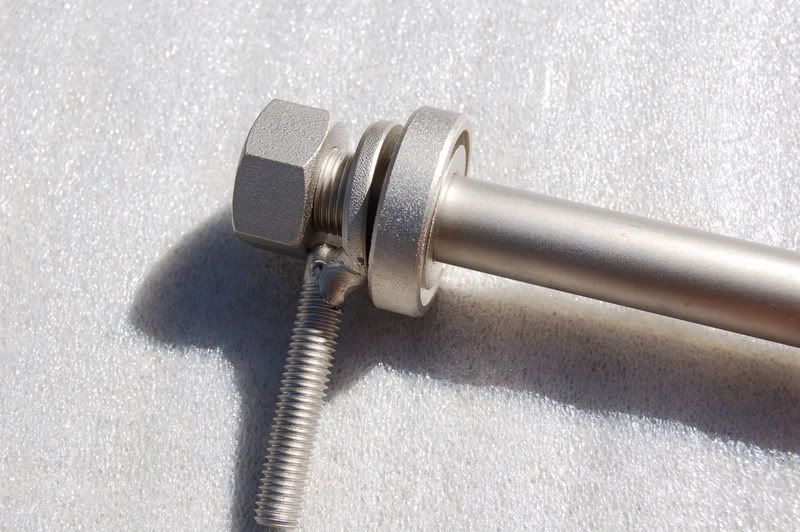
Restored Axle
Restored axle right side of bike:
Axle Quick Pull:
New Bearings and O-rings
Friction pad bolts before:
Friction Pad Bolts and washers after Dull Electroless Nickel Plate:
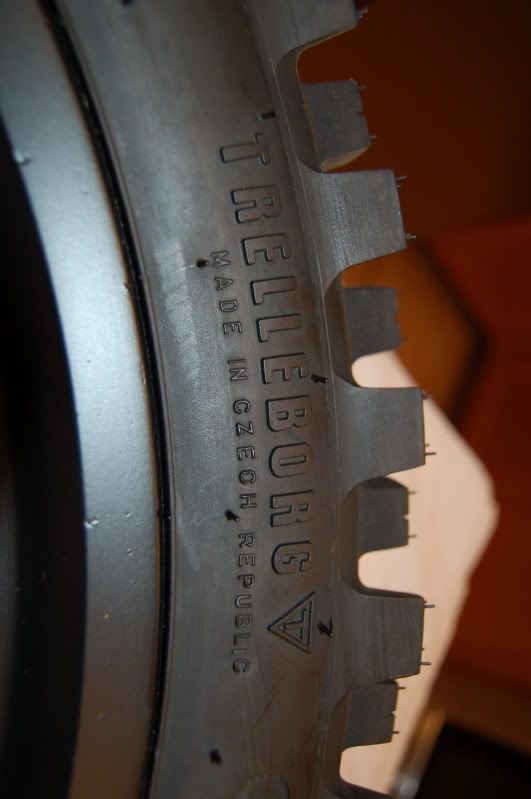
T