-
Hi everyone,
As you all know, Coffee (Dean) passed away a couple of years ago. I am Dean's ex-wife's husband and happen to have spent my career in tech. Over the years, I occasionally helped Dean with various tech issues.
When he passed, I worked with his kids to gather the necessary credentials to keep this site running. Since then (and for however long they worked with Coffee), Woodschick and Dirtdame have been maintaining the site and covering the costs. Without their hard work and financial support, CafeHusky would have been lost.
Over the past couple of weeks, I’ve been working to migrate the site to a free cloud compute instance so that Woodschick and Dirtdame no longer have to fund it. At the same time, I’ve updated the site to a current version of XenForo (the discussion software it runs on). The previous version was outdated and no longer supported.
Unfortunately, the new software version doesn’t support importing the old site’s styles, so for now, you’ll see the XenForo default style. This may change over time.
Coffee didn’t document the work he did on the site, so I’ve been digging through the old setup to understand how everything was running. There may still be things I’ve missed. One known issue is that email functionality is not yet working on the new site, but I hope to resolve this over time.
Thanks for your patience and support!
- Husqvarna Motorcycles
- Husqvarna Motorcycles - Sweden
- Vintage/Left Kickers
- Vintage Restoration Projects
You should upgrade or use an alternative browser.
1979/80 CR390 Works Hybrid Project - Passion Inspiration Action
- Thread starter HuskyT
- Start date
Moody390;76578 said:Beautiful mate!
Is it possible to get a complete parts list and number list (including suppliers) for that entire setup including the 3 cables you will be using?
Moody,
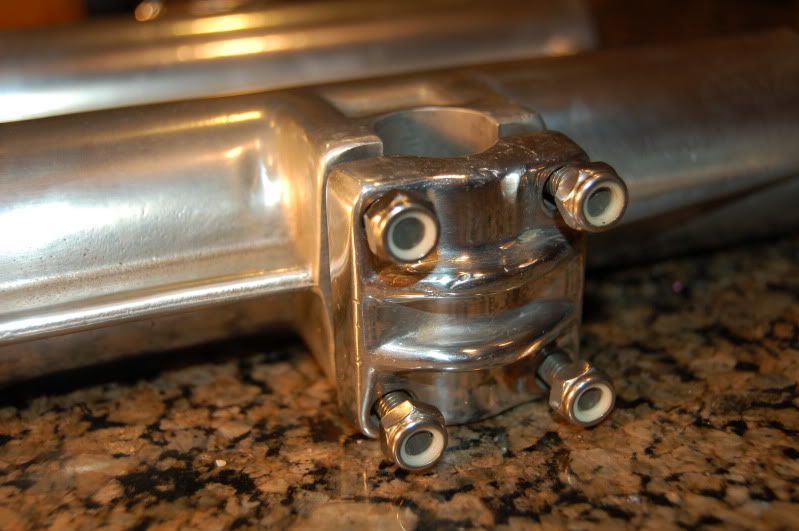
top clamp is Scotts Performance Part # 854025
Bottom clamp is BRP 29 mm fat bar riser ( no offset)
( note BRP custom CNC machines all of Scotts Performance Parts)
Bars are 2010 Protaper Evo Windham RM Mid ( available anywhere you can buy Protapers
Vintage Sunline perches and shorty levers are vintage restoration by myself
Cables - I have Motion Pro standard black cables. Am going to buy the stainless braided cables from Phillip
http://www.motionpro.com/motorcycle/partno/01-0057/I have a new Gunnar Gasser too but prefer the look of the Motion Pro Turbo
www.scottsperformance.com
www.cyclegear.com (bars)
www.BRP.com also site sponsor here
Hwy;77350 said:T,
What is the process for custom stabilizer mounts. Did you send them your upper triple clamp?
Yes!
I sent them my top triple...along with complete old bar mounts with steel spacer tubes and old conical rubbers ( needed to determine proper bar mount bolt length) to Scotts Performance
Ask for Steve or Eric
They turned around my set up in 2 days.
Not sure if they have any more of the single piece top mounts PN# 854025. They told me it was the last one they had.... will not set up again unless they run 25 units.... I have the same exact 854025 on my modern TC450 so I think they should be making more of these. I'm swapping out my Scotts damper between both new and vintage bikes.
My configuration moves the bars forward 30mm from stock and up 20 MM over the original 1980 mounts that were angled to the back. Steve feels this will make the bike turn better and give me a better riding/racing position based on my size ( 6 ft) based on his years of Husqvarna riding /racing experience.
The ProTaper EVO Windham RM Mid gives a total rise of 3.900
If I don't like the height, I will switch to a CR High Bend
T
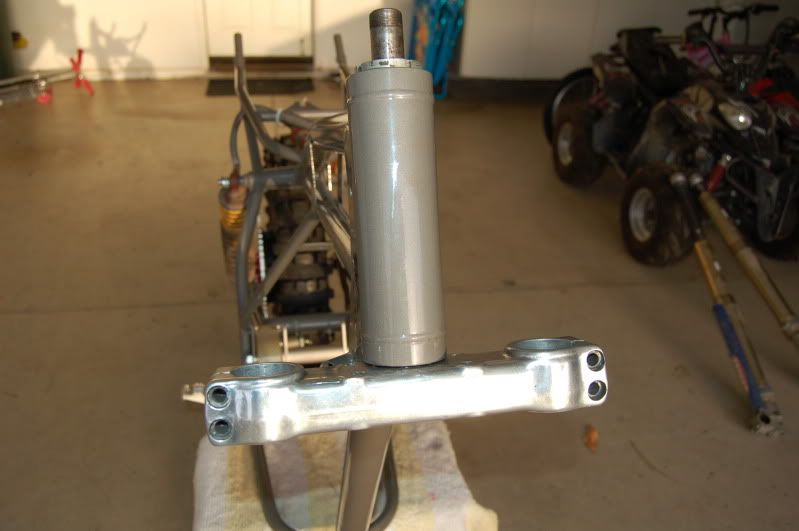
Wow! Has it been over a month since I worked on my baby???
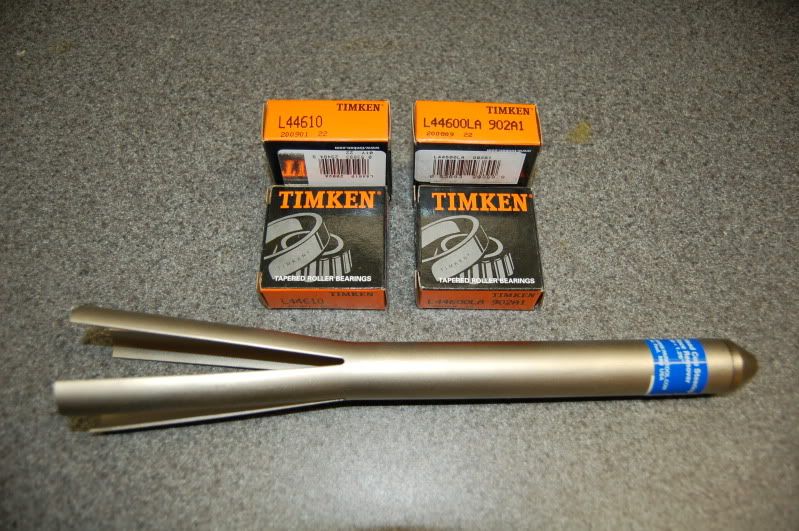
Waiting for this tool to come in to make life a whole hell of a lot easier. Worth every penny! $27 + shipping.... now in my tool box where I will see it again in a few years!!!
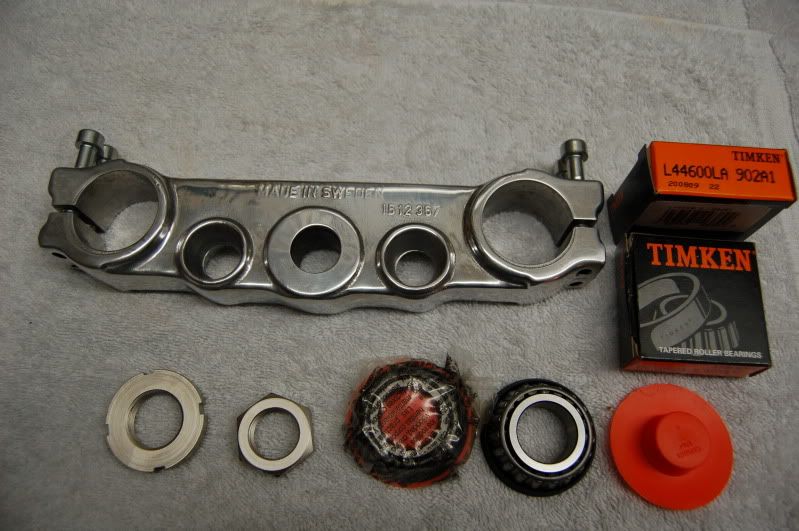
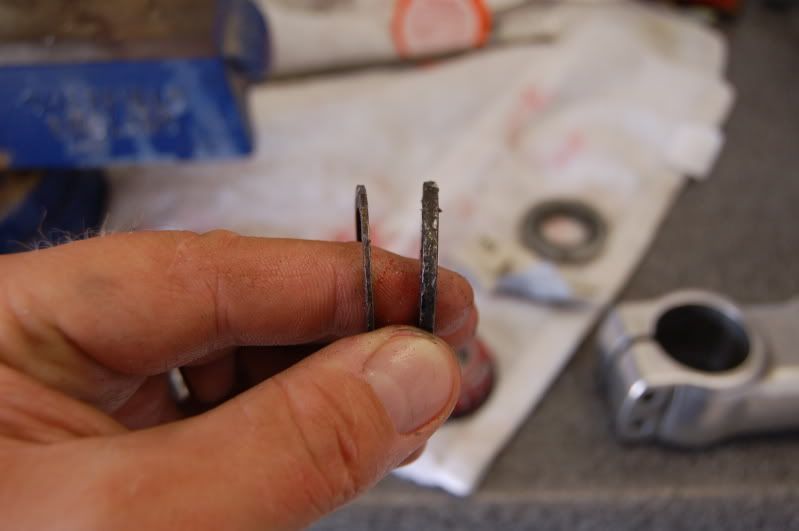
Park Tool RT-2 Steering Head Race Remover , new bearings and races:
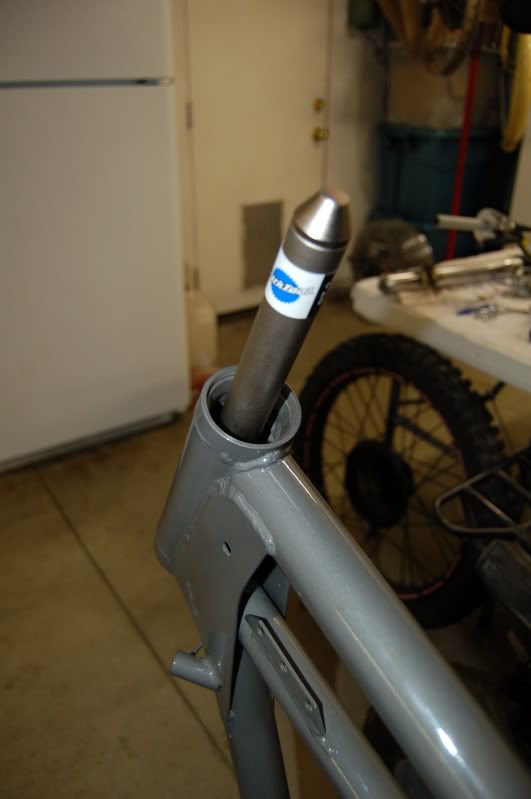
Driving the bottom race out.... this tool really does not grab much meat on the race... had to spin it several times to find a place where it would grab the race. Tried using a rubber mallet.... these races are in there tight and have been there for years.... switched to a 2 lb steel hammer... that will do the trick:
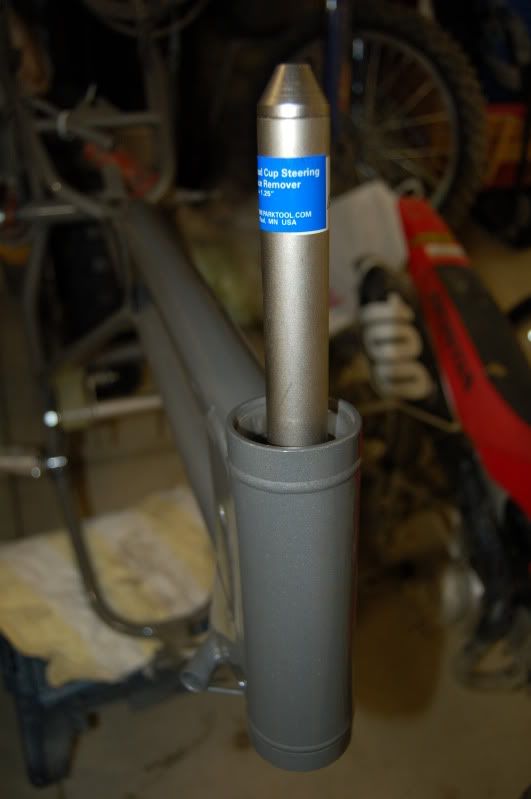
And another view:
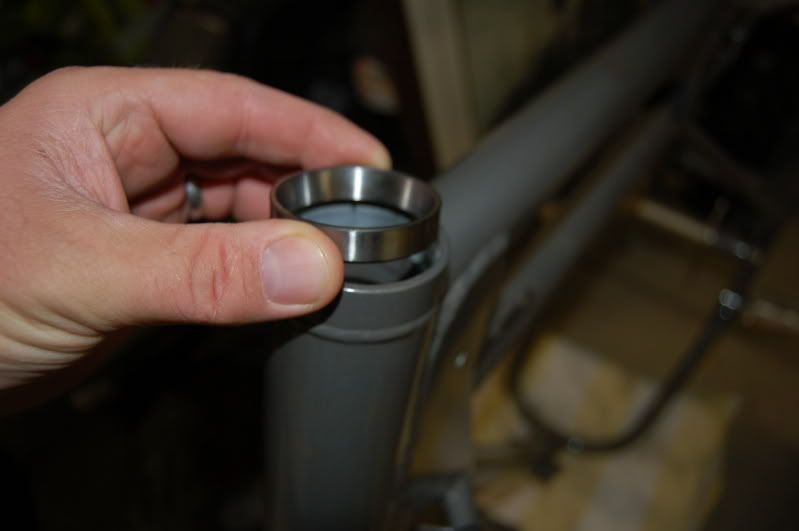
Putting the new top race in after cleaning out all the old crap from the stem itself... I lined it up and gave it a good smack with a soft rubber mallet to set it in place:
Bottom race installed. I did this by lying the frame on the floor and again setting with a rubber mallet and using the bearing install tool to pound it all the way in until it was seated home:
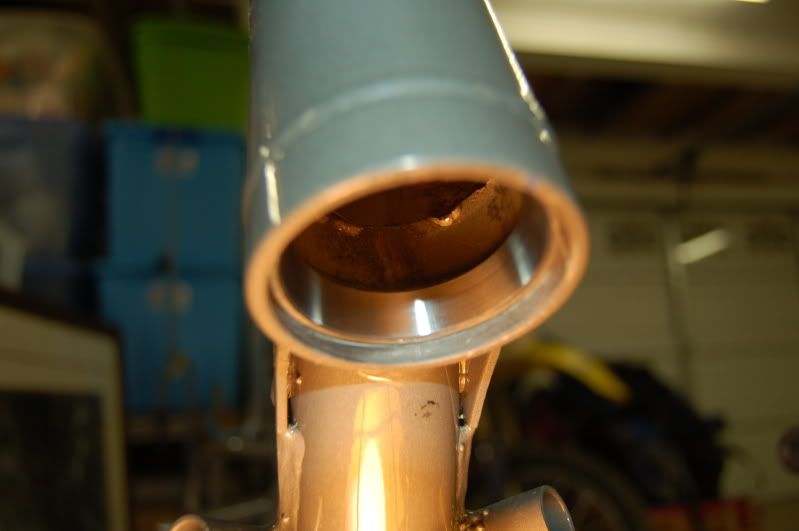
Time to pop the stem and lower triple in the freezer for bearing install.
T
schimmelaw
Husqvarna
AA Class
Have missed your project updates. Thought you might have gotten sick, had a bad moto crash or got kicked out the house. Glad to see updates.
That race removal tool is CHEATING!!! Your supposed to use a long punch, bad ass 2lb. ball peen hammer, hit your hand a couple of times w/ that hammer and get bruised or bring blood - then and only then have you done it the RIGHT way. Cheater. Cheater. Cheater. (in real real small print - can I borrow it for my next race removal? and promise me you won't tell anyone.)
Rick
schimmelaw;85785 said:HT,
Have missed your project updates. Thought you might have gotten sick, had a bad moto crash or got kicked out the house. Glad to see updates.
That race removal tool is CHEATING!!! Your supposed to use a long punch, bad ass 2lb. ball peen hammer, hit your hand a couple of times w/ that hammer and get bruised or bring blood - then and only then have you done it the RIGHT way. Cheater. Cheater. Cheater. (in real real small print - can I borrow it for my next race removal? and promise me you won't tell anyone.)
Rick
Was sick for a week. Corona Girls softball three days a week . Coaching little league three days a week. Working two jobs . Knotsberry Farm! Rode moto 2x times to relieve stress .. no time for my baby!!!
Cheating!!! Yes!!!I busted my knuckles with a punch several times before giving up.. my stem tube is so large there is hardly anything to grab on the race itself... the new tool barely even caught an edge... best $27 ever spent...
T
schimmelaw
Husqvarna
AA Class
Rick
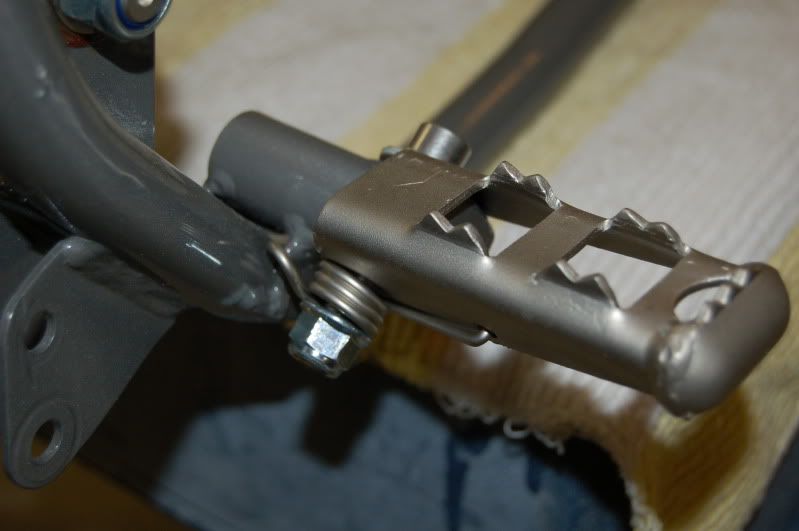
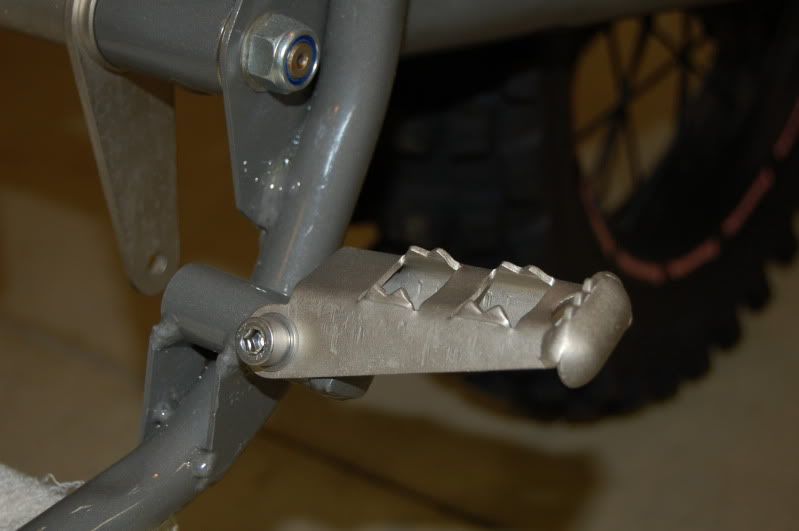
Nothing as exciting as putting the footpegs back on...
Fully restored with Dull Nickel Sulfate on both Pegs and springs. Got rid of the old Bufo bolts in Favor of new SST 316 Allen Heads and new Blue ring lock-nuts from Phillip!
Right side Rear view with spring and nut:
Left side front View:
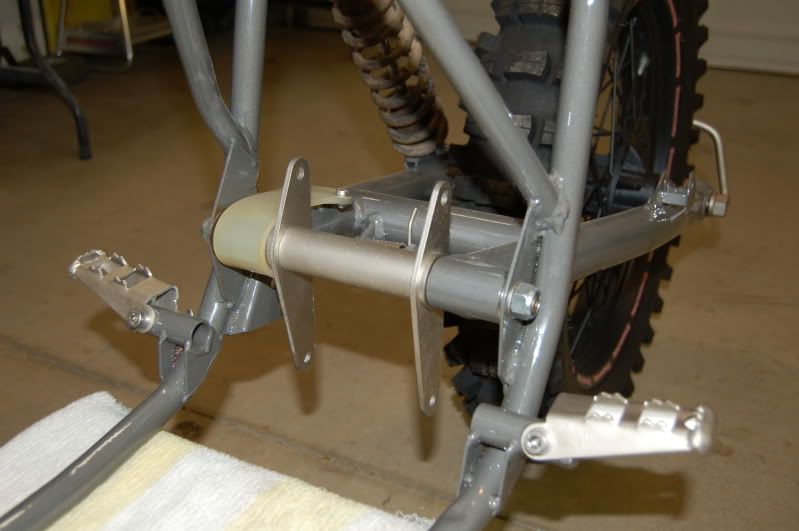
Front view both pegs:
T
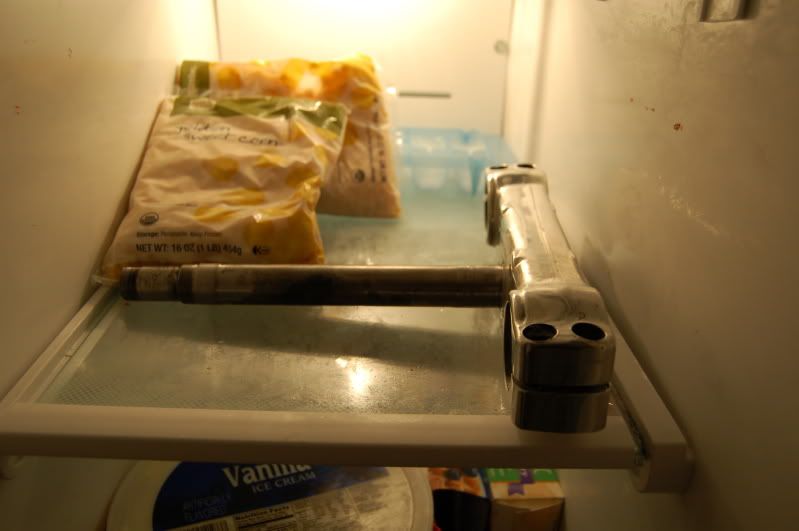
Ok .. the stem has been in the freezer overnight... now I am getting all the essentials ready for install....
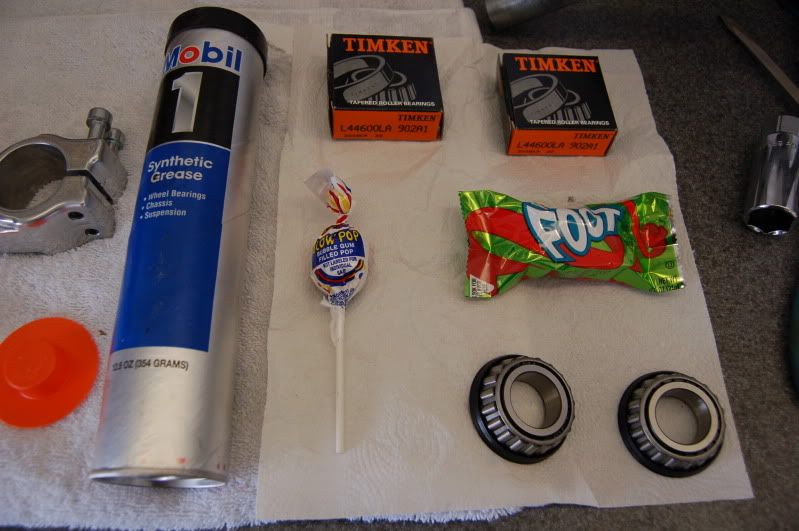
Why do I have a Blowpop and a Foot of Fruit Rollup?
This is why... a frosty freezer stem and a helpfull son!!!

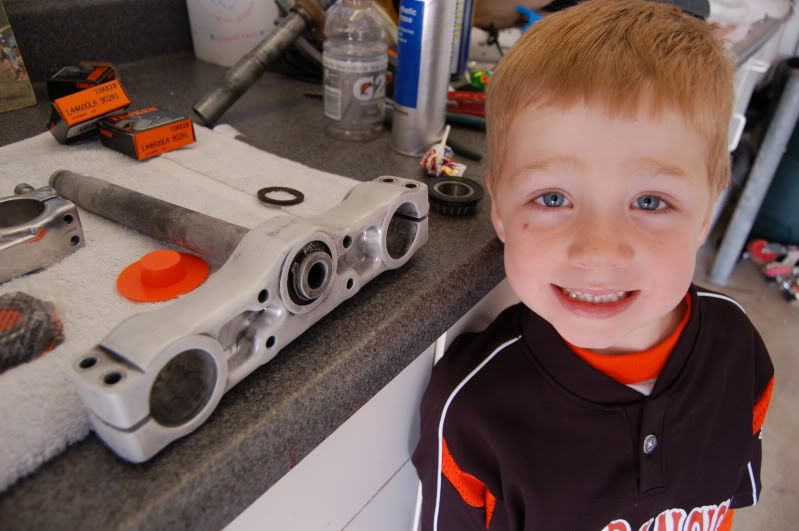
Hired help is fading fast...... maybe I should have gave him the Blowpop after we finished....

Choices on the washers.. HMMNNNN?
Went with thick washer and plenty of Mobil 1 synthetic grease........ note that it will not go down all the way, even with the stem frozen overnight ... I had to tap it all the way down:
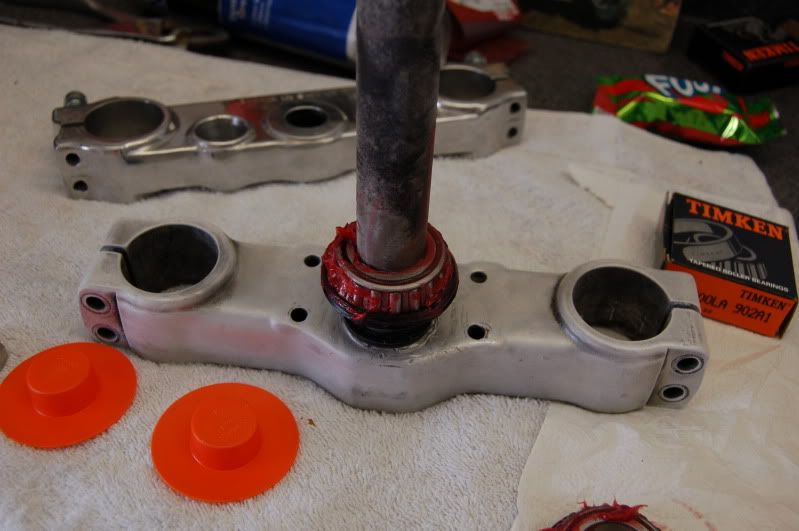
This is not the correct gap.... washer is to thick...

 Time to strip it off... this sucks...
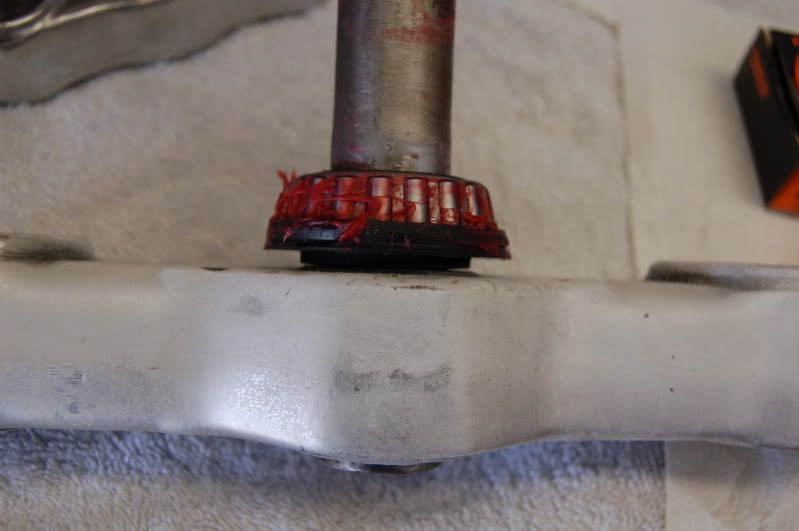
After the faulty trial fit up, I know now the thin washer is the one to use... note that it will fit perfectly into the rubber seal area around the bearing itself....:
Proper gap now with thin washer under lower bearing ( note that I used an old tabbed locknut for trial fit up:
Fully restored with Dull Nickel Sulfamate Plating tabbed locknut... note orientation with step down to fit into and against seal area on bearing:
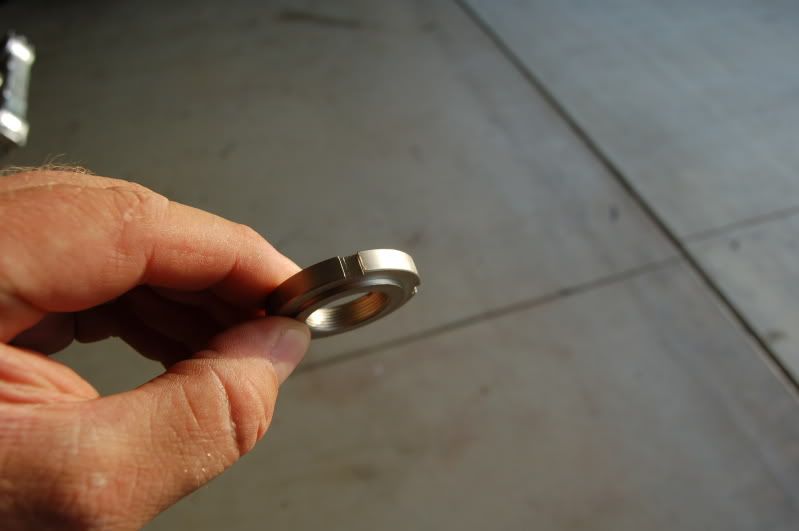
Detail top view of tabbed locknut... I took it to very snug and then backed off 1/8 of turn... turns nice but firm... not to tight:
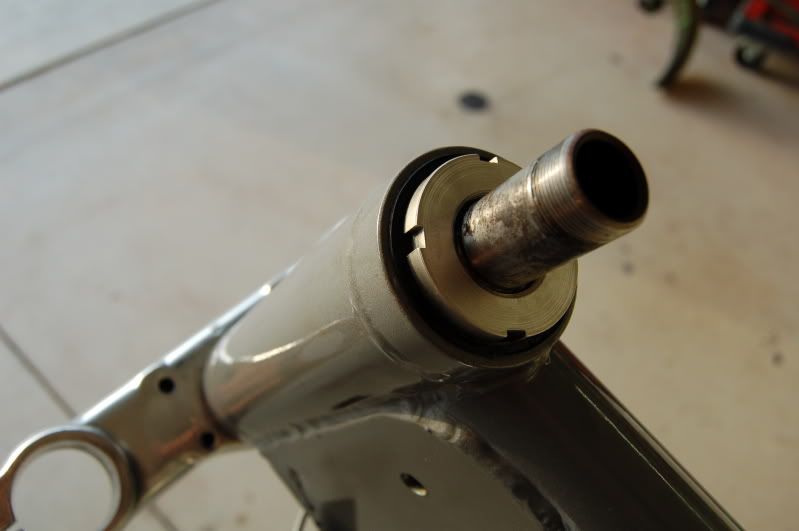
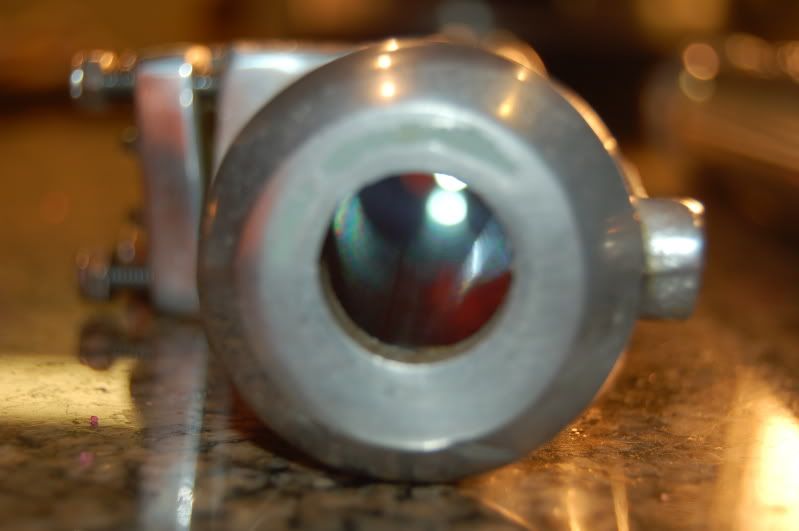
Top Triple is now in place with fully restored and similar plated 32 MM retaining nut:
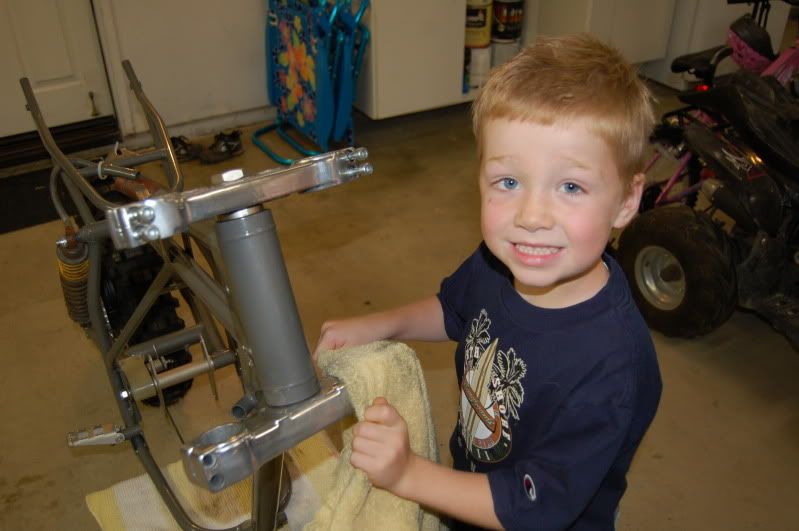
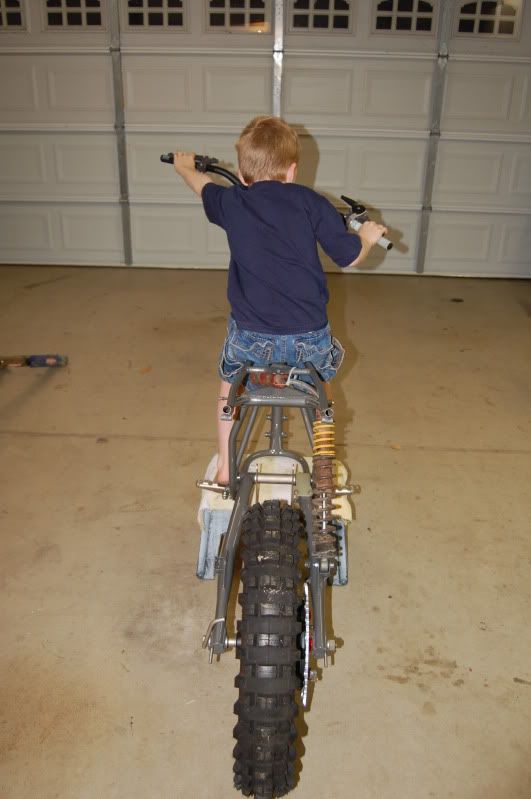
Dad... can I stop polishing now?
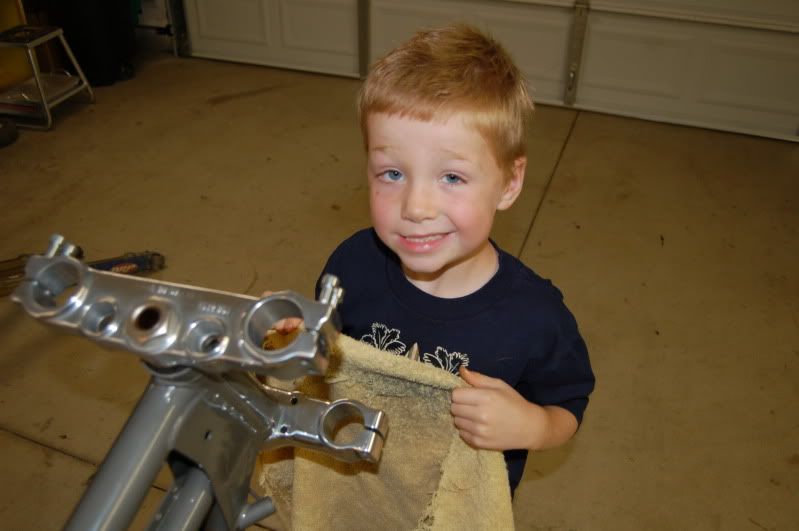
Pretending is fun!
T
Leftcoast leftkicker
Husqvarna
AA Class
schimmelaw
Husqvarna
AA Class
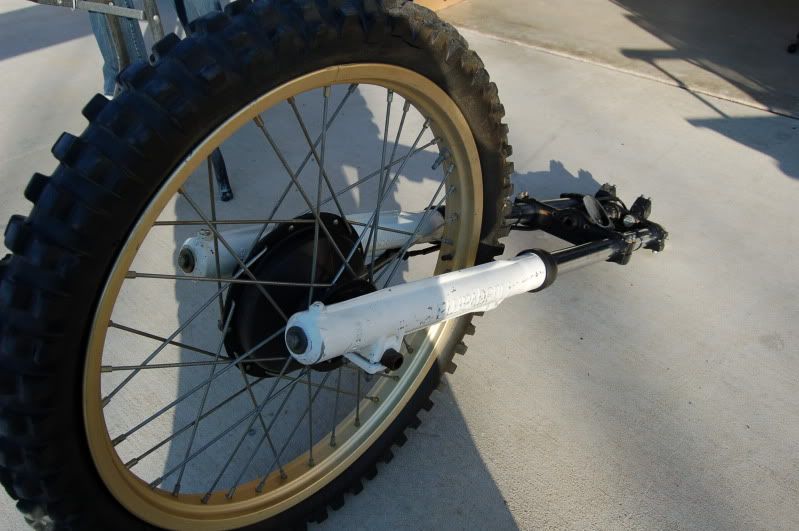
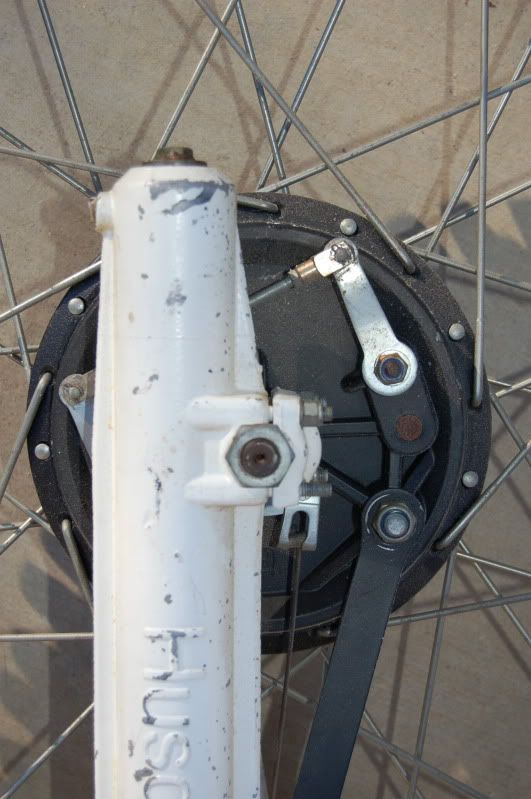
Progress looks good. What is that nasty thing bolted up to the swingarm holding it up? It doesn't look like wood.
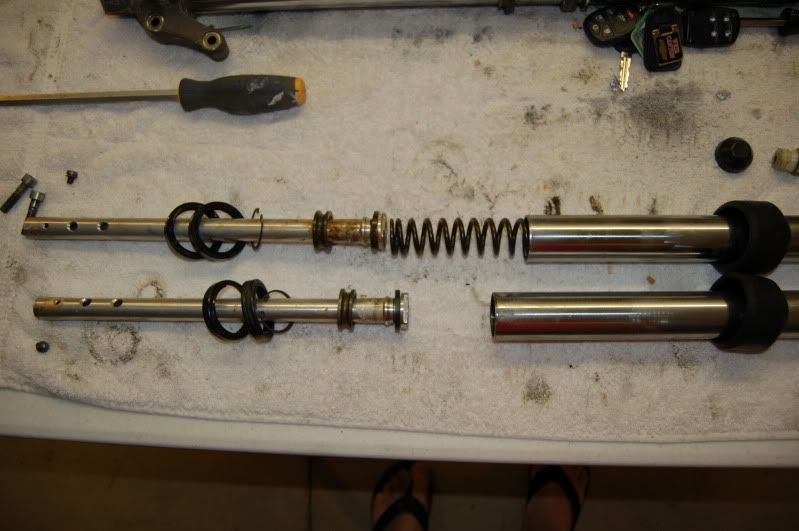
Here is the start of my fork restoration.... starting at dis-assembly:
I have never taken a set of these apart so this is kind of fun...any of you guys tell me if I am missing anything? IS everything correct with the damping rod, two seals lock ring spacer, top out washer spring and fork tube.. see picture:
1983 CR500 Husqvarna forks internal:
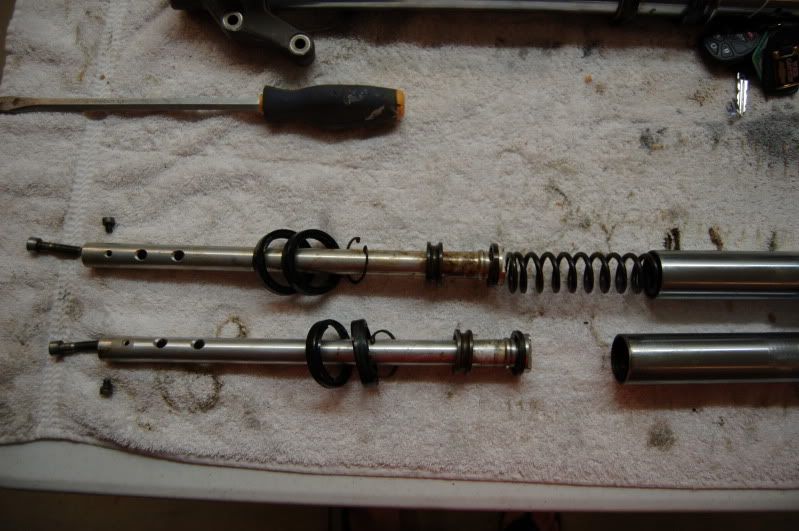
Post up any thoughts guys.. again, first time I have had a set of these apart.
Where does the gold valve emulator go once I get it?
Note: Edit 4/8/10 HuskyT - Pic is missing the conical washer that goes at the bottom of the damper tube!
T
Moody390
Husqvarna
AA Class

Keep up the pictures.
How did you go with the part number for the lower clamp? I'm tempted to hop on the mill and machine some up myself actually.
As usual, Top Stuff!
Moody390;88836 said:Good on you for giving this a go. I tried, but the bolt on the bottom just kept spinning, so I dropped them in the local Kawasaki Dealer for a rebuild. Ever priced re-chroming the tubes? Ouch!!!
Keep up the pictures.
How did you go with the part number for the lower clamp? I'm tempted to hop on the mill and machine some up myself actually.
As usual, Top Stuff!
Would you believe mine both came off using an allan wrench... not even an impact... Mind you they have been sitting dry for quite a while... maybe that helped...
I will have information for you tommorrow on the bottom bar clamp part number. Eric is out today at Scotts Performance. Left a message for him. I now remember that I bought them through Cycle Gear .. he could not find it originally looking under my name.
Hope to have an answer sometime tomorrow ) have not been able to find my copy of the receipt. ( and I have looked!) Pics are worth a thousand words... some of them may seem really simple but the simpler the better if you have never done this before. Hope it helps.
I just priced out diamond coating the shafts at $450 plus shipping. A little pricey for me!
T
So I stripped apart my fork tubes last week. Want to do soemthing different for my bike. Before I go to far though I wanted to make sure all was good so I took a drive over to Race Tech and met with Luis and Matt Wiley. Matt gave my tubes a good review and told me the bushings, considering they were originals from 1983 were in extremely good condition ... almost like new in fact**************************************** Lovin' it!
I had them stripped and cleaned in an industrial degreasing tank and then blown out with High pressure air . You would not believe all of the junk that came out of the lowers!
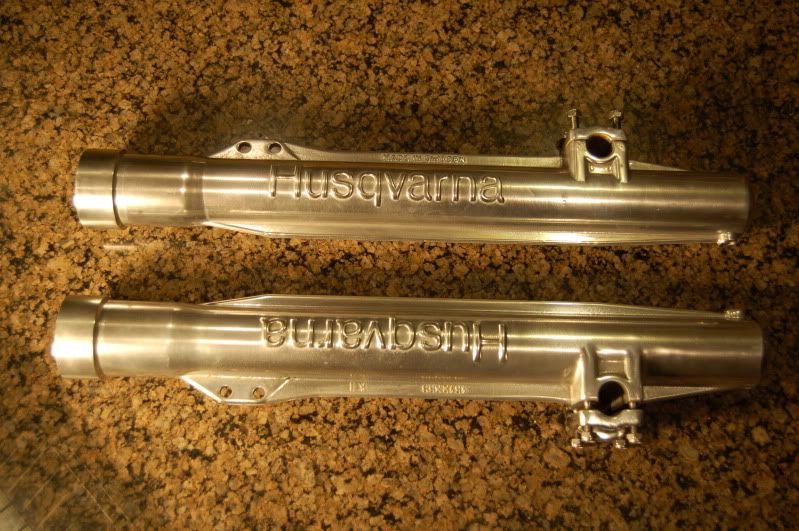
I'm going with a full polished look... no paint for me...
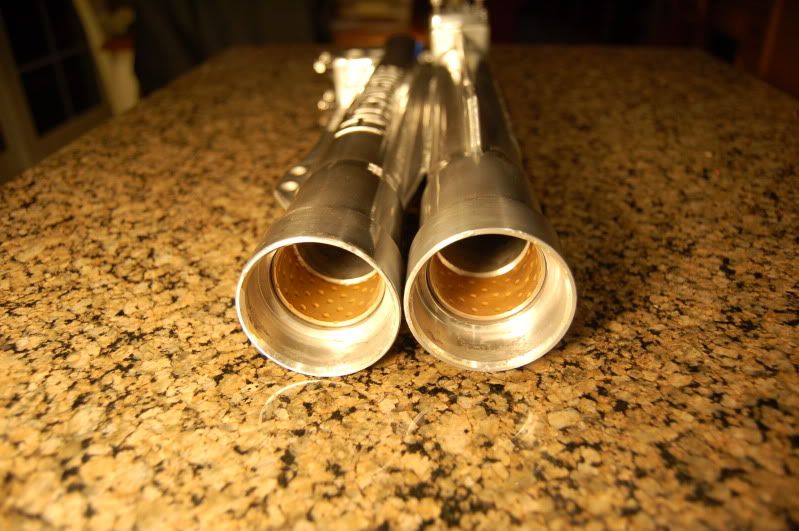
Polished lower tubes:

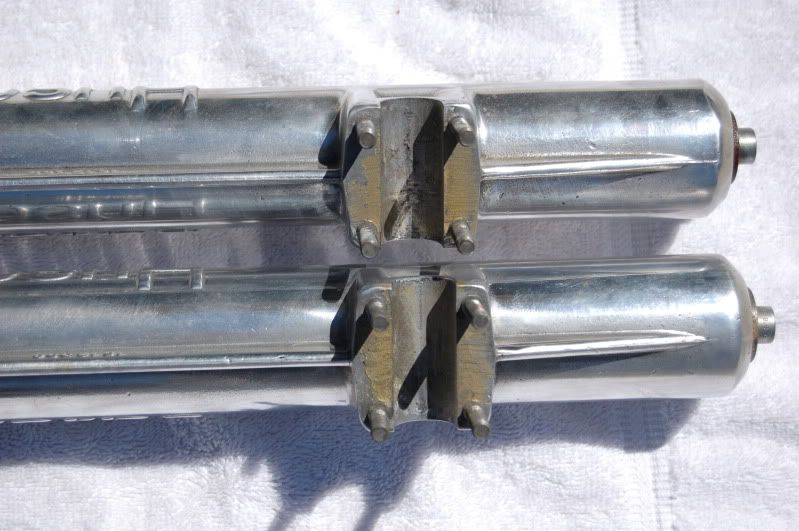
Polished axle clamps and cleaned threads with new SST lock nuts:
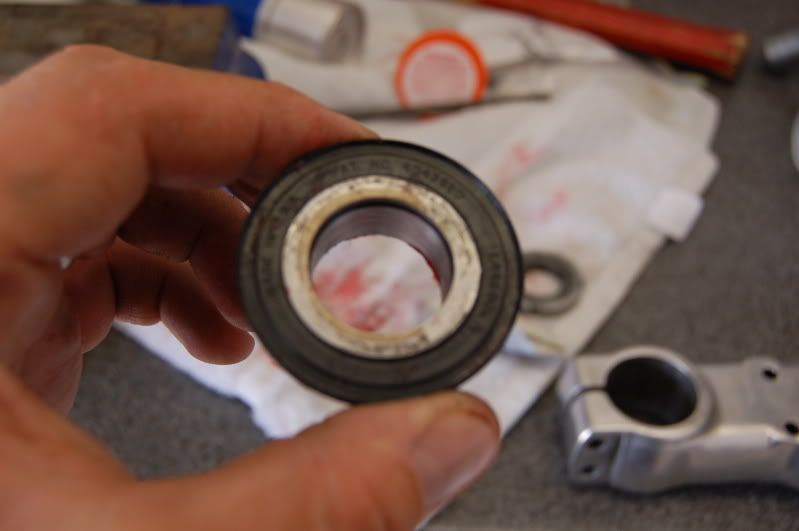
Bushings with next to no wear****************************************! Amazing!!
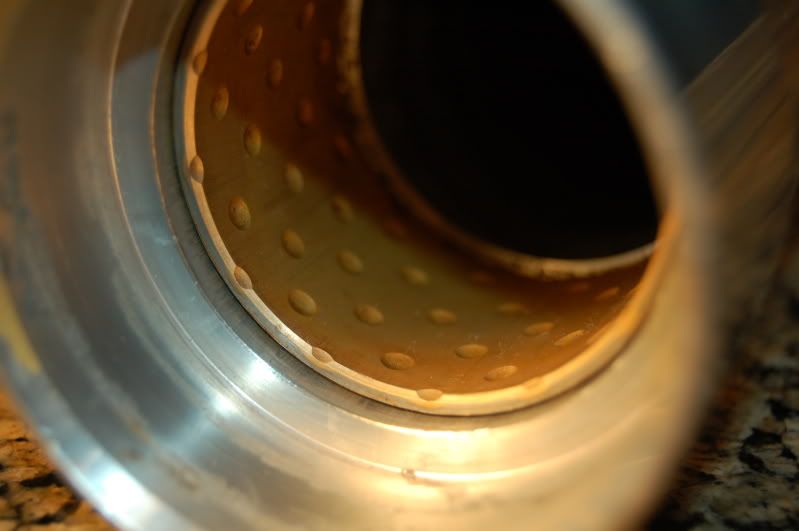
Both bushings:
End view:
Insides are cleaner than new and ready for rebuild!
Matt @ Race Tech is now working on a spring selection for me and a set of gold Valve emulators and adaptors.
T