• Husqvarna Motorcycles Made In Sweden - About 1988 and older

  • Hi everyone,

    As you all know, Coffee (Dean) passed away a couple of years ago. I am Dean's ex-wife's husband and happen to have spent my career in tech. Over the years, I occasionally helped Dean with various tech issues.

    When he passed, I worked with his kids to gather the necessary credentials to keep this site running. Since then (and for however long they worked with Coffee), Woodschick and Dirtdame have been maintaining the site and covering the costs. Without their hard work and financial support, CafeHusky would have been lost.

    Over the past couple of weeks, I’ve been working to migrate the site to a free cloud compute instance so that Woodschick and Dirtdame no longer have to fund it. At the same time, I’ve updated the site to a current version of XenForo (the discussion software it runs on). The previous version was outdated and no longer supported.

    Unfortunately, the new software version doesn’t support importing the old site’s styles, so for now, you’ll see the XenForo default style. This may change over time.

    Coffee didn’t document the work he did on the site, so I’ve been digging through the old setup to understand how everything was running. There may still be things I’ve missed. One known issue is that email functionality is not yet working on the new site, but I hope to resolve this over time.

    Thanks for your patience and support!

1980 390CR Rebuild by Moody390

Moody390;47426 said:
Cable setup
Frontbrakesetup.jpg

Does everything look correct? If not, what needs to be changed.

Sorry for being a bit late, but I looked at your pictures once again.
The cable for the front brake should be on the inside of the fork leg, I guess.

Keep up the good work :cheers:
 
Moody390,
Looks like your front brake cable should be on the inside of the fork tube,not the outside.
Undo the bolt which the front brake cable threads into, and install from the inside of the fork. This should give the cable a straighter pull on the front brake,no fouling. That is how its on my 79 250WR.
Nice work you are doing.

Regards,
Team WR
 
With a bit of time off work, getting ready to move, I though I might as well fill the shocks with oil. What a mission that was. They needed to be completely stripped to do so.
I only got 1 done, so I will document a complete "How To" tomorrow with heaps of pictures when I do the other. This will be for the remote resevoir Ohlins by the way.

Also doing all the other tid bits before I drop the motor in. Will keep it updated.

I'll post up some new pictures tomorrow when the shocks are are bolted back up.
 
Looking forward to see your "How to" with pictures, it will be much appreciated :cheers:
I'd like to try to overhaul my shocks on the old 390 myself, with your "how to" might I success with it :thumbsup:

I'm waiting for more pictures of your 390 project, it will be like a restoration manual to me.

Pictures pictures and more pictures please :D
 
Some more Pictures.

Working on a How to at the moment. It's a long process haha.

The shocks feel great Tho at 200lbs Dead, the springs may be a little light. In saying that, these shocks are only temporary as to the adjustment capacity.

Any how, here we are,

DSC00432.jpg

DSC00433.jpg

DSC00434.jpg

DSC00435.jpg


Yes, I am aware that my rear fender is 'slightly' out haha. Being from a 96' CR 125 it was hard enough to get it as is.

DSC00436.jpg


Only Bars/levers to add before the motor is blasted.

I have just found out their is a Pre 85 Evo MX club in Western Oz, so I'm frantically rushing to get it ready for this season.
 
Been a while but I'm moving ahead. Still working on the shock o/hauling guide.

I fitted up a set of pro-taper One piece bars, courtesy of Husky-T for the research and info. Dummied the pipe, split/stripped/cleaned the motor. Only needs the bearings and gaskets put in and dropped in the frame.

Only a couple pictures at the moment, Will get more of the motor on re-assembly.

The roller, ignore the mess, I've just moved in.

37448_121552374554458_1000009908734.jpg


Carby

carby.jpg


Bars, night shot. Will get a better one next chance I get. Also New Magura levers.

probar.jpg
 
That is a sweet looking bike. So when it is all done you need to take it out and get some awesome pics done. Nice work and look forward to seeing it finished.
 
Bump by HuskyT for review of Moody's overall seat length...


Moody - can you measure the overall length of your seat and let me know the distance from the bottom of the front of the seat to the center of the rear seat mount tabs?

Also what is the vertical height of the rear of the seat... ( how thick is it at the back) 1.5"????

Thanks, T
 
Moody,
You are my hero! I just bought my '80 CR390 from it's original owner here in Anchorage Alaska. It needs some TLC, but I can't give 'er all you have. Awesome job man, keep up the good work, you will probably be hearing from me later with pic assembly requests.
Rob
 
Hey Husky T. Sorry for the lateness but after I rebuilt my motor and went to drop the head on and saw the case I replaced had a tighter pcd and spiggot, I lost interest as I couldn't find another case.

The measurements reqested are as follows:
The front of the seat to the rear mounting hole is 506mm. Mounted with a small alluminium bracket. I can get a picture if required.
And 40mm tall at the rear.

The front fender is a 1992 thru 1998 as mentioned.

Thanks for the kind words guys. I'm back onto it looking for a new left hand case again.
 
The top shock mount consists of the heim bearing on the shock, two spacers (one on outside and one on inside) plus seals to keep the dirt out (I used rubber o-rings instead). I was a little short on the shaft so I used a washer and drilled it out to the diameter of the shaft. It worked fine. I also bought the Ohlin paint and decals from husqvarna-parts.com and the shocks came out perfect.
 
Be A small update. Its running! Mind you near on impossible to start. I've jetted it upto procircuits specs and installed the fuel optimiser by thunder racing wih a cutback slide to a 3.0. Yet to fire her up again. Also leaned the fuel out a bit.
3 downsides. First when it was running, i noticed smoke coming from a tiny crack near the fixed bracket on the pipe which needs seeing to. Second, the clutch feel is quite a bit tighter then i remember and lastly, one or both of my shocks compressed and refused to decompress. Easy fix. Turfing them in favour for a set of i beam piggy backs from Phillip.

On a side note, the magnesium based cases can be welded... Albeit at a very hefty price tag.

I have to admit i got a little side tracked with my new toy. A wait for it. Combat wombat. Will be back in the vmx scene next season also
 
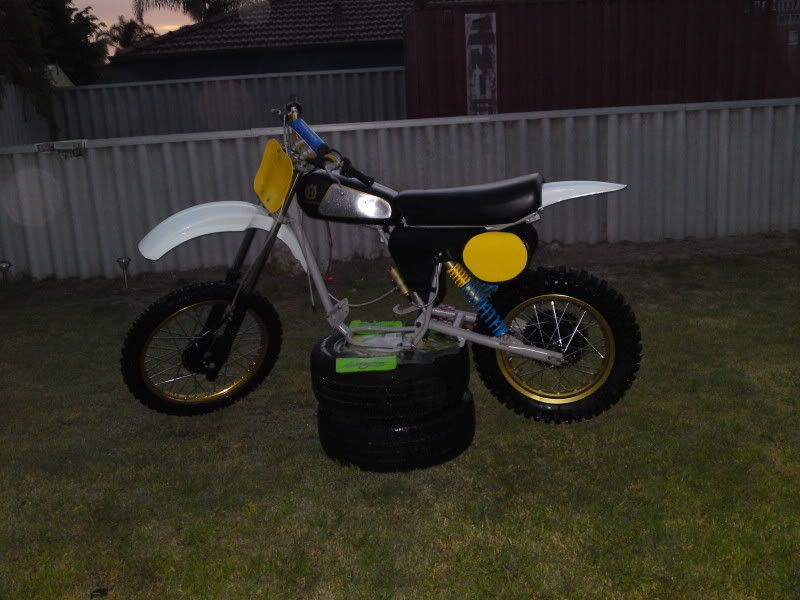
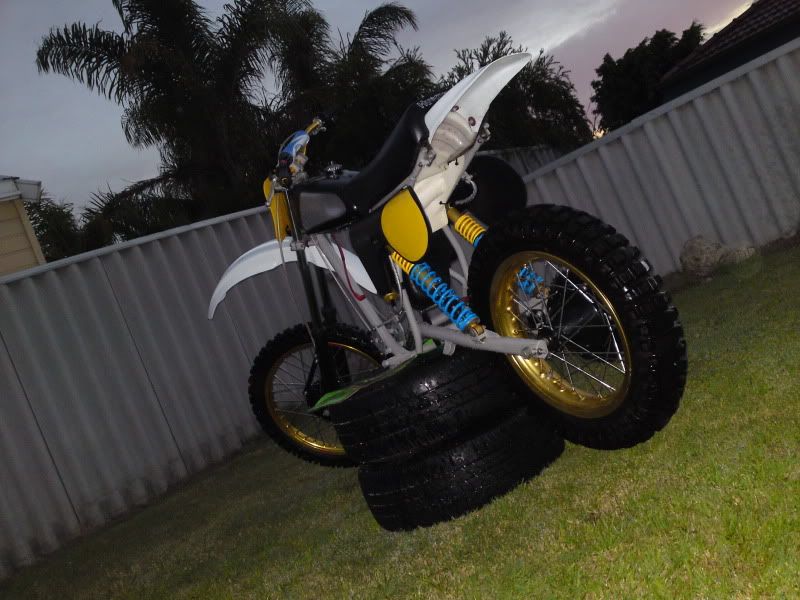
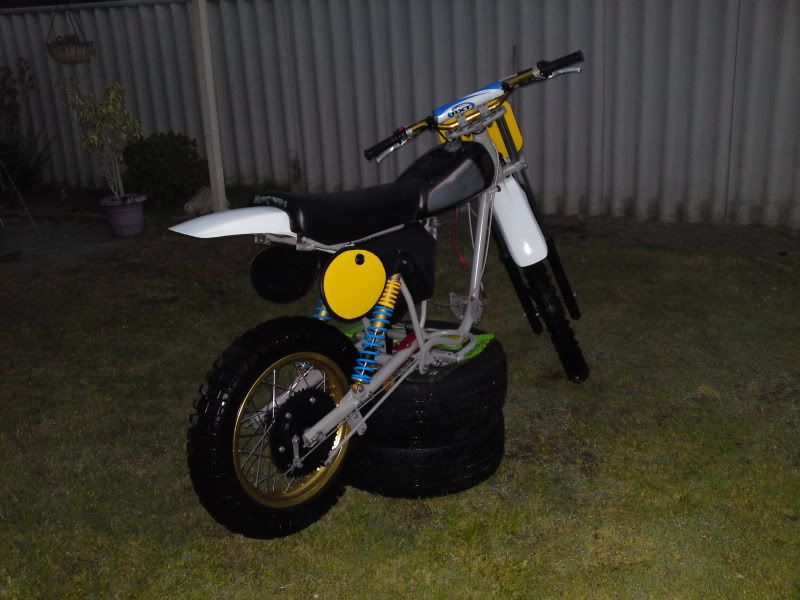
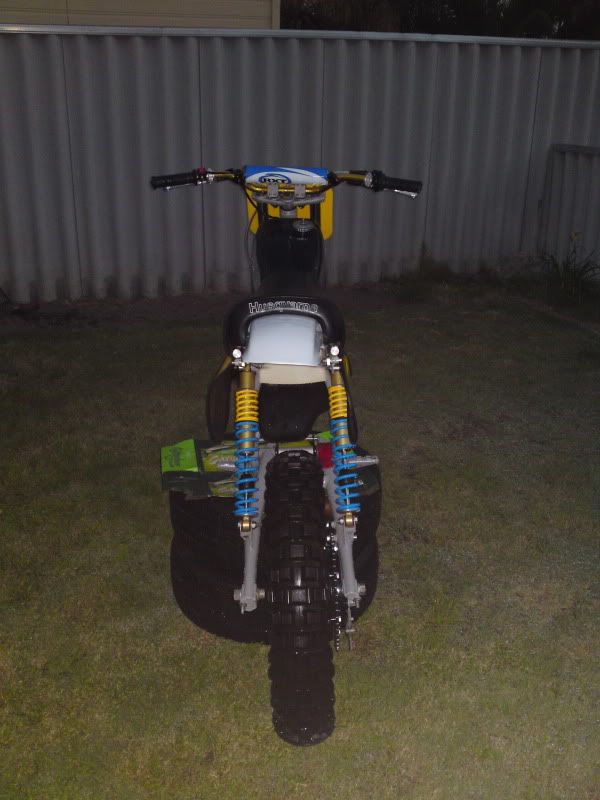
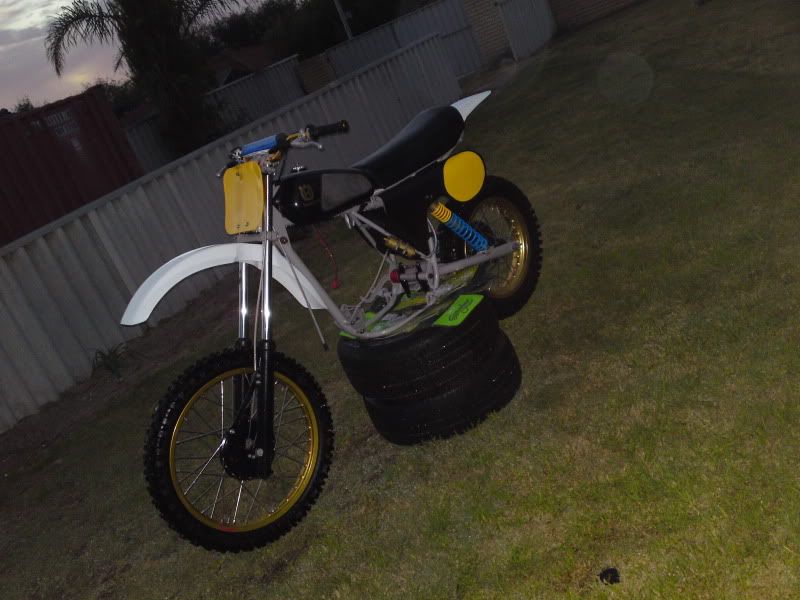
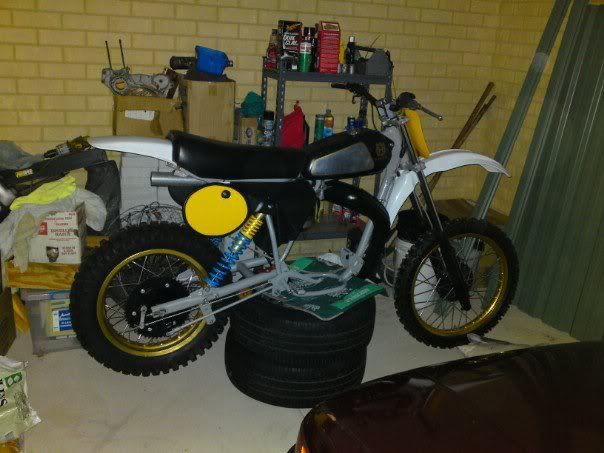
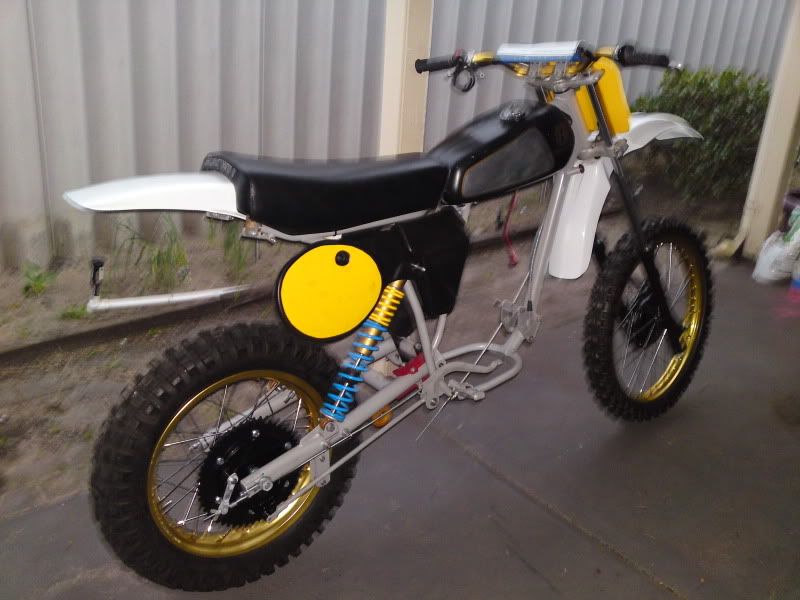
Well this is where I am at with her now
Roller.jpg


Back wheel assembly is together and same with the front.
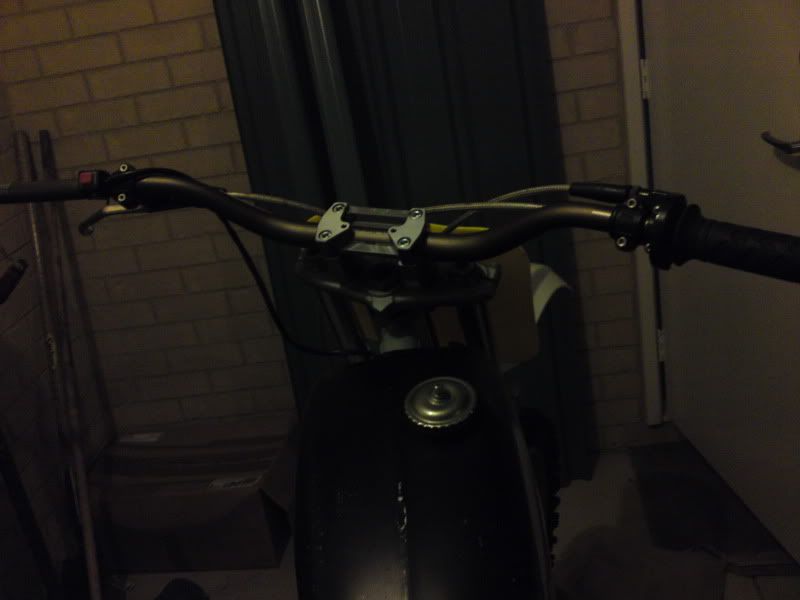
The carby has been rebuilt, top end honed, intake manifold rebuilt, 3 new braided cables run, bars finished etc. Everything back from the zinc platers and looking good as new.
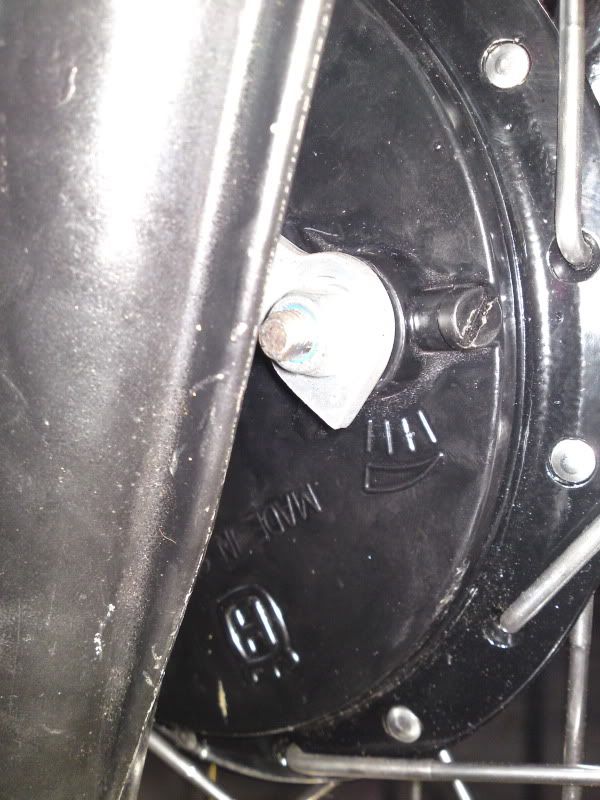
Machined up a couple of spacers to mount the side gaurds and another to allow usage of the Gunner Gasser Throttle cable on my throttle. On the left hand side gaurd, there is 1 mounting hole only.
How do I secure it to the frame without the use of cable ties? as I don't want to wear them out over time.

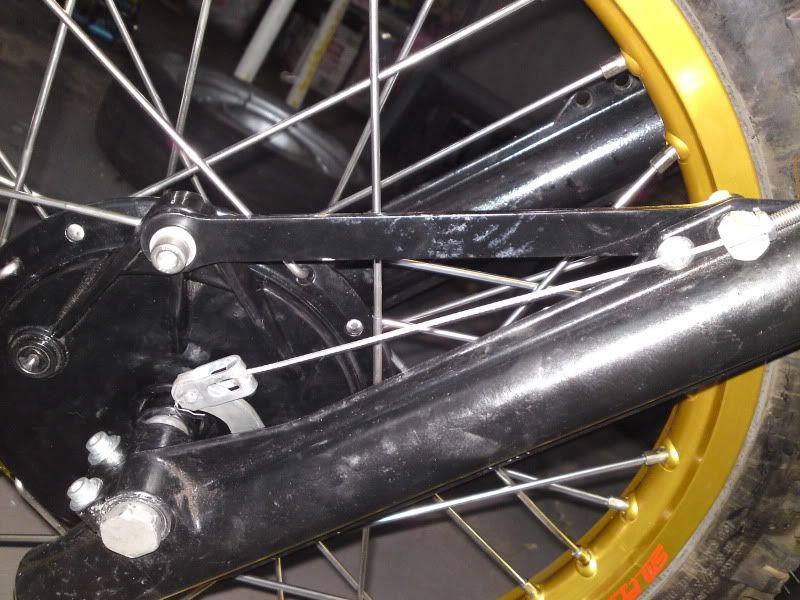
I've tried to set the front brakes up aswell but there is no way on earth I am going to be able to get the pull required without fouling the brake arm on the fork body. Can anyone help me with this? This is how I have it currently setup

Arm position
Frontarmposition.jpg


Cable setup
Frontbrakesetup.jpg


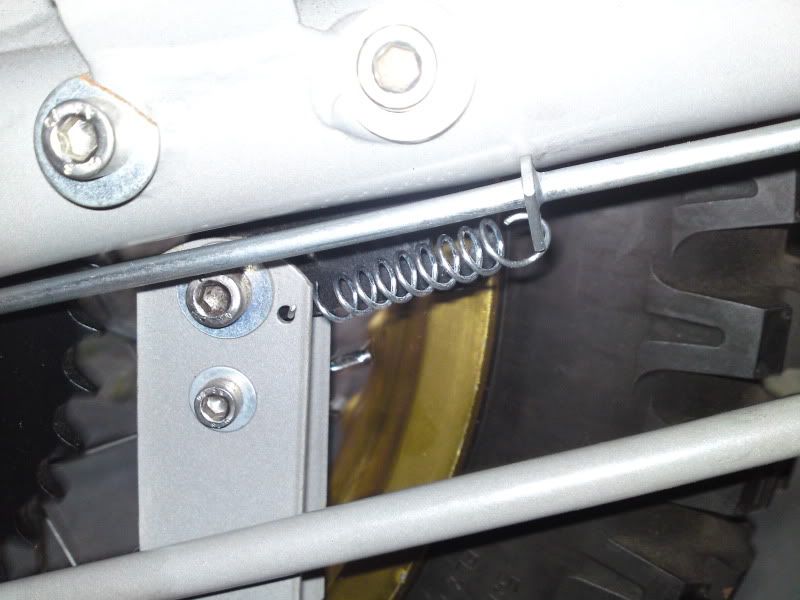
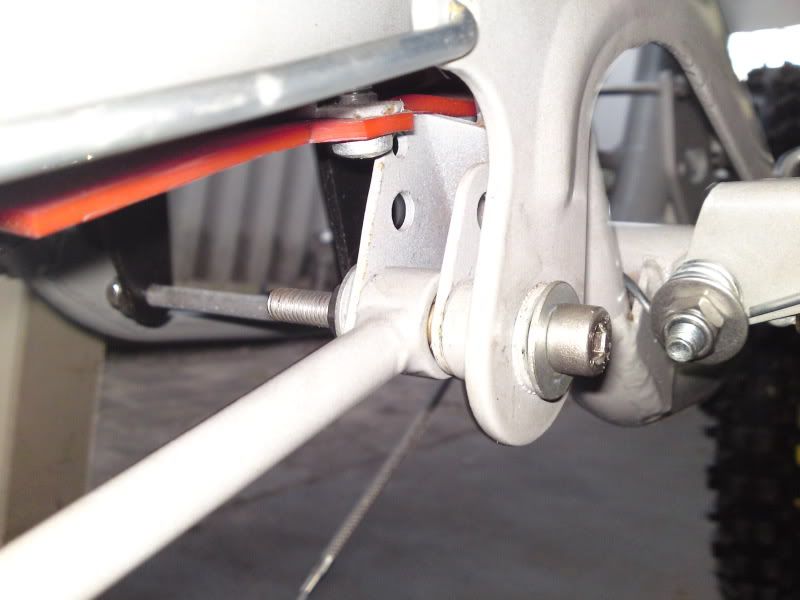
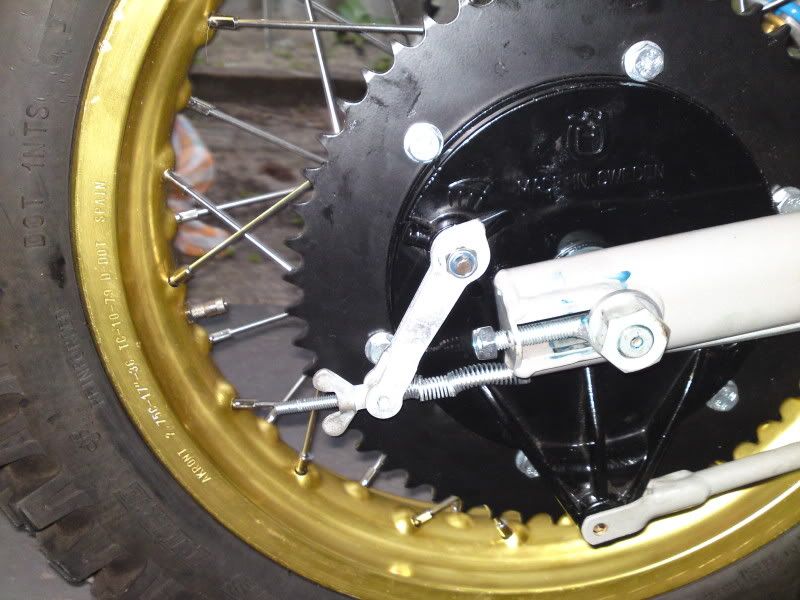
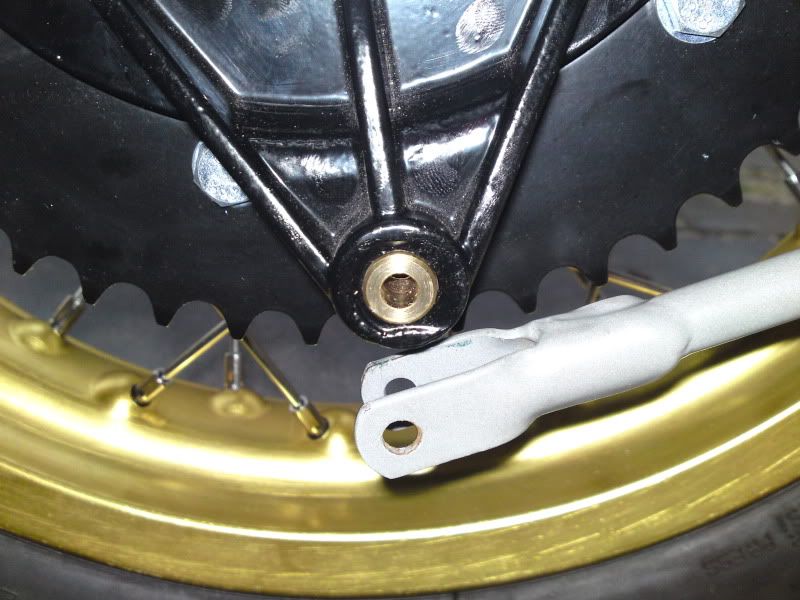
On the rear brakes, this is the setup;
1)
Brakesping.jpg

2)
Platestayandpedal.jpg

3)
Rearbrakearm.jpg

4)
Rearplatestay.jpg


Does everything look correct? If not, what needs to be changed.

It's been 4 years since I tore it down so my memory is a little hazy. Not too mention I was 15 at the time so I was a little careless (ie. no photos or sketches)

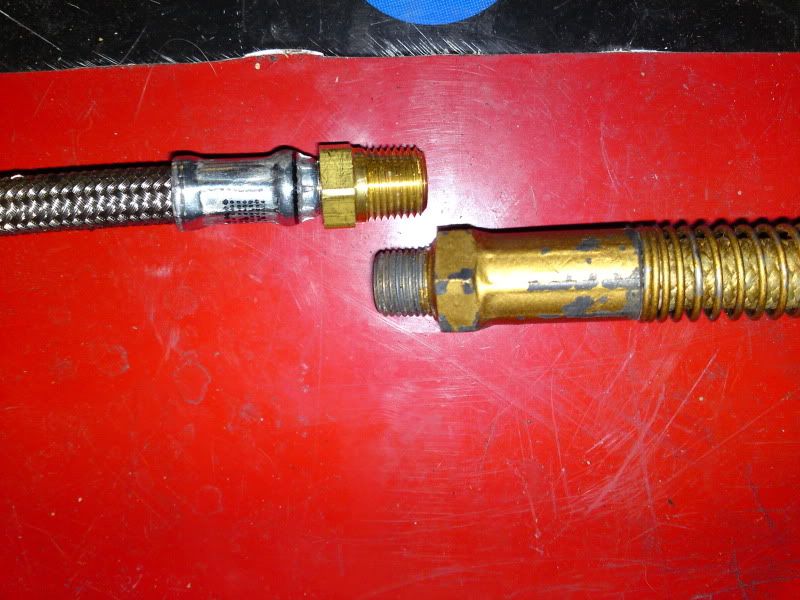
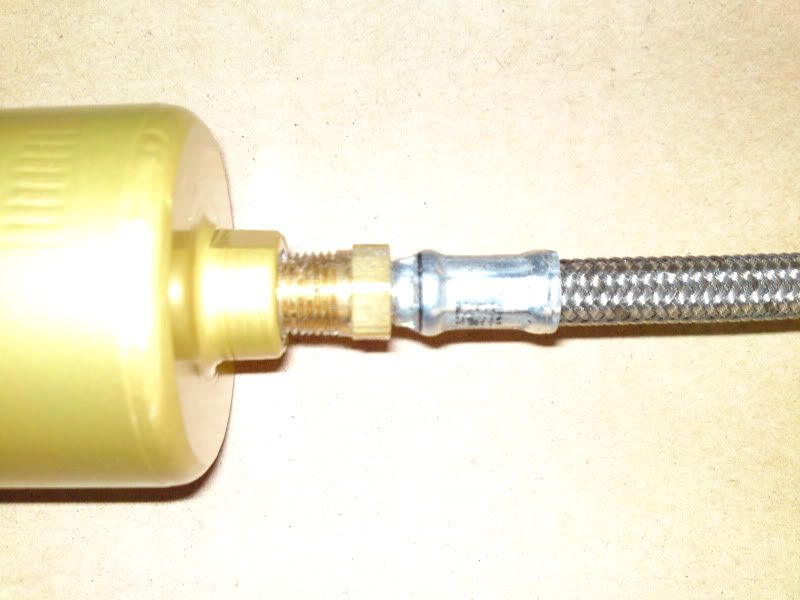
I also have another dilema with the shock resevoir lines. The pro-flow braided items were ditched in favour of the repro husky items of www.husqvarna-parts.com but I have the same problem, heres some photo's to compare.

Old vs New
oldnew1.jpg


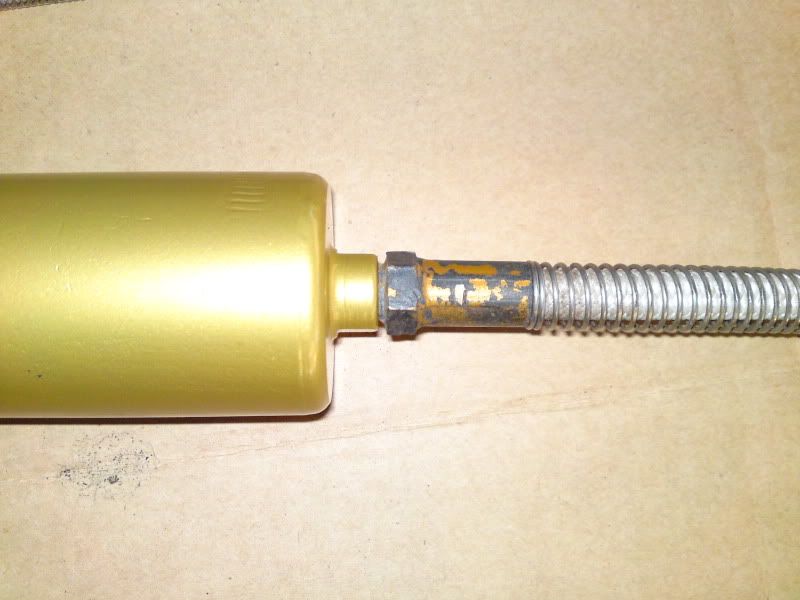
Old line in resevoir, finger tight
Oldline.jpg


New line in resevoir, finger tight
Newline.jpg


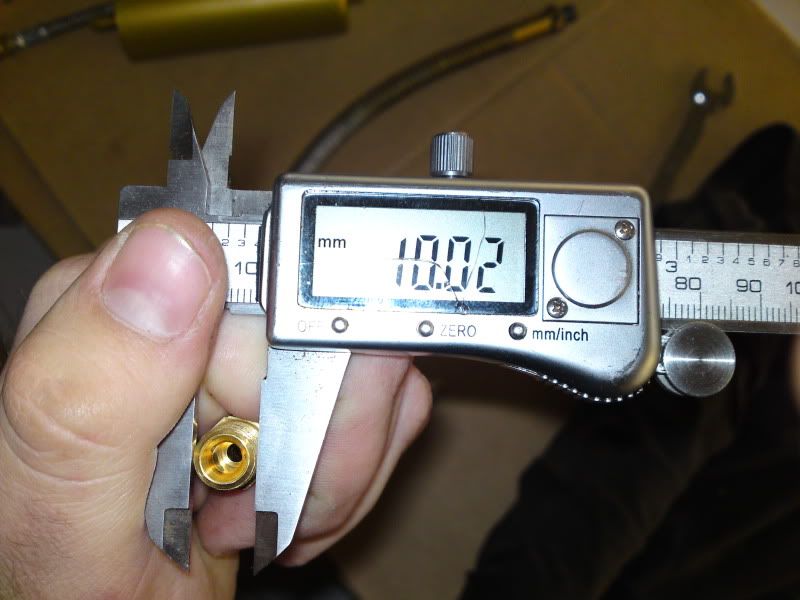
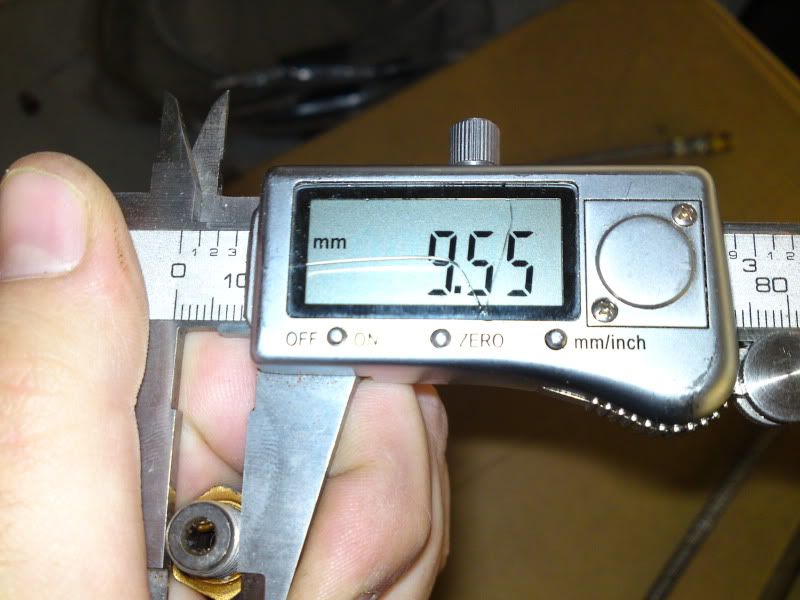
New thread size ( start of thread)
Newsize.jpg


Old thread size (start of thread)
Oldsize.jpg


There is 0.5mm difference in thread size so the thread is binding up early due to being a BSP Taper. I was going to open up the internal threads but I can't get a tap deep enough in the reservoir without it fouling, so that idea is gone. Is it safe to run a button die down and cut it tighter?

Cheers guys, I'll update as more progress is made.

A great re-build mate.

A couple of things. The front brake lever arm does fit very closely to the fork lg, but should not be fouling it. I assume you have checked the wheel alignment in the spindle and slackened the pinch bolts off and bounced the forks up and down to centralise everyting ?

The rear brake set up all looks good. Did you get new bushes re-machined for the torque arm ? I've got to some new ones made for my '82 430 and I'm thinking of making them from something other than a white metal (a graphite base material maybe) ?

My only critisism come from riding and loving Huskies from back in the day. Please please please don't use the pro taper bars on her. Renthal do a lovely pale gold bar that is more in keeping with the era. And the black sprocket is not my cup of tea. But hey they are only a couple of minors on a great bike.

Cheers,

Steve
 
As far as the ohlins lines go ..... I would suspect that one is 1/8 BSPT and the other is 1/8 NPT. They are very close, but not quite right. Best way to check is with a thread pitch gauge. Readily available from ebay or your local engineering parts shop. The NPT thread is 27 TPI (Threads Per Inch) and the BSPT will be 28 TPI. Both being taper threads the start diameters are different. One will fit the other, but not the other way round. The other thing I have found is that the start diameters of U.S. made NPT males can vary a fair bit. There is NPT standard and NPT short ! Most motorsport applications use the "short" standard.
Quality inspection on some of these threads is also pretty poor.
Check with a thread gauge and report back. It will be interesting to see.
If I get a chance I will check the specs tomorrow in the Engineers Guide.
 
Looking at my Machinery's hand book .... the pitch diameter at the start of the external thread for 1/8-27 NPT is .36351" (9.233mm). With a new thread you should be able to screw in the male hand tight by .1615" (4.1mm).
Whatever is on the end of that new hose is certainly not right.
 
In regards to the shock lines. I was able to find an adapter/coupling that would thread onto the male NPT while the other side of the adapter had a male British pipe thread that would thread into the shock and reservoir body. These little things were pricey, I found them at a store called Hyspeco and they carry Parker products. I could not find the British threaded ferrule that could be crimped directly to the hose. This method added another connection, but that's all I could find local. I'm currently working on a 79 390. As Husky T struggled with, the seat situation is confusing on my end also. Something about the 79's, some had different frames with loops, and evidently some had different seats. My frame has the fender loop and a really tall seat (especially at the very back). Another issue is that the bike came with several 78 parts in a box, so maybe the seat is a 78. The seat fits the bike well, but my new seat cover will be an awful tight fit. It's difficult to buy correct parts when Husky evidently altered the bike mid year. Scott
 
Back
Top