-
Hi everyone,
As you all know, Coffee (Dean) passed away a couple of years ago. I am Dean's ex-wife's husband and happen to have spent my career in tech. Over the years, I occasionally helped Dean with various tech issues.
When he passed, I worked with his kids to gather the necessary credentials to keep this site running. Since then (and for however long they worked with Coffee), Woodschick and Dirtdame have been maintaining the site and covering the costs. Without their hard work and financial support, CafeHusky would have been lost.
Over the past couple of weeks, I’ve been working to migrate the site to a free cloud compute instance so that Woodschick and Dirtdame no longer have to fund it. At the same time, I’ve updated the site to a current version of XenForo (the discussion software it runs on). The previous version was outdated and no longer supported.
Unfortunately, the new software version doesn’t support importing the old site’s styles, so for now, you’ll see the XenForo default style. This may change over time.
Coffee didn’t document the work he did on the site, so I’ve been digging through the old setup to understand how everything was running. There may still be things I’ve missed. One known issue is that email functionality is not yet working on the new site, but I hope to resolve this over time.
Thanks for your patience and support!
- Husqvarna Motorcycles
- Husqvarna Motorcycles - Sweden
- Vintage/Left Kickers
- Vintage Restoration Projects
You should upgrade or use an alternative browser.
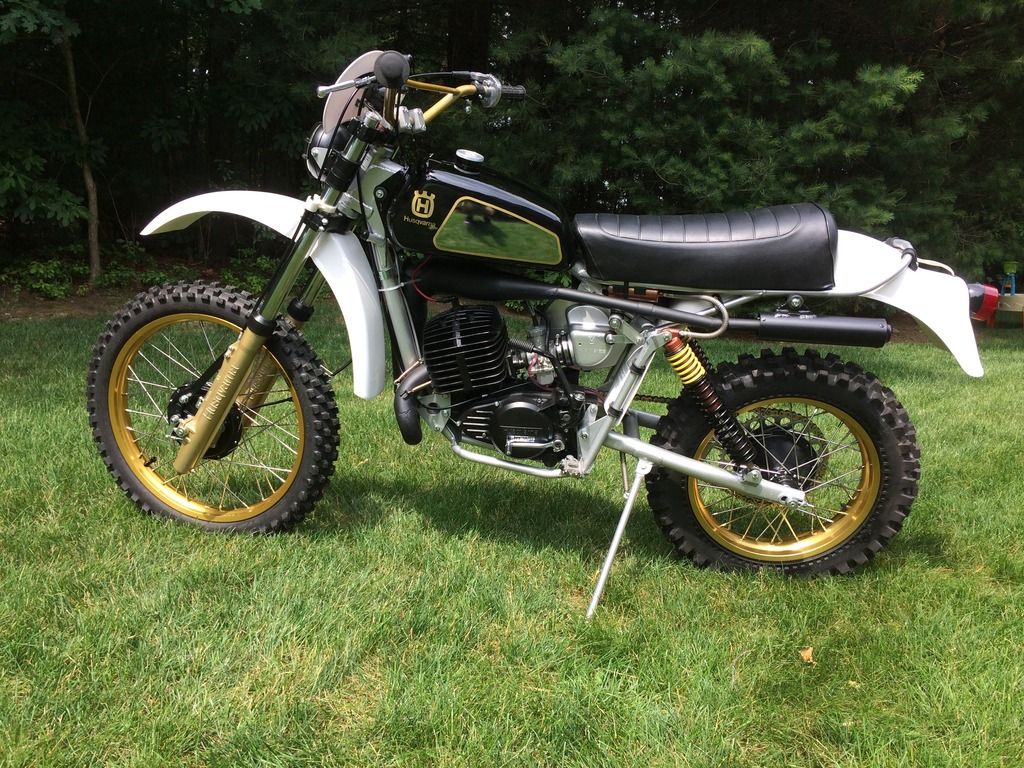
'78 WR (OR?) Restoration
- Thread starter Houredout401
- Start date
Houredout401
Husqvarna
AA Class
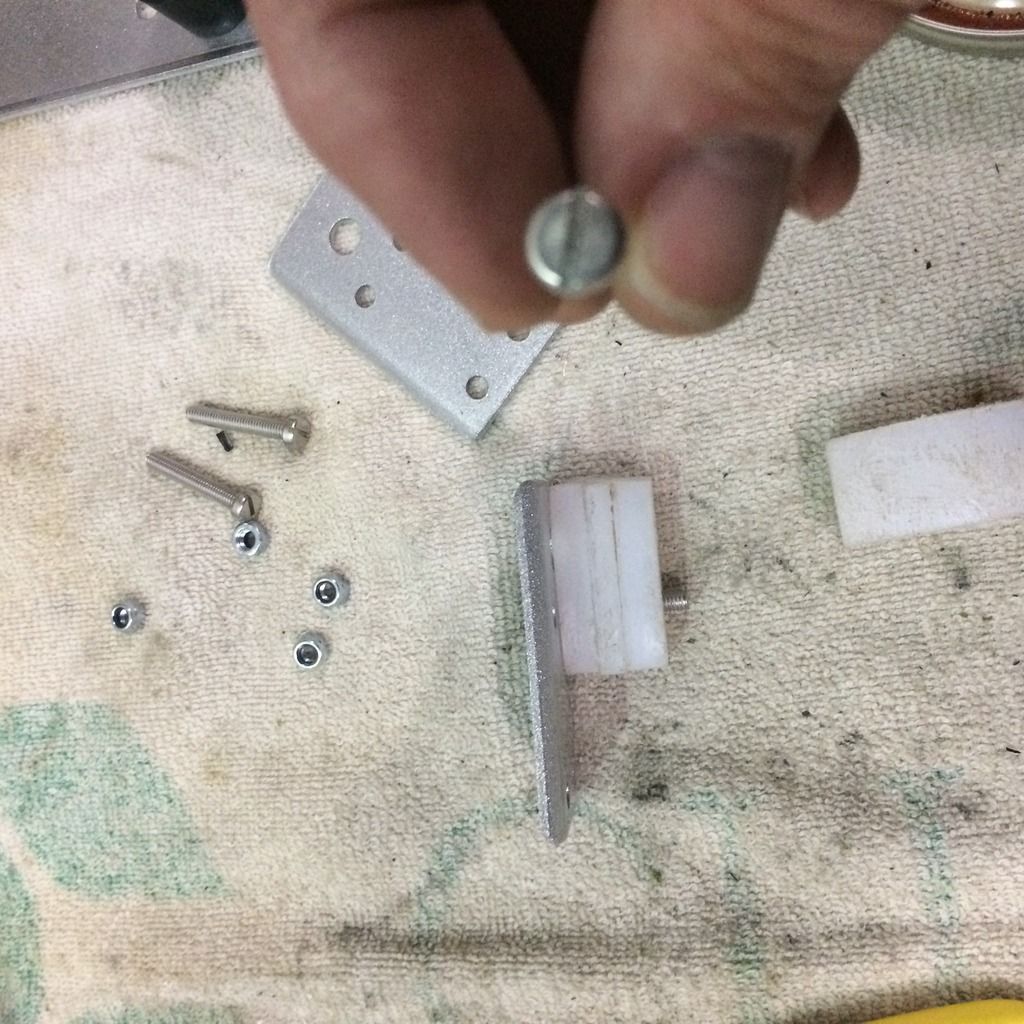
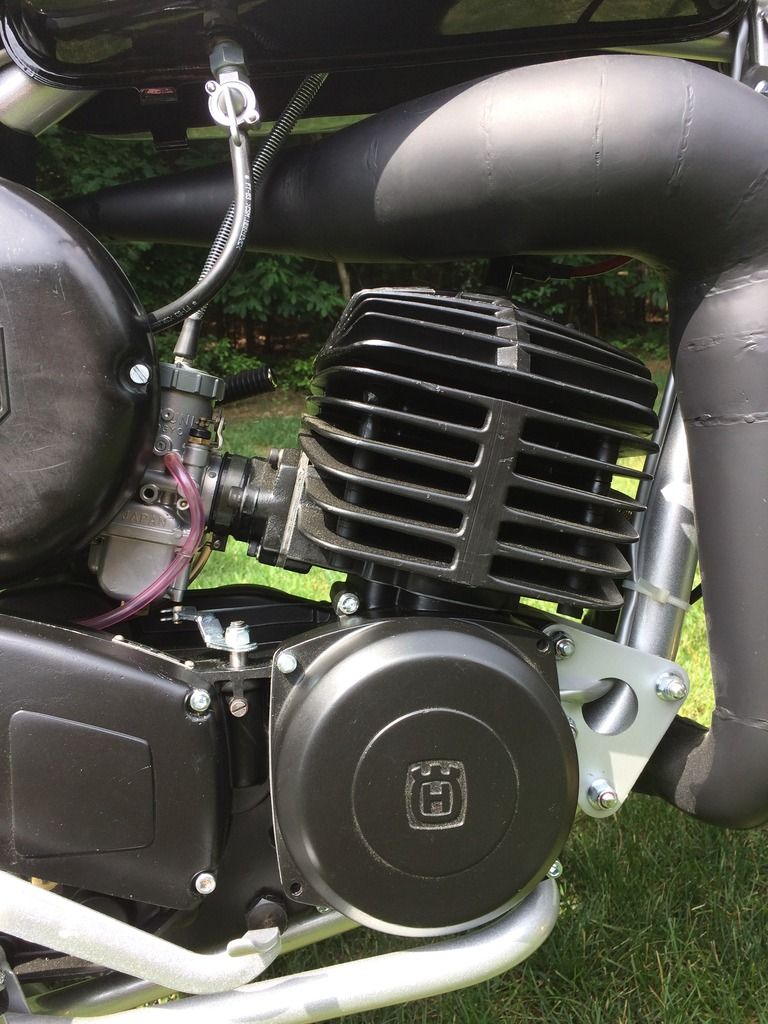
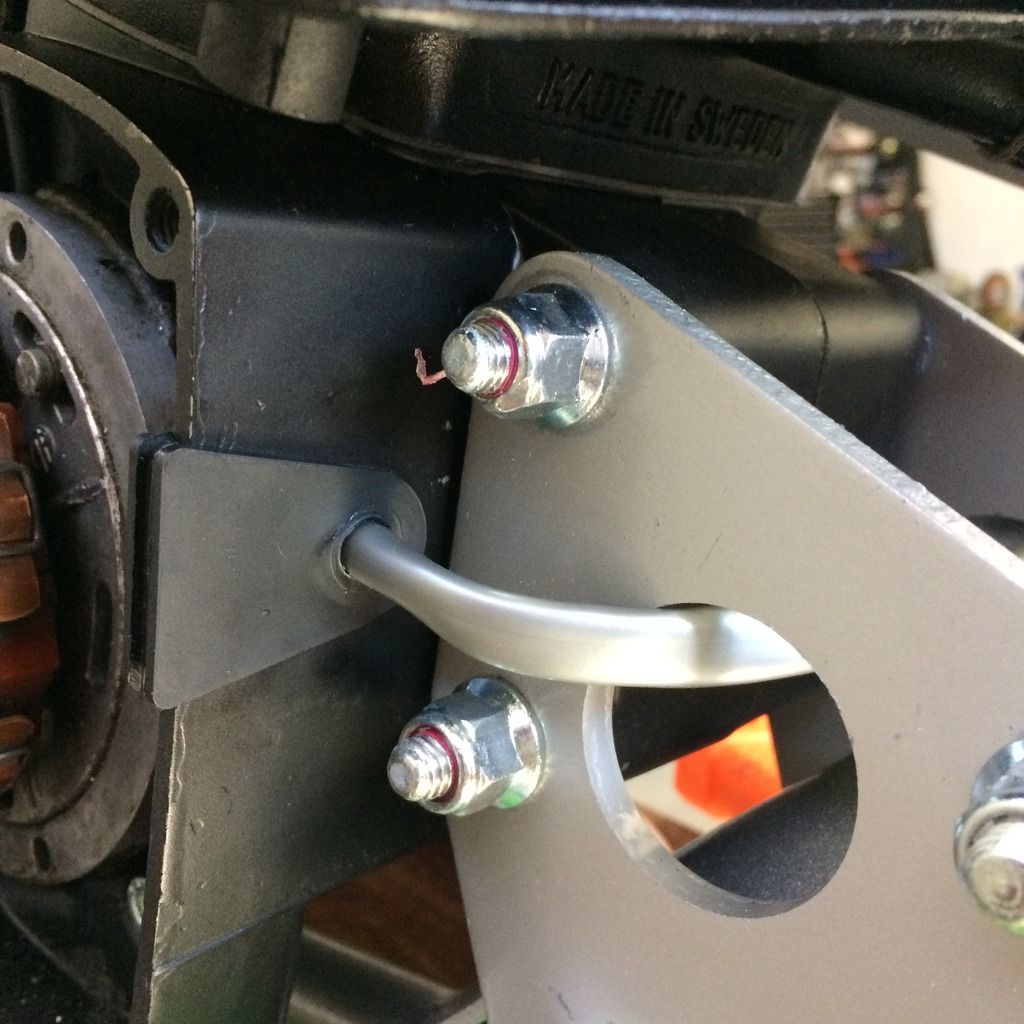
Cleaned up the stator wires with new gray sheath, new terminals all around, and the freshly made stator wire grommet that Andy at HVA reproduced:
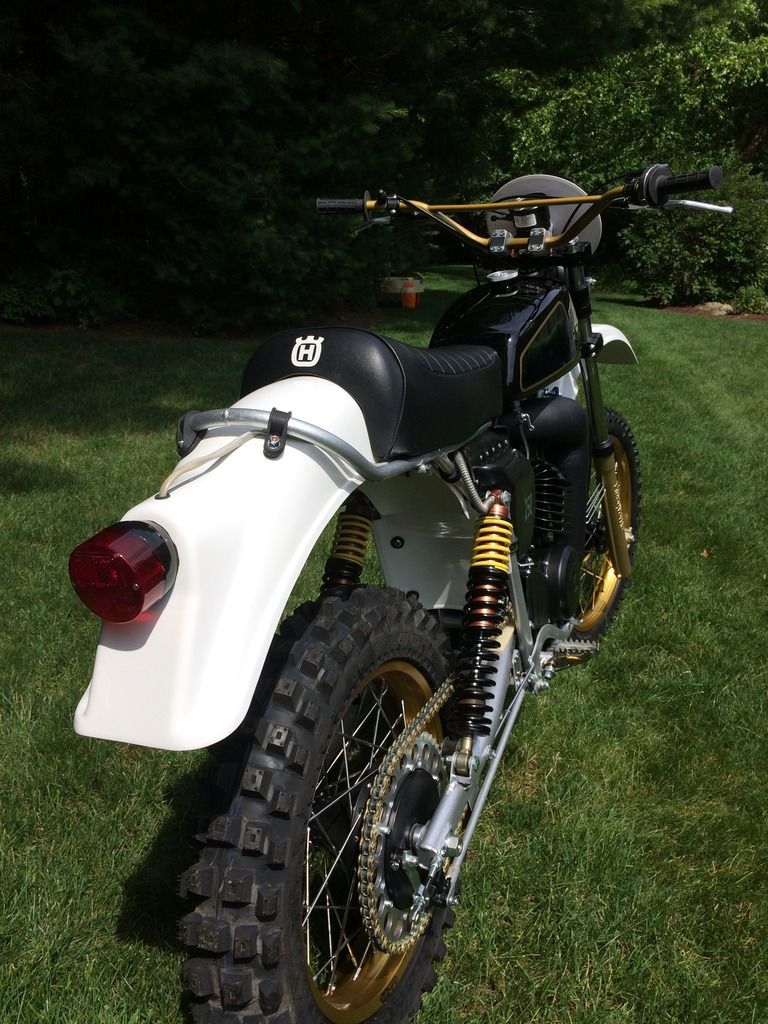
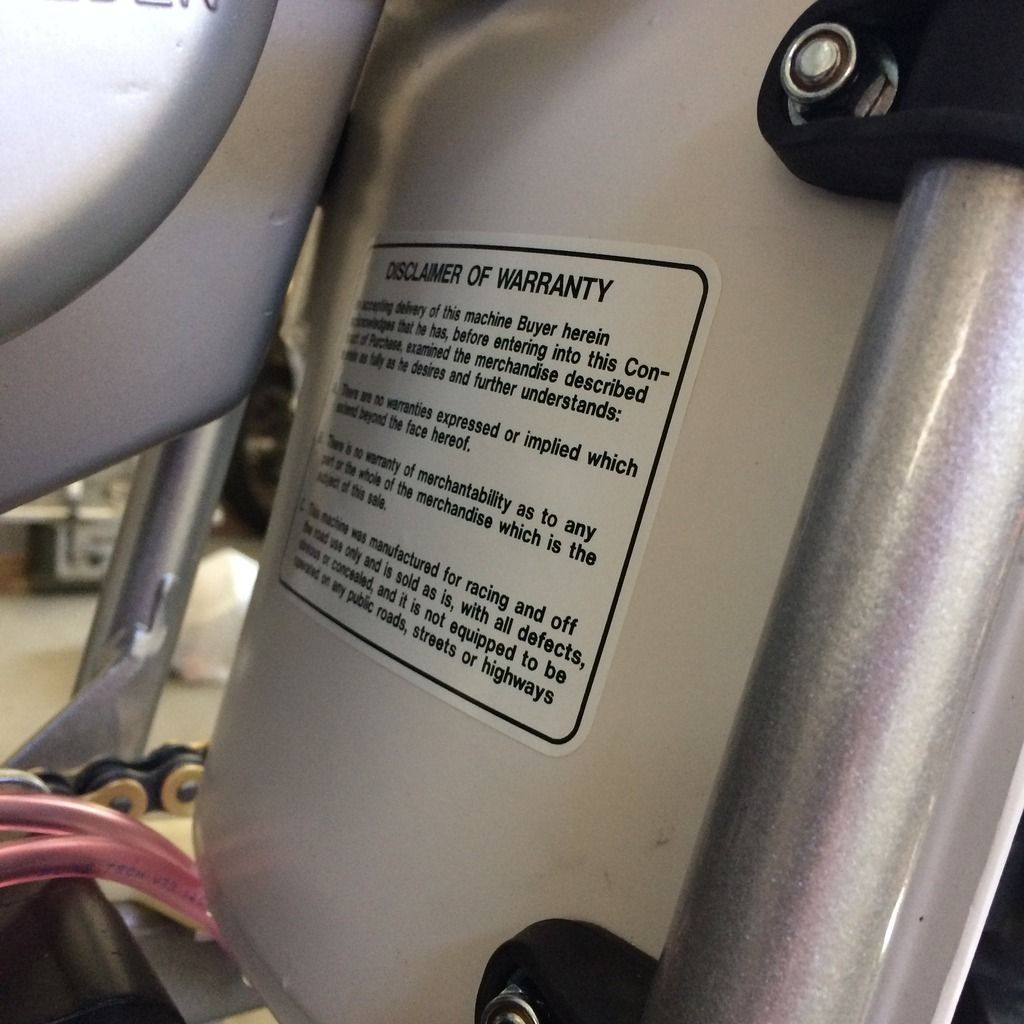
And its a racer, but threw on some of the authentic warning decals that motomwo makes:
Houredout401
Husqvarna
AA Class
Houredout401
Husqvarna
AA Class
yes it will. It's just paint and playing and elbow grease nothing that can't be fixed if damaged. Half the fun is fixing them up.It's going to get dirty?
Houredout401
Husqvarna
AA Class
With the screws loose that hold the stator to the plate, should the 2MM pin line up with the flywheel hole and stator hole when the TDC line on the flywheel lines up with a TDC mark on the case?
Bigbill
Husqvarna
Pro Class
Houredout401
Husqvarna
AA Class
justintendo
klotz super techniplate junkie
ideally you adjust the outermost, as they are the easiest to get to. the other screws are to help if you run out of adjustment. having a good range of adjustment with the outer screws lets you adjust time with the flywheel on.Thanks Bill, I'm familiar with the methods and dial indicators. My question is which of the two sets of screws are adjusted - manual is not clear - and when should the two holes line up - with the TDC mark on the flywheel lining up with the TDC mark on the case, or the prescribed BTDC mark on the flywheel lining up with the TDC mark on the case.
when the holes line up, theres spark...spark is set like bill states, preferably with the dial indicator method. you have marks on your case and flywheel for timing?
Houredout401
Husqvarna
AA Class
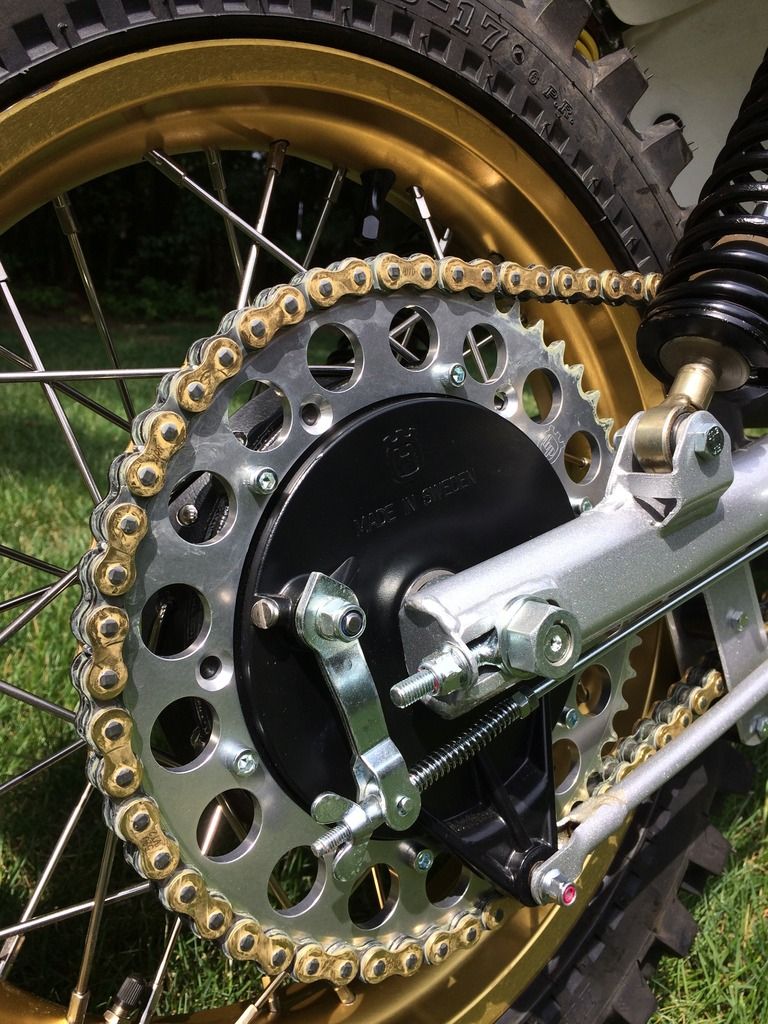
Edit: Marty came to the rescue with the distance spacer as well as the correct size brake pedal rod, huge help. Fingers crossed, I finally have all parts to button her up. Got a nice fat blue spark last night as well. yeah!


