• Husqvarna Motorcycles Made In Sweden - About 1988 and older

  • Hi everyone,

    As you all know, Coffee (Dean) passed away a couple of years ago. I am Dean's ex-wife's husband and happen to have spent my career in tech. Over the years, I occasionally helped Dean with various tech issues.

    When he passed, I worked with his kids to gather the necessary credentials to keep this site running. Since then (and for however long they worked with Coffee), Woodschick and Dirtdame have been maintaining the site and covering the costs. Without their hard work and financial support, CafeHusky would have been lost.

    Over the past couple of weeks, I’ve been working to migrate the site to a free cloud compute instance so that Woodschick and Dirtdame no longer have to fund it. At the same time, I’ve updated the site to a current version of XenForo (the discussion software it runs on). The previous version was outdated and no longer supported.

    Unfortunately, the new software version doesn’t support importing the old site’s styles, so for now, you’ll see the XenForo default style. This may change over time.

    Coffee didn’t document the work he did on the site, so I’ve been digging through the old setup to understand how everything was running. There may still be things I’ve missed. One known issue is that email functionality is not yet working on the new site, but I hope to resolve this over time.

    Thanks for your patience and support!

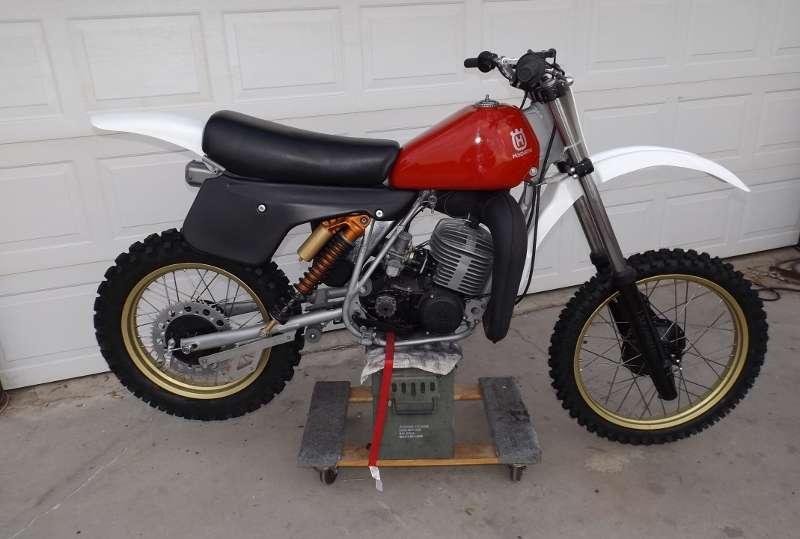
83 430 Rider Project

first time it stuck at 3/4 down and this time about half way down. its a PIA that's 4 sure. ive had "washers locking to gas bubbles" as the reasons for them sticking. its usually after they get hot (whoopee conditions)
 
So today's adventure was going to be putting on the chrome stickers on the tank. I have done quite a few on numerous bikes and never had a problem.

Here is where I am at after trying to put the stickers on the bike.


I bought the stickers on Ebay and they are the biggest waste of $40 I have ever done. They are like trying to put Saran Wrap on. No matter what I did they looked like crap. Never again.:censored:
 
I have been real busy with stuff and haven't really done much with the bike the last month.

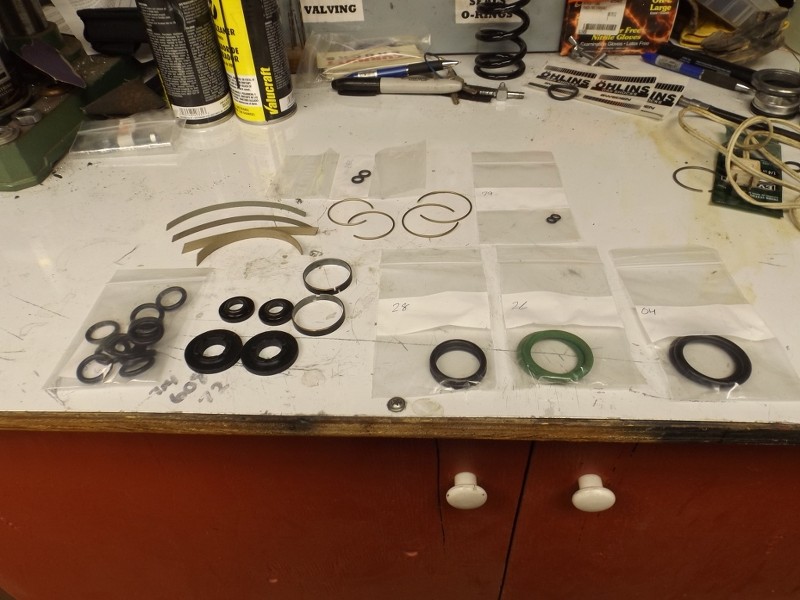
I finally (I was lazy) got ahold of Drew at WER and got some rebuild kits. He is a great guy to deal with. (Thanks again Drew, the tip worked out)


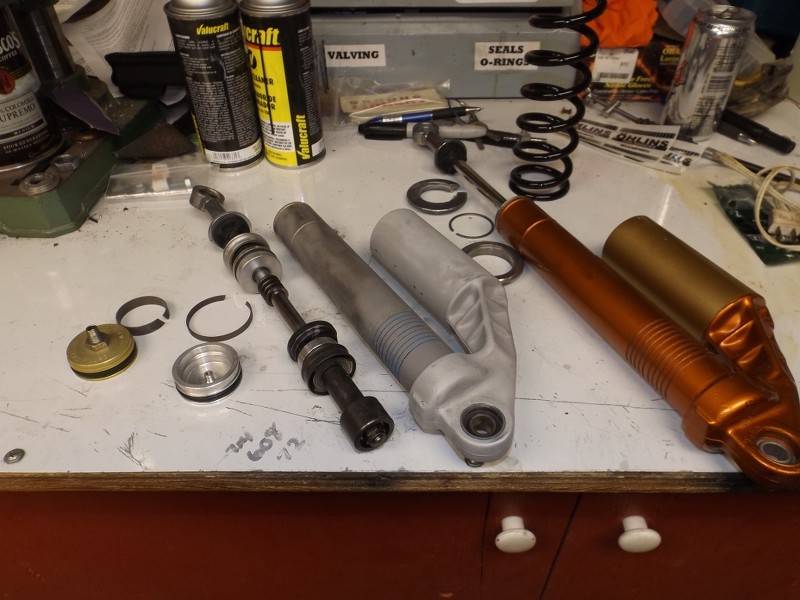
Put one together and started on the second one. I learned a whole lot on the first one and had to make a couple of tools to assemble them easier.


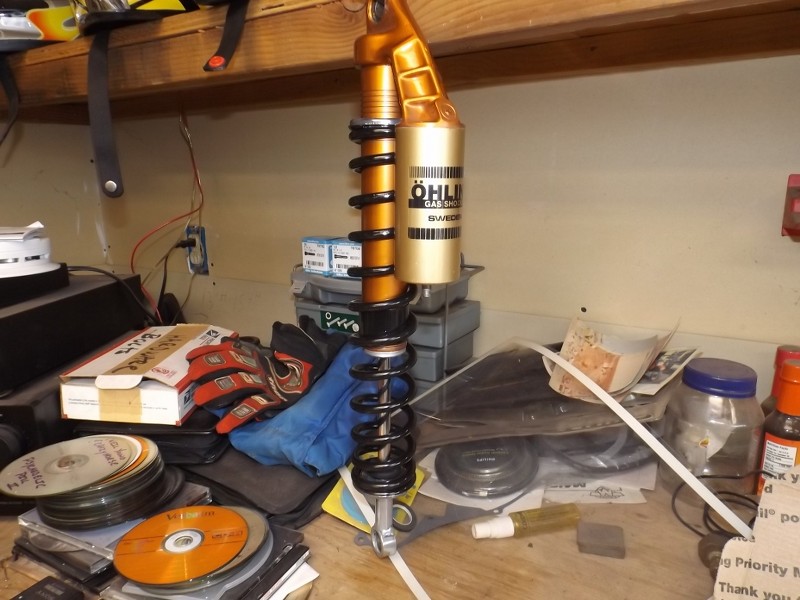
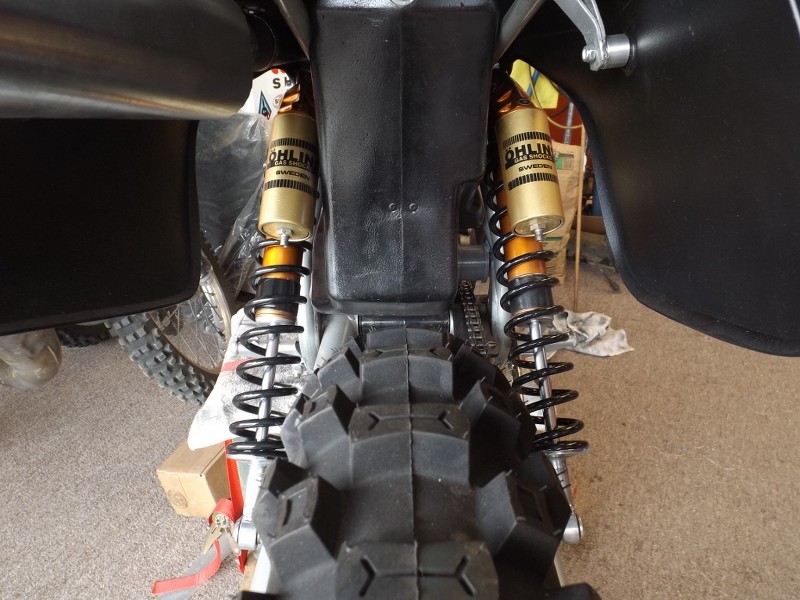
All painted up and ready for install.


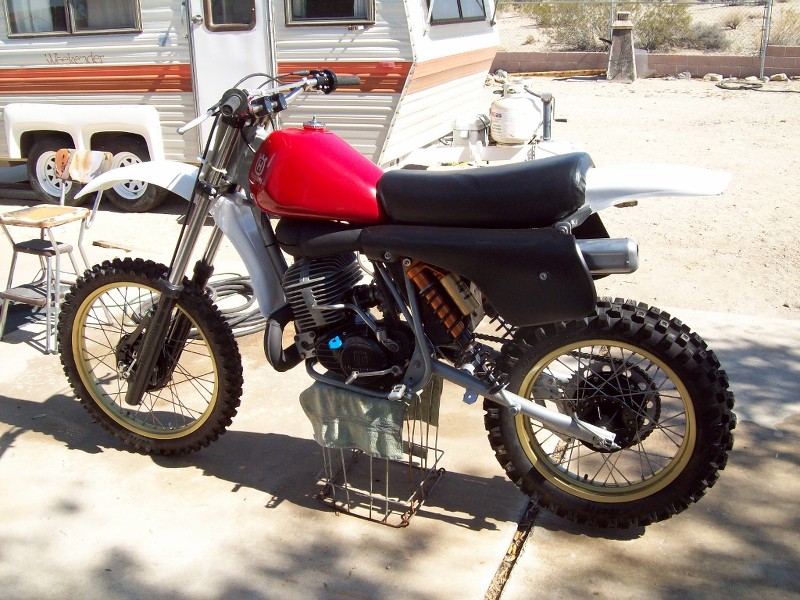
The business end of the bike.


More to come soon. I need to get a new spark plug and tidy up a couple of things and then it's time to fire it up.
 
I love the 81/82 color scheme on the 1983 frames. I have been thinking of doing similar with both the 1983 CR & WR frames. I have an 82 blue WR tank and an 82 430CR (maroon ) tank that I think would look incredible on a silver frame set with the black 83 plastic
 
Did you buy the paint from Drew or Phillip or did you cross reference to PuPont or PPG for the Ohlins? I am planning on painting a set of ITC shock as 82 colors while I am rebuilding them. Did you come up with your own design for the shock tools or did you get the concept from one of the Ohlins rebuild article that has been on here? If different I would love to see what you made.
 
The color I used for the bodies is a VHT Burnt Copper engine paint that is high heat.

I haven't been able to read any of the rebuild material on here as I had a problem with my new computer and it wouldn't let me open the PDF's to where I could read them. I fixed it yesterday. I also should have said tools to "disassemble & assemble".

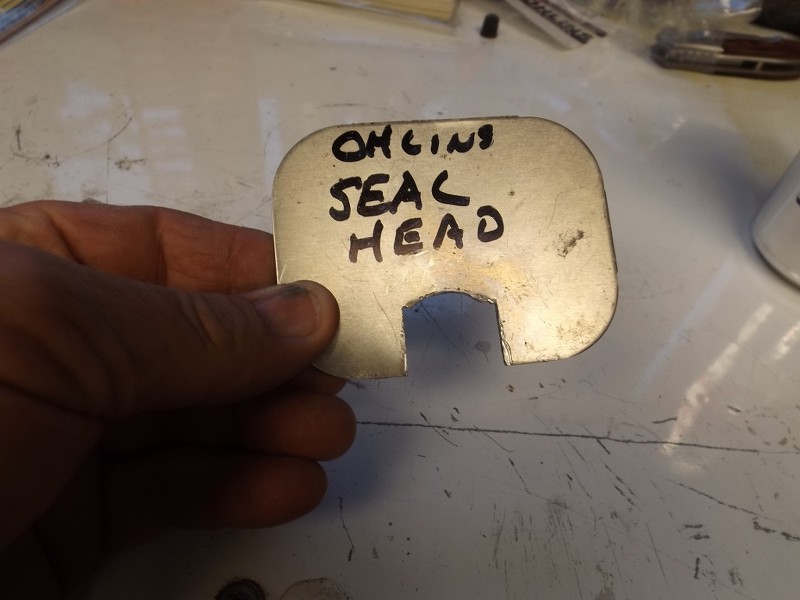
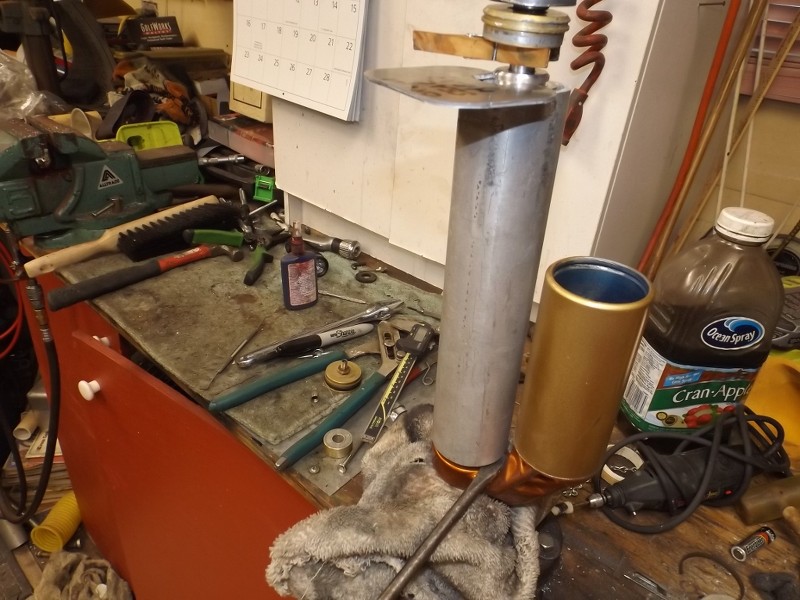
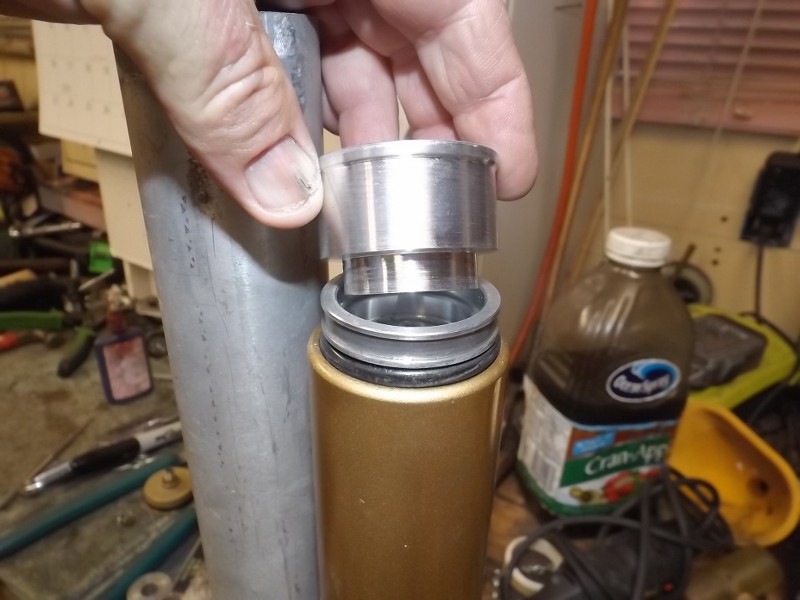
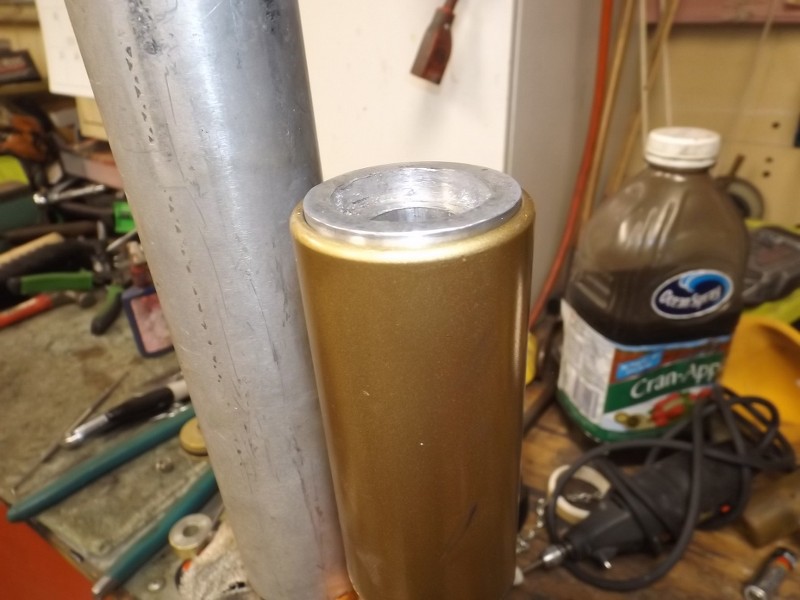
Here's some pics for you and Jens. I made this plate out of tempered aluminum to fit into the groove on the seal head once you get it just above the body. I cut an aluminum sleeve to go over the body and the plate fits on top of that. I took a big screw driver and lifted the sleeve up to remove the seal head and remove the internals.


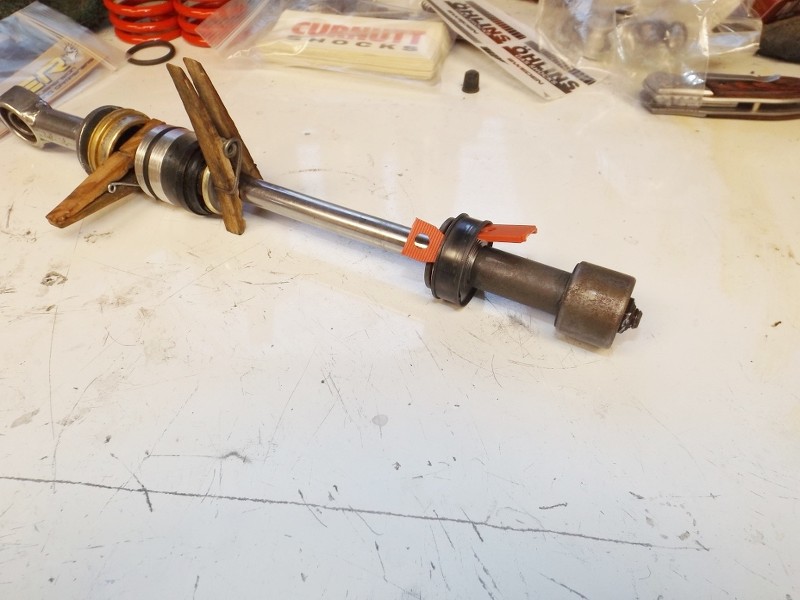
I made two plastic wedges to insert into the piston to keep the triangular valve washers in the correct place while tightening every thing up.


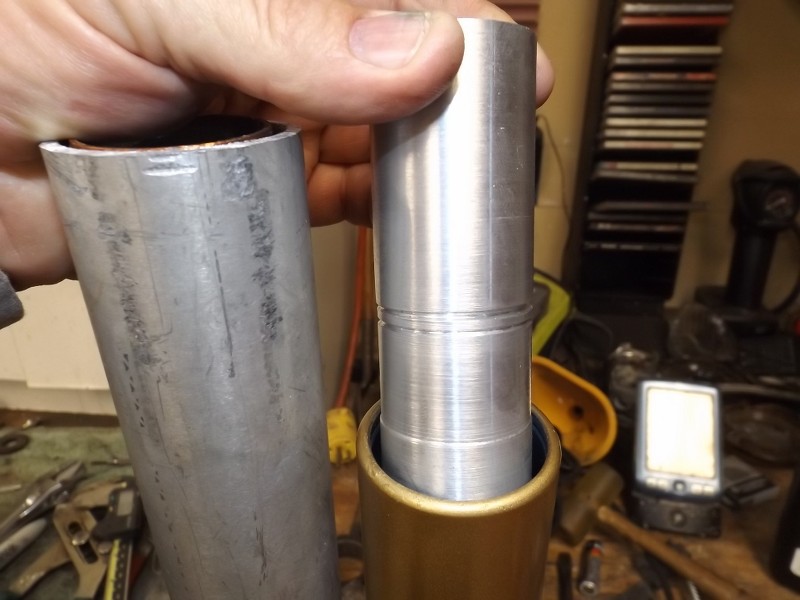
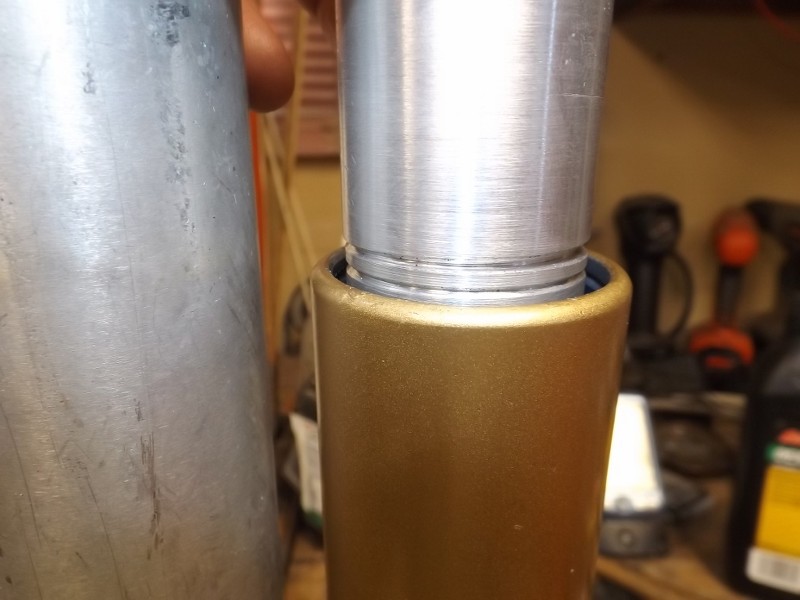
Machined up a driver tool for inserting the reservoir piston square in the bore. It also works for the cap. I stepped it to fit inside the piston and a step at the top so it won't go down into the reservoir and gets the piston very close to where it needs to be.


Took a chunk of aluminum rod and cut two grooves in it too fine tune the piston position and give me a visual of where the piston has to be when assembling. if it is out side of these two grooves you either bleed or add oil.


More to come.
 
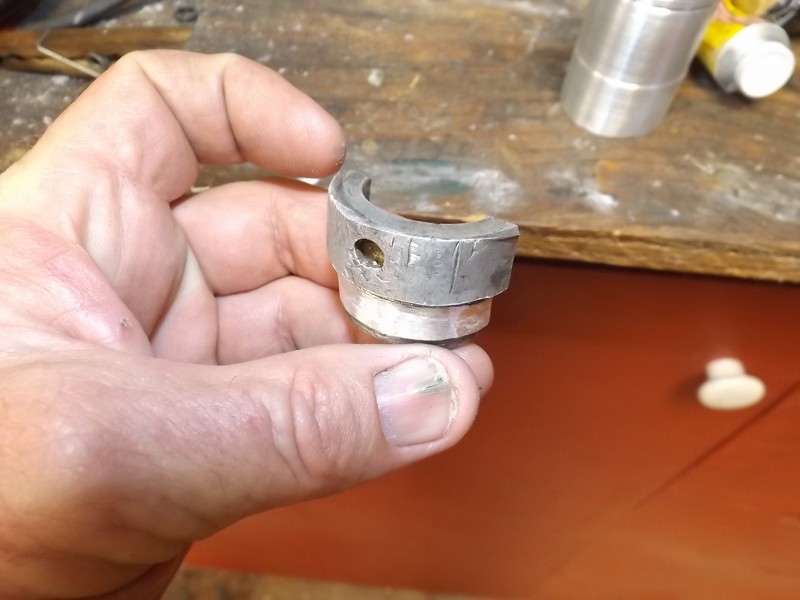
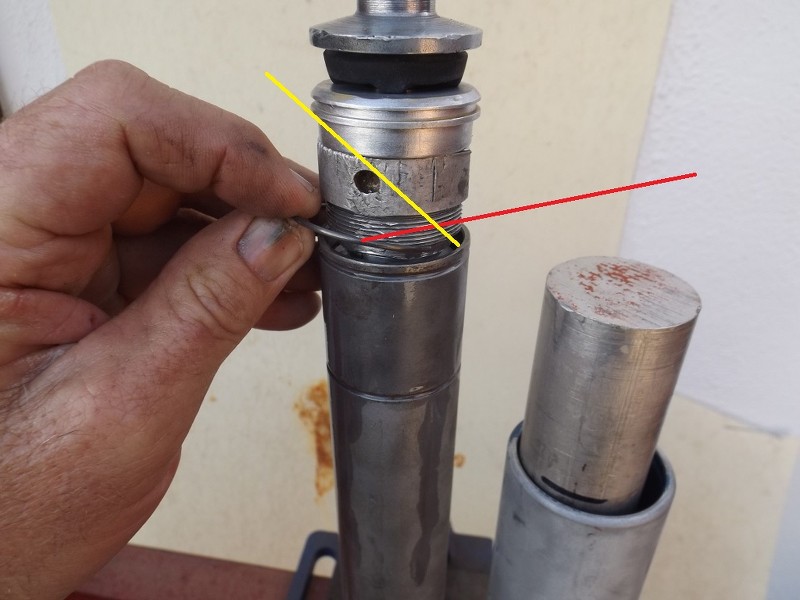
I took and old Curnutt seal head and cut it in half to aid in getting the snap ring inserted to hold the sealhead in place. Some of these pics are a mix of the original tools and the modified ones I changed after the first shock.


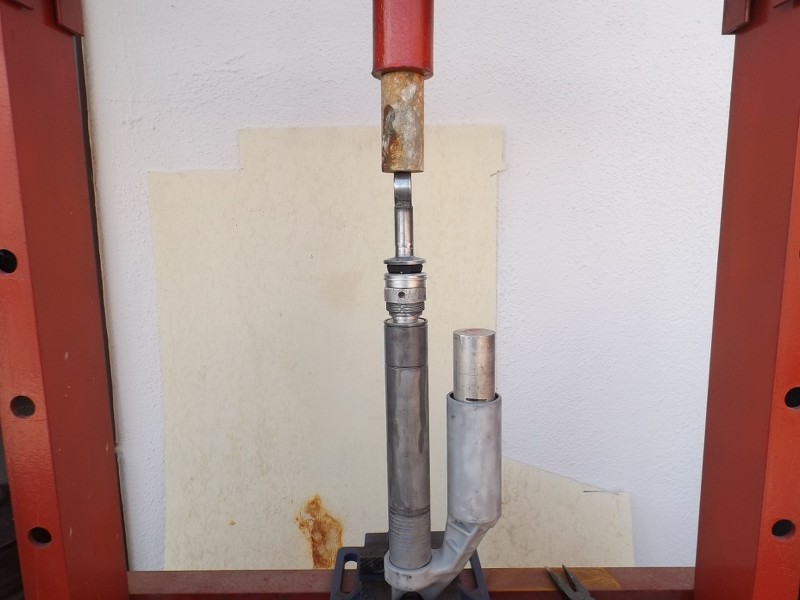
It fits between the sealhead and the top cap below the eye. It goes in the press to where you press the seal head down just far enough to get the snap ring in. You can see in the picture I leave the chunk of aluminum in to watch the piston to see if the level is correct. With the stepped cut in half seal head it leaves enough room to insert the snap ring. Red line is the snap ring and the yellow is the groove.


Mrs Chayzed is off to New Mexico for the week so I had plans for the weekend which included getting the bike running today. I went down middle of the week and got two new spark plugs. Of course they gave me the wrong one's as I didn't look in the bag till Friday night, so I had to go back yesterday and exchange them.
Went by vatozone to get oil for the tranny right before I went to the bike shop which started my afternoon of irritation.
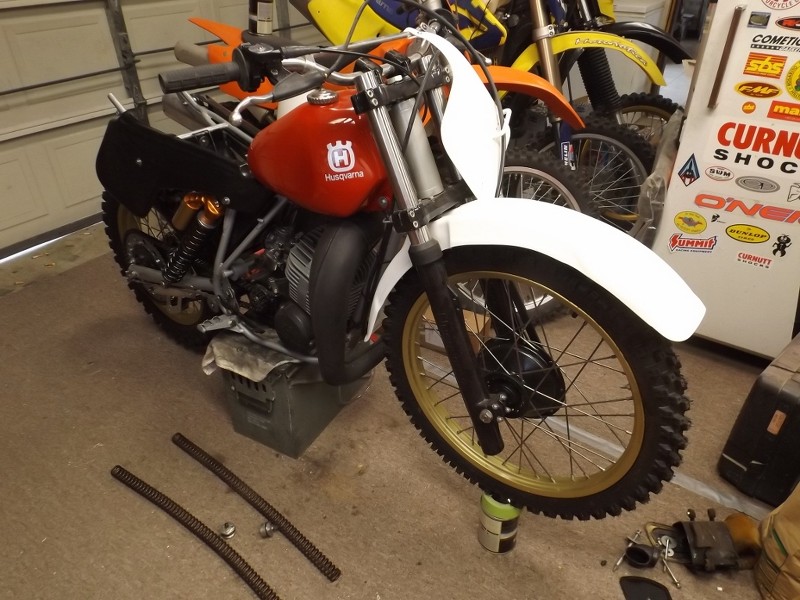
Worked on the forks last night adding fluid and setting the ride height in the triple clamps. It went OK.


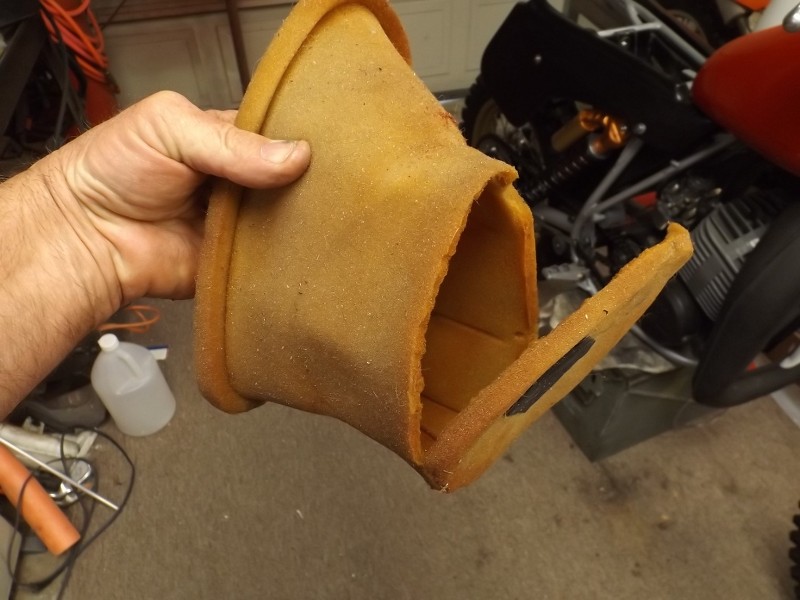
I was well on my way to getting it ready to fire. Got the petcock and fuel line installed and last but not least I was going to clean the air filter as I had it in a bag still on the cage. It feels nice an soft so no sweat.

Wrong again.


So here is where I'm at till my new filter comes from DC Plastics this week. Hopefully I will fire it next Saturday.

 
Looks like a nice settled place to be at in your project. Very Nice Work Mr Chayzed.

Thank you for the pictures and explanations
 
Great work and piccys. I just "found" my ITC ohlins shocker that was stuck down and then misplaced at the bike shop. its unstuck itself and is working nicely.?? work that out. it was in a little shed on a top shelf where the temp would have been in excess of 55 - 60 degrees Celsius during the heat wave so I guess it unpopped.?
 
hallo
Chayzed Pilot ... thanx for the pics and the instructions ... hope I ll handle this all.
Your shocks are looking very fine and Your bike is really a beauty.
Good idea itc husky in oldschool colours. It s ok not to use the chromesticker, they re looking cheap.
 
Back
Top