-
Hi everyone,
As you all know, Coffee (Dean) passed away a couple of years ago. I am Dean's ex-wife's husband and happen to have spent my career in tech. Over the years, I occasionally helped Dean with various tech issues.
When he passed, I worked with his kids to gather the necessary credentials to keep this site running. Since then (and for however long they worked with Coffee), Woodschick and Dirtdame have been maintaining the site and covering the costs. Without their hard work and financial support, CafeHusky would have been lost.
Over the past couple of weeks, I’ve been working to migrate the site to a free cloud compute instance so that Woodschick and Dirtdame no longer have to fund it. At the same time, I’ve updated the site to a current version of XenForo (the discussion software it runs on). The previous version was outdated and no longer supported.
Unfortunately, the new software version doesn’t support importing the old site’s styles, so for now, you’ll see the XenForo default style. This may change over time.
Coffee didn’t document the work he did on the site, so I’ve been digging through the old setup to understand how everything was running. There may still be things I’ve missed. One known issue is that email functionality is not yet working on the new site, but I hope to resolve this over time.
Thanks for your patience and support!
- Husqvarna Motorcycles
- Husqvarna Motorcycles - Sweden
- Vintage/Left Kickers
- Vintage Restoration Projects
You are using an out of date browser. It may not display this or other websites correctly.
You should upgrade or use an alternative browser.
You should upgrade or use an alternative browser.
86 500 xc
- Thread starter kgi4x4
- Start date
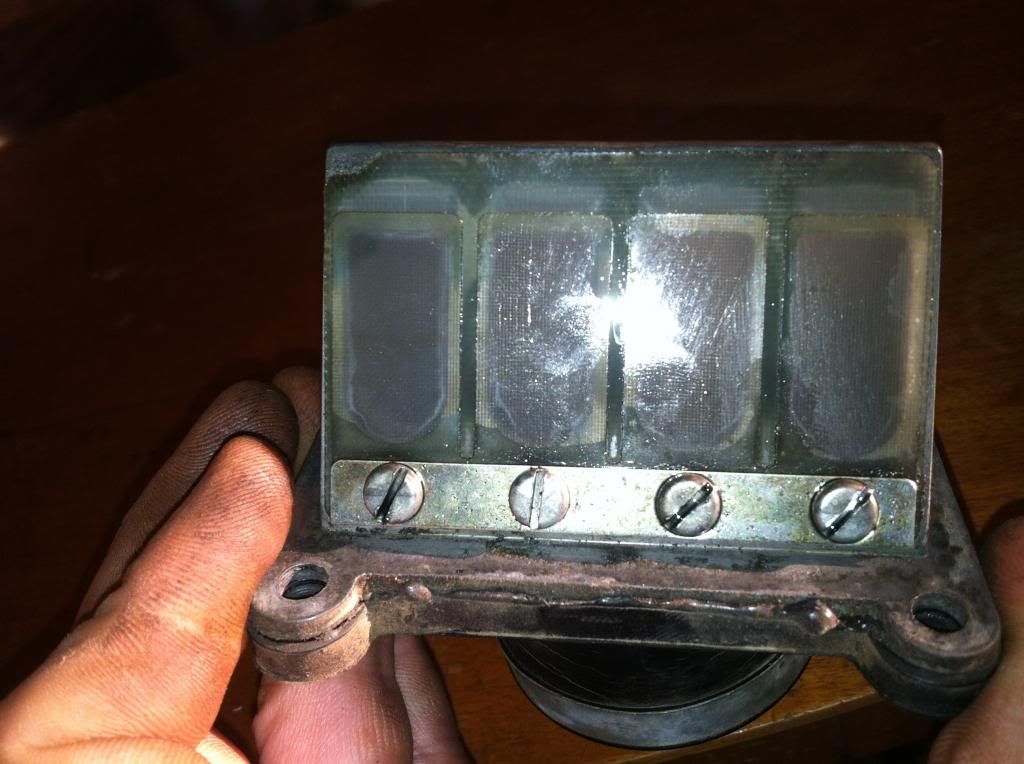
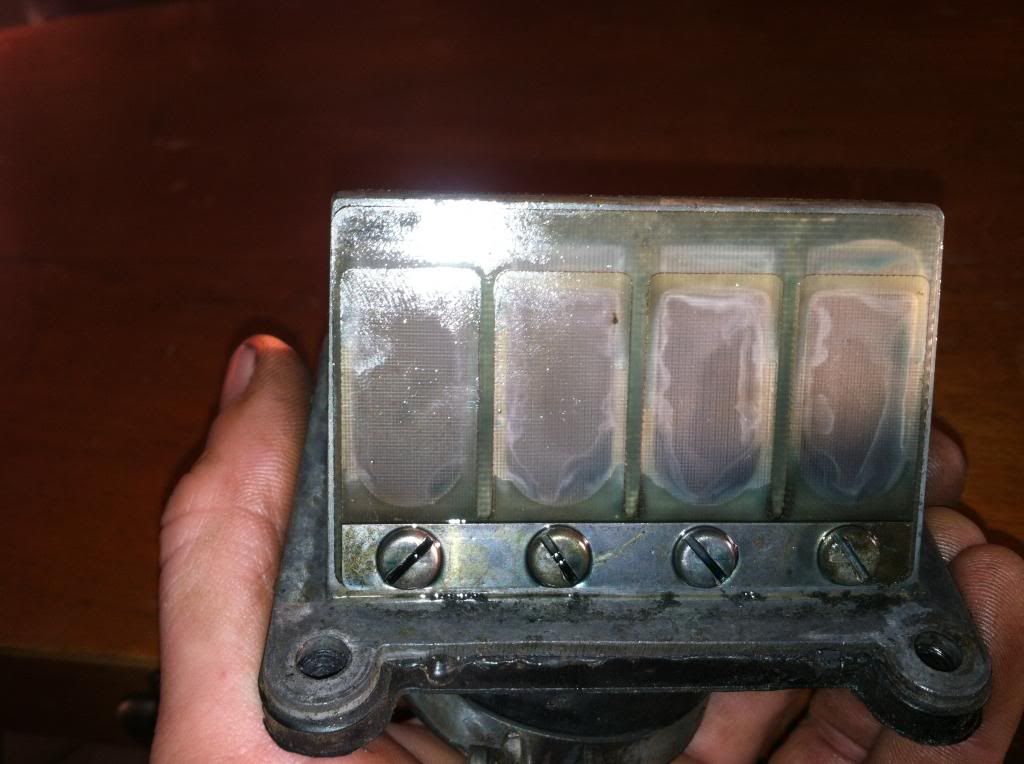
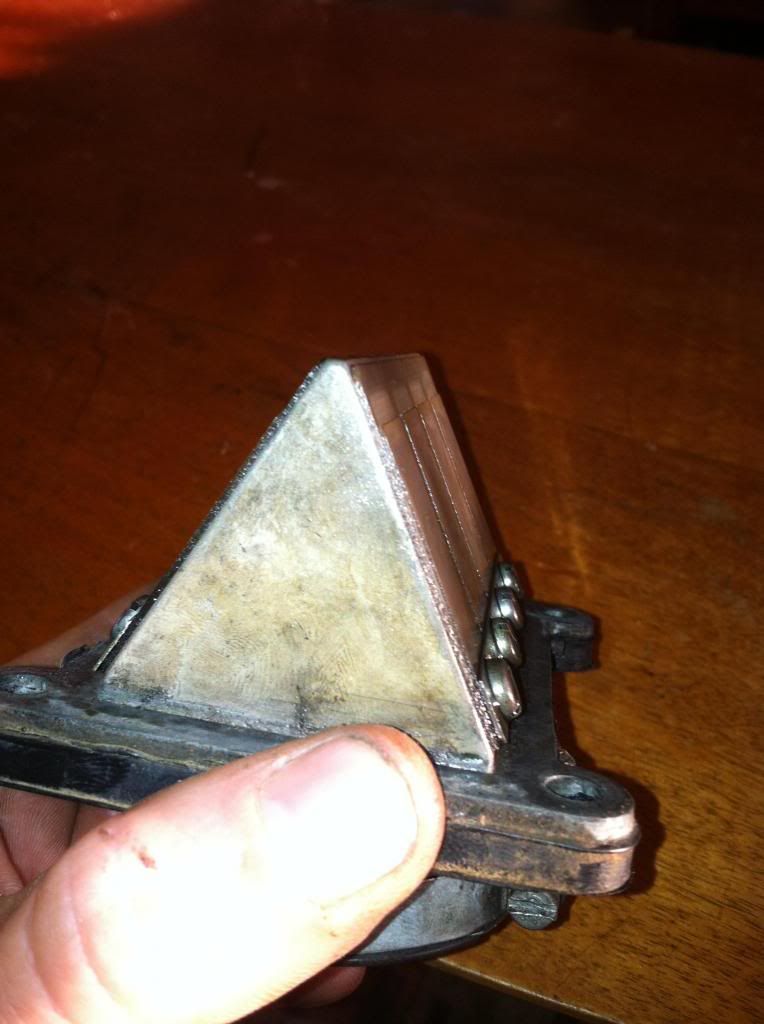
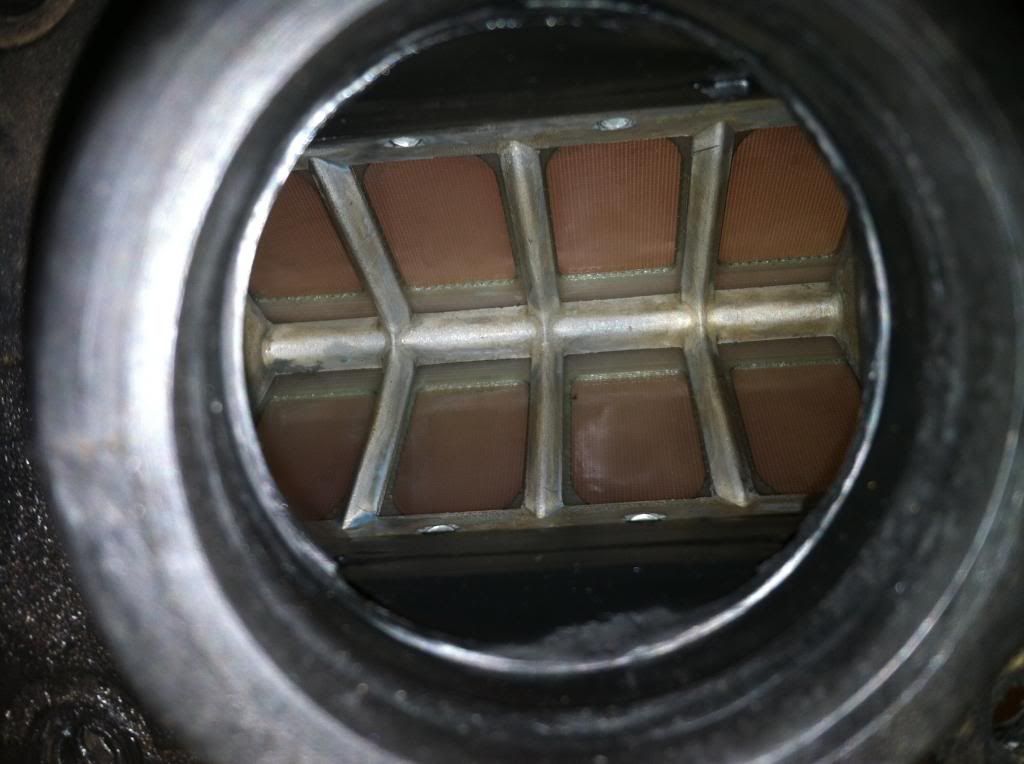
look around for some new petals they are worn and probably brittle they should snap back shut when flicked with the fingered nail, the edges should have a clean edge other wise they will be lifted by the compression from the piston and you will still get air passing back through the carb, might pay to take the petals off and clean the sealing face of the cage. waste of time using a cv carb the pwk 38/40 should do the job but try the reeds and see how you go.you will probably have to rejet once the reeds are working properly.
kgi4x4
Husqvarna
A Class
I won't be trying the cv. Supposedly buddy has a couple bikes with keihin 38s on them. Said $100 each...not carb but bike. Gunna go check them out and see what he has. Been researching and seams to be a common problem for mikuni carbs. Usually resolved by lapping needle and seat or adjusting floats. Ill do that all again but quite sure they. Ok as I just went through them recently.
or adjusting floats.
I was going to say to lower your float level some.
kgi4x4
Husqvarna
A Class
Pt carb back on after adjusting float from 14mm to 17mm. Still hard to start. Fouled the plug. Gunna let it sit and see what I can come up with later. Air screw was way out! 2.5 turns. It turned almost to easy, wondering if the vibrations may have adjusted it out? Gunna set back to 1.5 turns and see if that helps. Migt need different pilot jet tho.
kgi4x4
Husqvarna
A Class
After lettin it sit for a few hours I went it and kicked it. 4 kickes and she fired(w/air screw 2.5 turns out), no choke. Adjusted air screw in TO 1.5 turns ran fine. Still spitting from carb. Lifted front of bike till carb was leval and same thing. Idle/slide screw has to be almost all the way in to idle...no spitting out of overflow tubes till about 5,000rpm then starts spitting. Let her get warn and killed it. Don't want to restart...
Float height is verafied at 17mm, both sides at float contact point. One side was higher than the other but fixed that.
Float height is verafied at 17mm, both sides at float contact point. One side was higher than the other but fixed that.
kgi4x4
Husqvarna
A Class
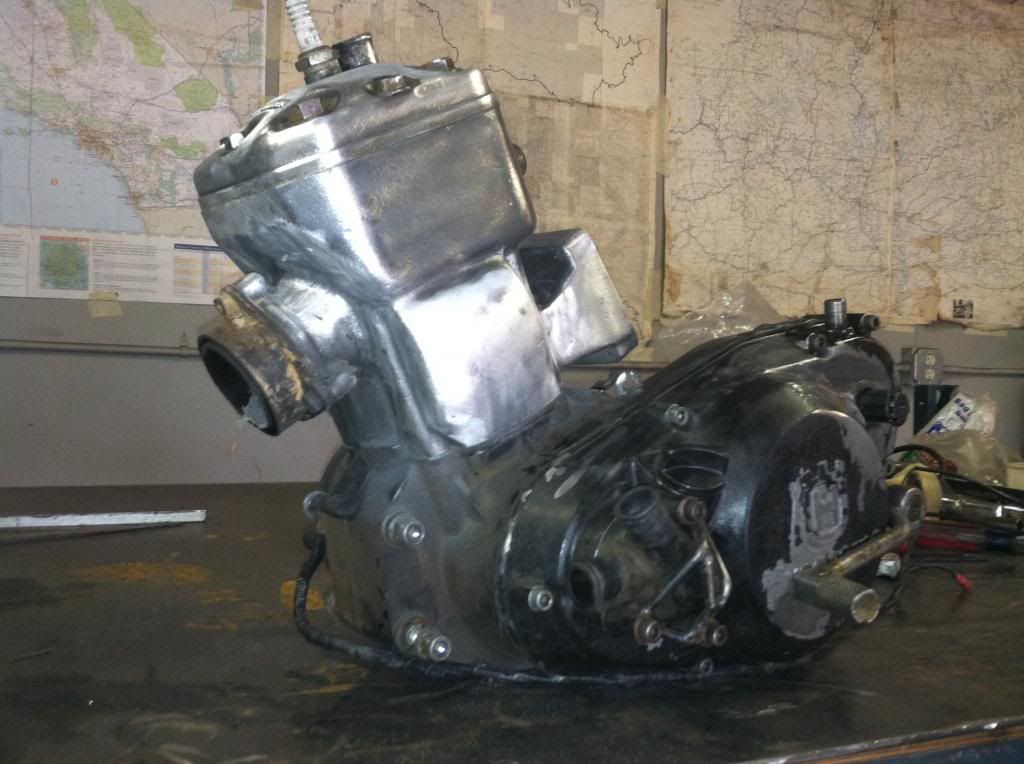
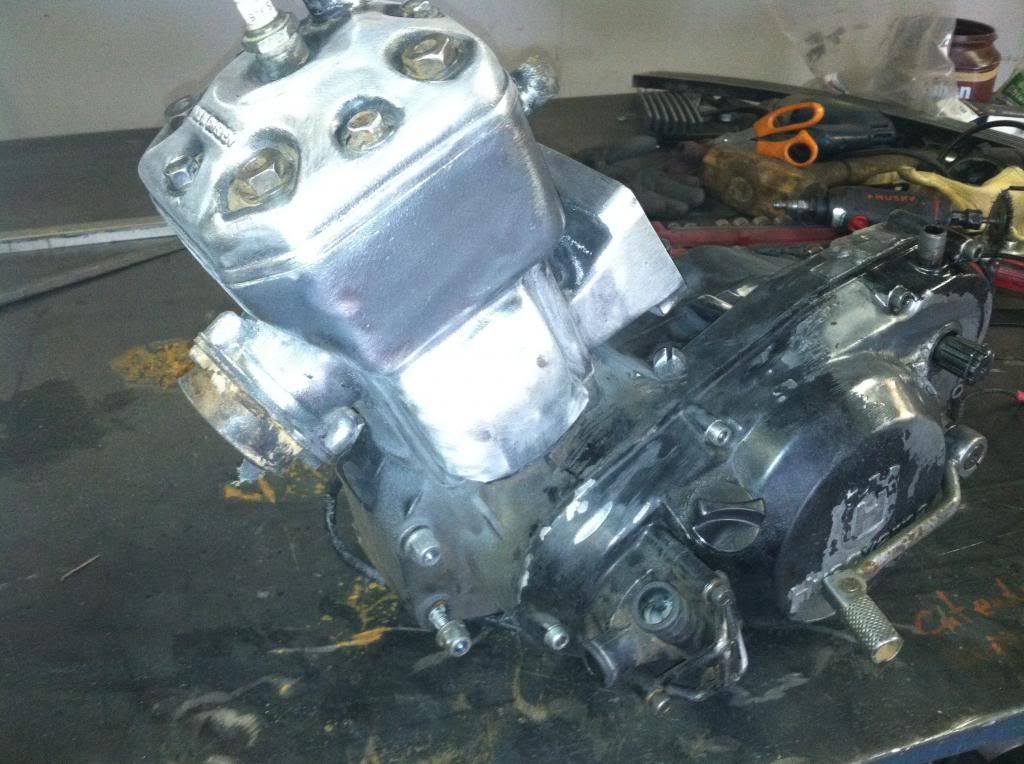
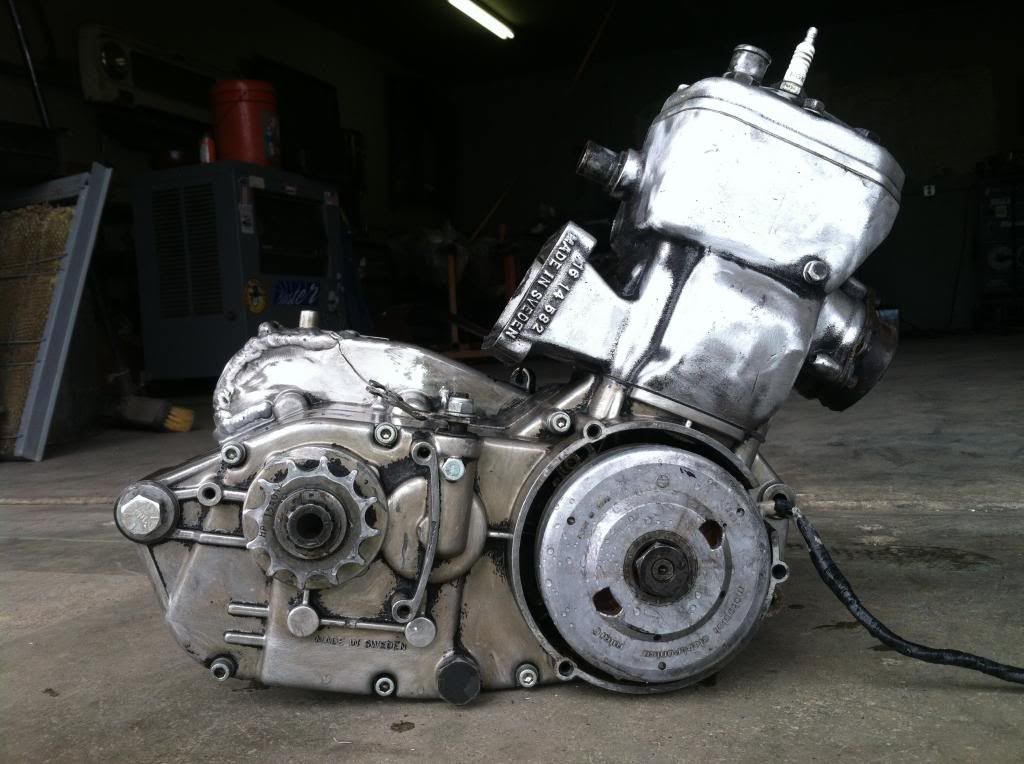
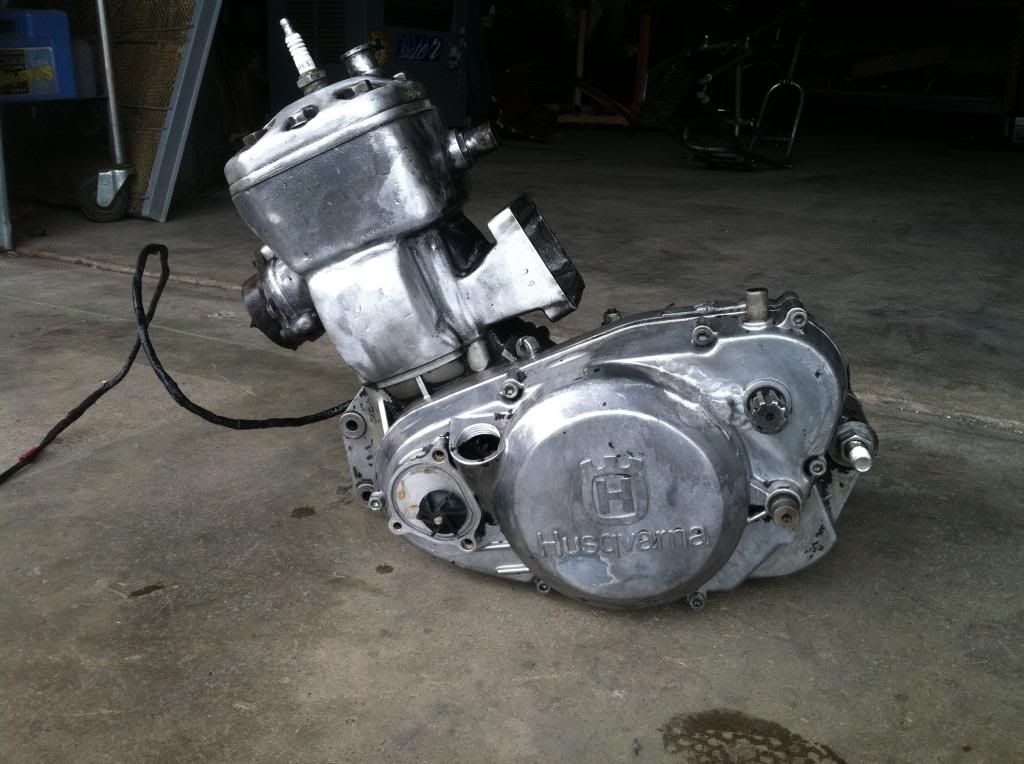
Continued removing all paint from engine. I needed to do a portion around the kicker area to make a repair on case(weld). Got my TIG welding artist on it. It cracked through the idler gear casting. I belive it happens from kickstarting. I'm am installing a decompression valve while I have it down so I hope it alleviate the problem. When repairs are done ill give it a mild polish. Might even go so far as to make an aluminum cover for the igniion!
 [/URL
[/URL

 [/URL
[/URLhusky jim
Husqvarna
Pro Class
Continued removing all paint from engine. I needed to do a portion around the kicker area to make a repair on case(weld). Got my TIG welding artist on it. It cracked through the idler gear casting. I belive it happens from kickstarting. I'm am installing a decompression valve while I have it down so I hope it alleviate the problem. When repairs are done ill give it a mild polish. Might even go so far as to make an aluminum cover for the igniion!
HVA already makes one!
http://www.hva-factory.com/external-engine/husqvarna-ignition-cover-81-88-factory-part-16-11-640-01

justintendo
klotz super techniplate junkie
i just installed andys newer style that is cast not machined...it looks factory and would polish easily. very nice piece
kgi4x4
Husqvarna
A Class
Made so good progress today.
Got the rear light started for tail light.
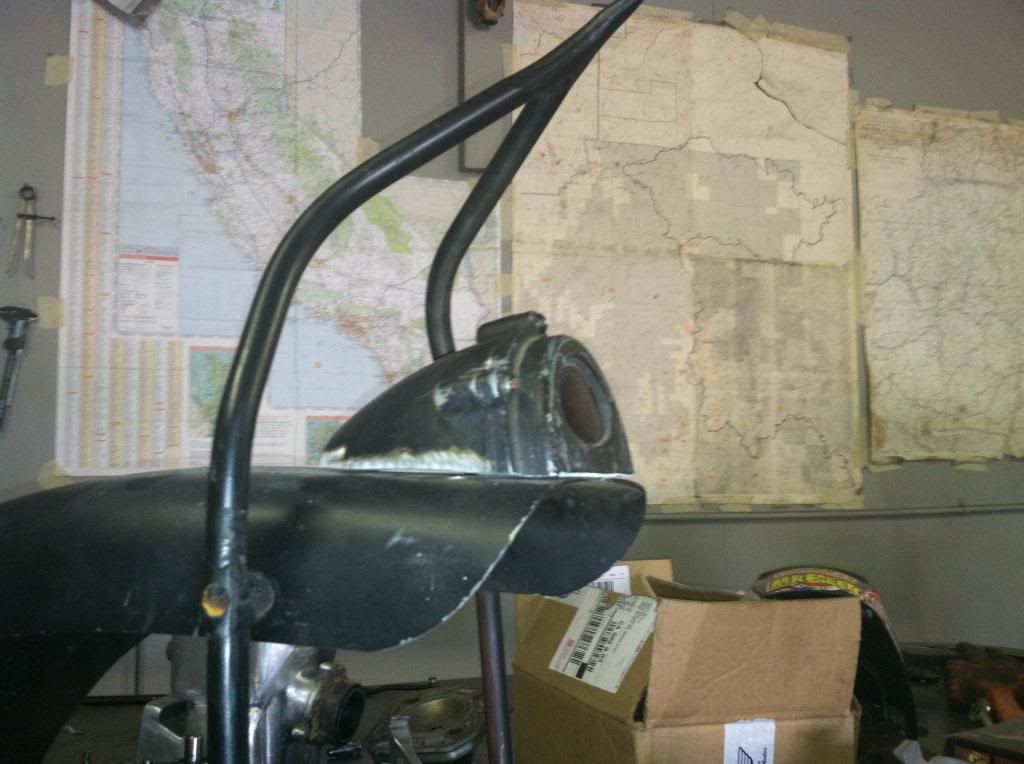
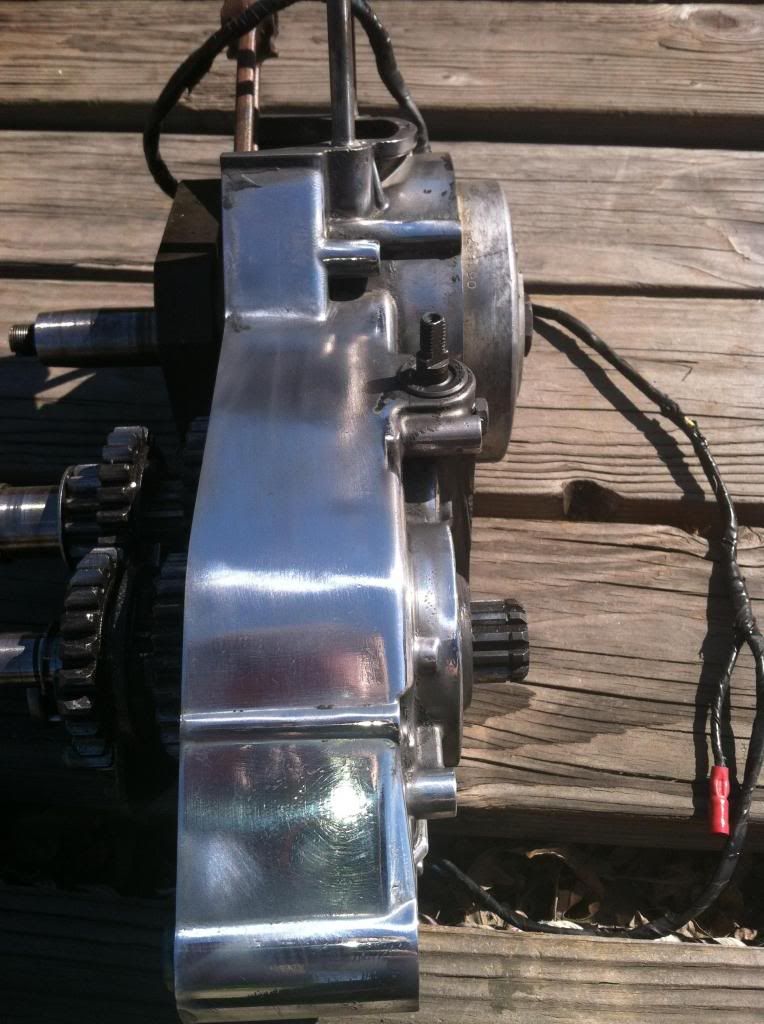
Did some polishing on the right case. Left case is off for repair.
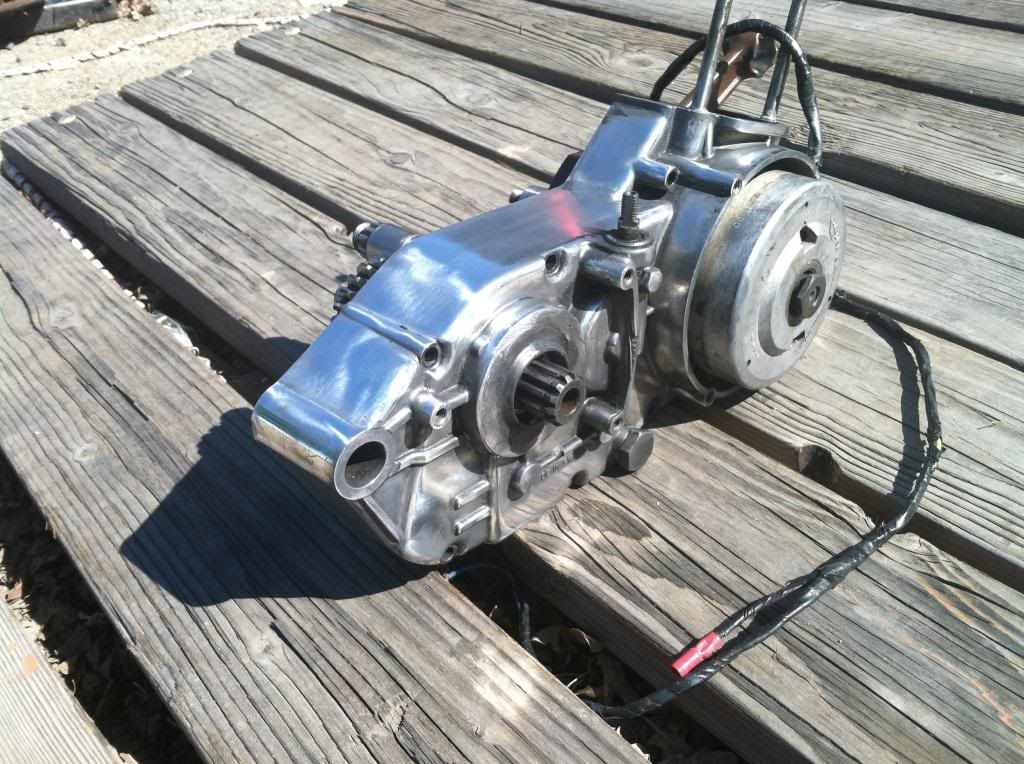
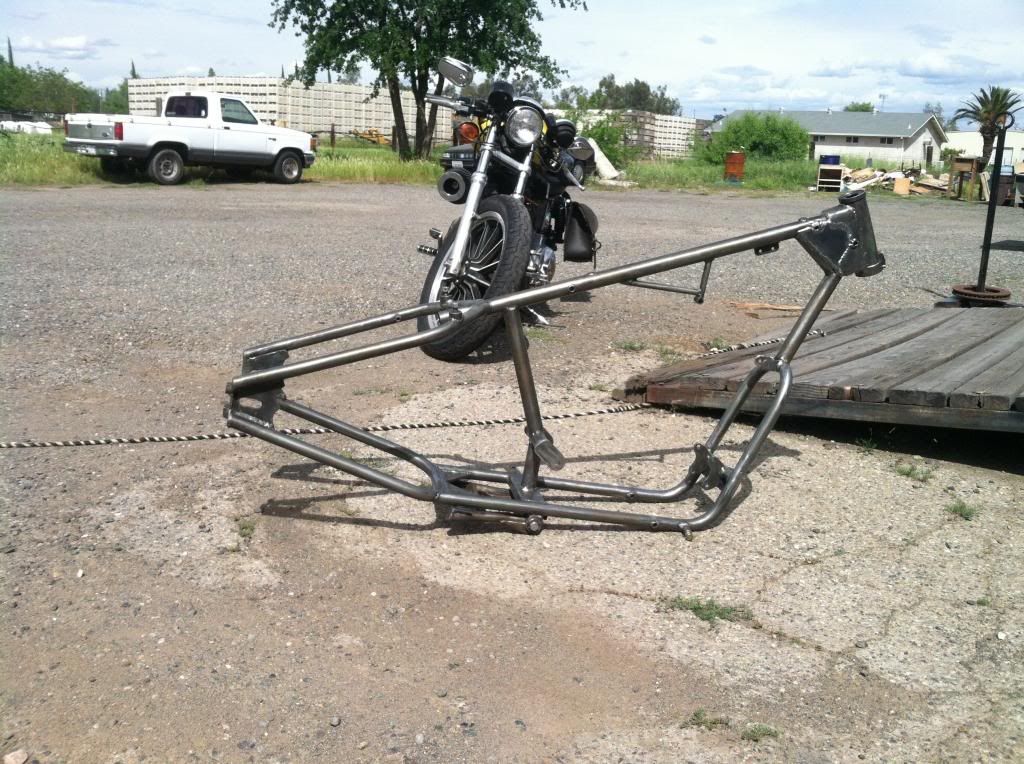
Also got the frame painting process started. I'm using a 3 stage true candy. Got silver base done and 1st candy coat on. Going to let it vent VOCs off and finish with one r two more coats candy and several coat clear. It should be a share or 2 darker by the time it all done.
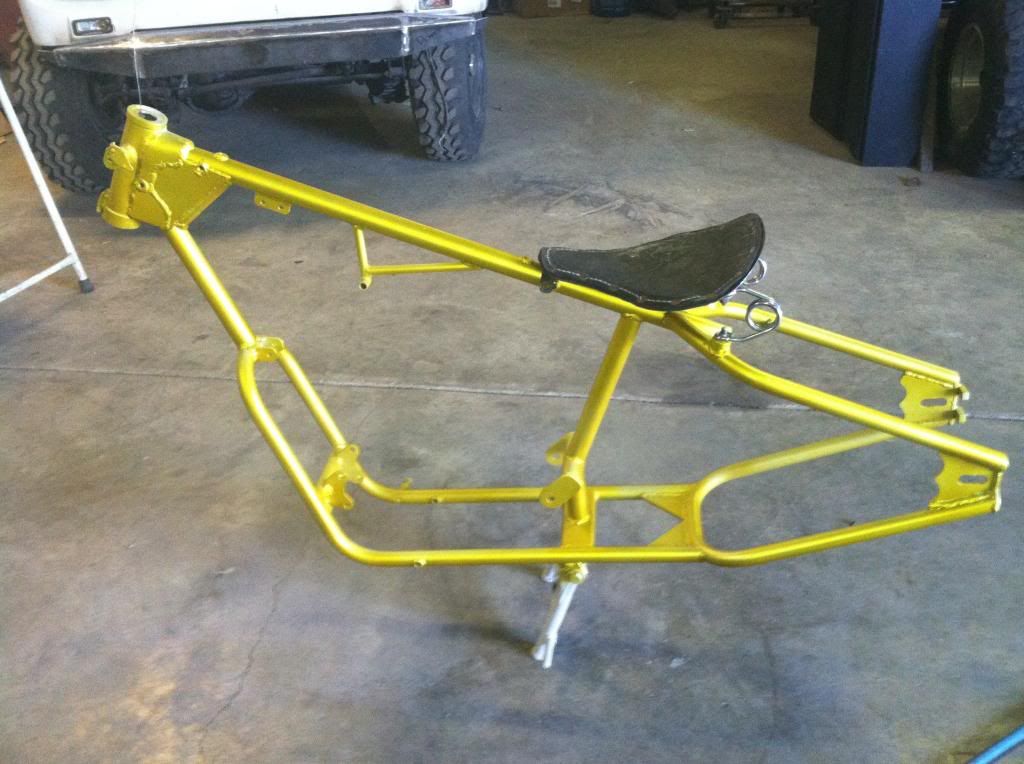
Got the rear light started for tail light.

Did some polishing on the right case. Left case is off for repair.


Also got the frame painting process started. I'm using a 3 stage true candy. Got silver base done and 1st candy coat on. Going to let it vent VOCs off and finish with one r two more coats candy and several coat clear. It should be a share or 2 darker by the time it all done.

justintendo
klotz super techniplate junkie
looking good so far but wouldnt it be easier to take the transmission out? usually when it splits the tranny stays in the left case?
firecrackerkid
Husqvarna
AA Class
If anyone has a tough job that needs done just send it to kgi4x4! You must have arms the size of magilla gorilla after all that polishing.
kgi4x4
Husqvarna
A Class
Justin, Stuffed gears in for pic/safe keeping. My bench is very messy right now!!! I have the whole bike on it! I made my own case splitter to get things apart so I can push eithe side of crank out...
Firecracker, it was actually pretty easy, aircraft stripper and wire brushes, 220 grit, buff wheel in die grinder, and a dremel. Right case took 3 hours or so.
Rest of bike gets satin black to tone down the bling. If it needs it ill scuff the frame to get a satin finish but want to c how it looks shinny.

