I haven't seen it written up to change a headlight and guessing the procedure tells us to turn the handlebars and weasel things out, but I just couldn't get the protective boot off with my fingers...let alone put it back on. So, here's MY process for changing/upgrading the stock H4 headlight bulb.
In my case I upgraded to a Philips X-treme Power +80% bulb. Note that these bulbs are the same wattage as stock (55/60W), but purportedly produce more usable lumens. Now, I wouldn't necessarily agree it's 80% of the stock bulb, but do think it's a noticeable improvement with no increase in juice. I'm not a fan of over driving the stock wiring harness with higher wattage bulbs.
First I had to start with Torx bits I had bought years ago and have scarcely used until now.
This fastener is a T25 and used a 1/4" socket driver with a 1/4" socket.
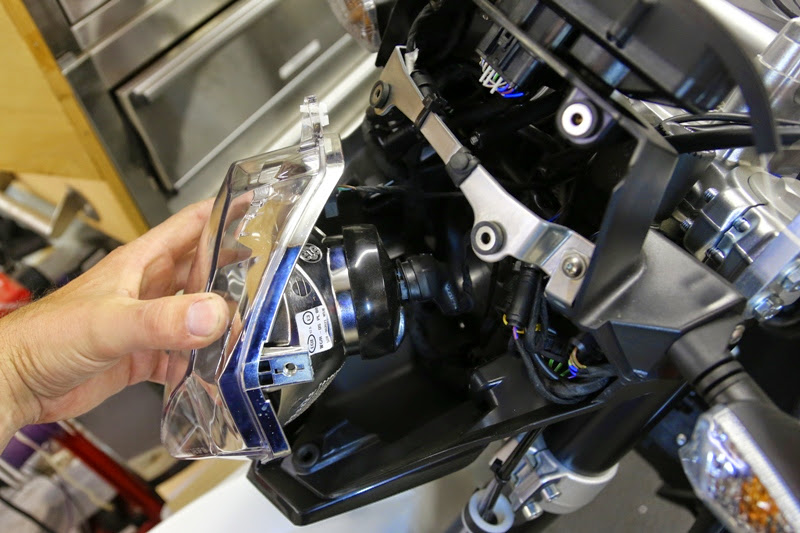
First off was remove the black cover with the 4 fasteners (they look like they're stainless steel) and set them aside.
Next take off the remainder of the white plastic. The bottom two connection points are easily jiggled free from grommets.
With the last piece off you can really see the underlying structure, wiring layout, and nooks and crannies you might want to do future farkling projects.
The reflector is held in place by three total fasteners. Two side bolts and one top bolt. The top fastener adjusts the vertical position of the headlight beam and I made a mental note of about how many threads were exposed.
Release this screw by going to the other side of the instrument panel with a long extension (below) and turn until the threads pop out from the white part (above).
Now focus on the two fasteners on the sides. I also note relative position and tried to put back in the same spot. If you don't get these right you may find your light pattern is right or left of where it should be when you ride the motorcycle later. Regardless all three are adjustable after you put it all back together later if you need to.
With the three fasteners removed you can remove the headlight assembly.
Wiggle off the headlight connector. It's a three-prong type.
Next, wiggle off the watertight cover. (This is the part I couldn't seem to do by turning the handlebars....or that it would have taken so long or frustrating for me than doing these steps).
There are two wire bails you need to release and then the bulb will come free. Swap bulbs and remember not to touch the glass part and get oil from your finger on it. Reverse the process for installing things back.
I didn't do a before or after shot, but can say there are more lumens on my garage wall than the stock bulb.
And a final shot of the bulb's nicely "whiter" light than stock.
Enjoy.
")


")